Polymer Clay Charms DIY Easy
Four days separate a lump of polymer clay from a glossy character charm, covering an overnight rest, a bake and two coats of UV resin. Each 20 to 30 mm piece takes an eye pin, ready to hang from keys, bags or handmade jewelry as a small DIY gift.
Flat or domed, cut into small shapes and pierced before baking, the pieces that come out of a polymer clay charms diy session sit firm between your fingers. Each charm is its own unit.
Polymer Clay Charms DIY
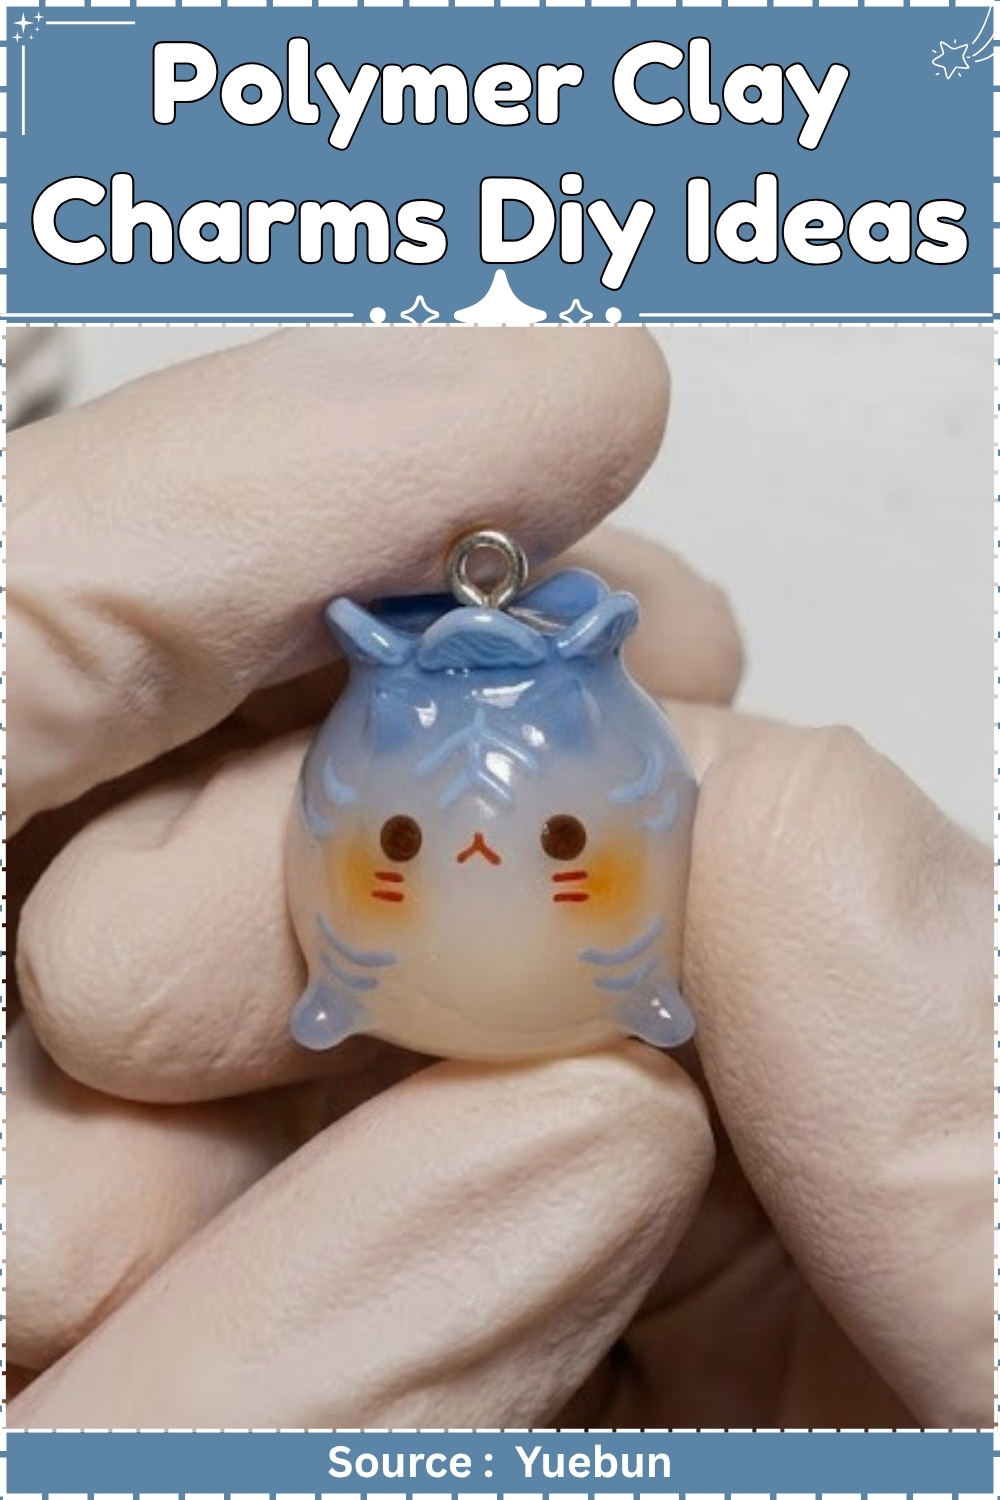
Food shapes, letters, florals, and geometric cuts are all possible from the same block of clay. The set comes together as individual pieces strung or clipped onto whatever you attach them to. Surface detail holds well after curing.
At a Glance
- Clay type: Polymer clay, oven-cure
- Recommended brand: Sculpey Premo or Fimo Soft
- Tools: Pasta machine, mini scale, acrylic block, glass plate, round silicone shaping tools, small circle cutters, toothpick, tape-covered container lid, Q-tips, razor blade, nail file
- Cure: 275°F / 130°C, 30 minutes minimum
- Finished size: 20 to 30 mm per charm
- Hands-on time: 90 minutes sculpting, 45 minutes finishing and resin per batch of six
- Total time: 4 days including overnight rest, bake, resin cure, and eye pin glue dry
- Difficulty: Intermediate
Materials and Tools
Essential
- Polymer clay in your chosen colours
- Pasta machine
- Mini digital scale, reading to 0.1 g
- Glass plate or smooth ceramic tile (work surface)
- Acrylic block
- Round silicone shaping tools, 2 mm and 4 mm heads
- Small circle cutters, 2 mm and 4 mm
- Craft knife and razor blade
- Nail file, medium grit
- Q-tips, standard and fine-tip
- Rubbing alcohol (isopropyl, 70% or higher)
- Acetone
- Scrap clay (any colour)
- Tape-covered container lid
- Dry pastels, pink and any accent colours
- Acrylic paints for surface details
- Clean flat brush, 4 mm
- UV resin (low-viscosity, jewellery grade)
- UV lamp, 36 W minimum
- Nail polish brush (dedicated to resin only)
- Screw eye pins, 2 mm loop, nickel-free
- Super glue, gel formula
- Small container of water
Nice to have
- Tweezers
- Baking handle: eye pin baked into a scrap clay cone
- Cotton pads
- Cornstarch (for over-soft clay)
- Foil for tenting
How to Make Polymer Clay Character Charms
Workspace preparation
- Set the glass plate on your work surface under good light.
- Roll a golf-ball-size piece of scrap clay and keep it within reach throughout the session.
- Run the scrap clay across the glass plate surface to pick up any dust or debris, then set it aside.
- Clean your fingertips with the scrap clay ball before touching any main clay.
Conditioning and weighing
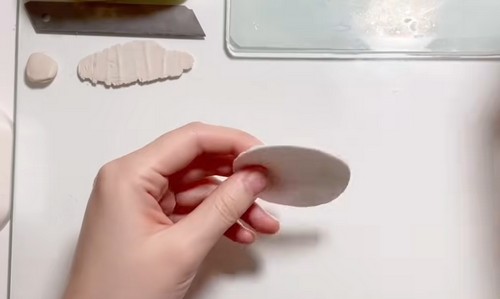
- Condition each clay colour through the pasta machine, starting at the thickest setting and working down to setting 4 (approximately 2 mm).
- Weigh out portions for each charm on the mini scale. A 20 mm charm body uses 3 to 4 g of clay. An ear or small feature uses 0.3 to 0.5 g.
Shaping the charm body
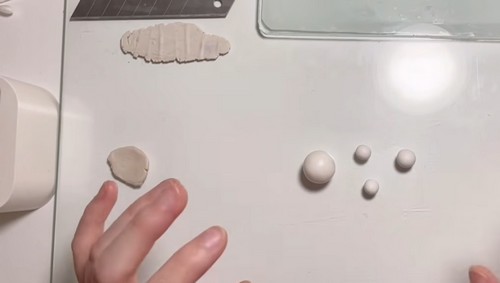
- Roll the weighed portion between three fingers only, not the full hand, into a smooth ball.
- Transfer the ball to the acrylic block and roll it against the glass plate using the block, applying light even pressure, until the surface is smooth and dust-free.
- Shape the ball into the charm form: flatten the base slightly for a flat-bottomed figure, or leave round for a bead-style charm.
Adding face indentations and structure
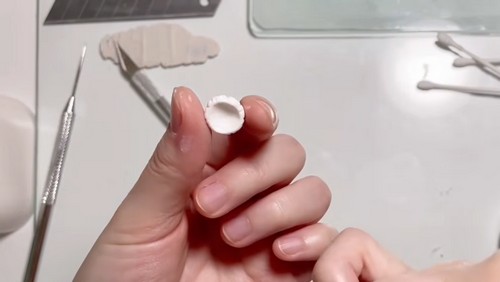
- Press the 4 mm round silicone tool into the face surface to create eye sockets, using a single firm push rather than a scrubbing motion.
- Press the 2 mm tool for any smaller indentations such as nostrils or dimples.
- Add any structural features (ears, hats, limbs) by pressing pieces firmly against the body and smoothing the join with a fingertip.
Thin line details
- Pinch a very small portion of clay, smaller than a grain of rice, for any line feature such as a mouth or stripe.
- Roll it between two fingers to start the strand.
- Transfer it to the tape-covered container lid and roll it with near-zero pressure until the strand reaches 0.5 mm diameter.
- Lift the strand with a toothpick and press it onto the charm face.
Eyes
- Roll a small amount of black or dark clay through the pasta machine to setting 6 (approximately 1 mm).
- Press the 2 mm circle cutter straight down into the sheet and lift cleanly.
- Divide the cut circle into four equal portions with the razor blade.
- Roll each portion into a smooth ball between fingertips.
- Press each ball flat onto the eye socket indentation.
Blush and pastel detail
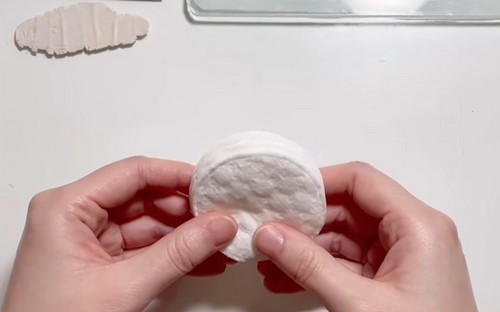
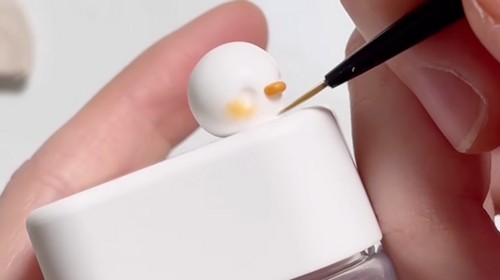
- Scrape a small amount of dry pastel onto a cotton pad using the razor blade.
- Pick up the pigment on a clean Q-tip and tap off the excess.
- Apply the pastel to the cheek areas of the charm face before placing the eyes.
Cleaning before baking
- Dip a Q-tip in rubbing alcohol and wring out the excess against the container rim.
- Roll the damp Q-tip over the charm surface to lift any dust or fingerprints, working from the top down.
Overnight rest
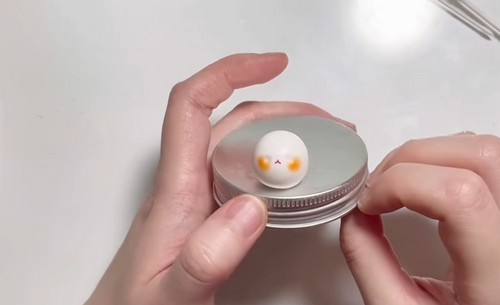
- Set all sculpted charms on the metal baking lid and leave them at room temperature for 24 hours.
- Inspect each charm with fresh eyes: correct any crooked features, size mismatches, or surface marks before baking.
Baking
- Polymer clay must reach the manufacturer’s minimum temperature to cure fully. Underbaked charms feel firm on the surface but remain flexible at the core, and they will crack at the eye pin hole within weeks of use.
- Preheat your oven to 275°F / 130°C and confirm the temperature with an oven thermometer placed inside the oven, not on the door. Place the charms on the metal baking lid set on a ceramic tile or a piece of cardstock. Never bake directly on bare metal without a buffer layer underneath. Tent loosely with foil to prevent surface darkening.
- Bake for 30 minutes calculated from the thickest point across any charm on the tray, not from the number of pieces. A charm 15 mm at its widest still gets the full 30 minutes. Turn the oven off and leave the door closed for 15 minutes before removing the tray. Transfer to a ceramic tile and leave until completely cool to the touch before handling.
Finishing
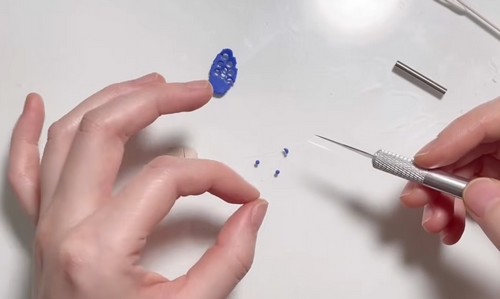
- Work outside or with a dust mask for the filing stage. Polymer dust is fine enough to become airborne.
- Start with a medium-grit nail file to knock back any hard edges and remove surface blemishes. Follow with wet sanding: 400 grit wet and dry paper used wet, working in small circular movements. Move through 600 grit, then 800 grit if a smooth base for resin is the goal. Wet sanding keeps the polymer dust contained in the water rather than the air.
- After filing and before wet sanding, run a Q-tip dipped in acetone over any remaining scratches. The acetone melts the surface slightly and fills shallow marks that sandpaper cannot reach. Use it sparingly. Too much acetone softens the clay body.
- Paint any acrylic surface details after sanding and before resin. Leave paint to dry for at least 1 hour.
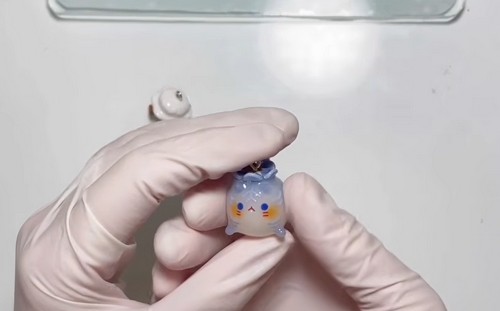
UV Resin Glaze
Work in a ventilated room away from direct sunlight. Wear nitrile gloves and a dust mask. Uncured UV resin is a skin and respiratory sensitiser.
Making the baking handle
- Press a screw eye pin into the flat end of a cone of scrap clay, loop upward.
- Bake the handle at 275°F / 130°C for 30 minutes and cool completely.
- Attach the charm to the handle by threading the charm’s future eye pin hole over the baked handle pin. This leaves both hands free during resin application.
First resin layer
- Brush any remaining dust from the charm surface with a dry flat brush.
- Dip the charm into the UV resin container, submerging fully.
- Lift and let the excess drip for 10 seconds.
- Use the dedicated nail polish brush to brush off excess resin, working from top to bottom in smooth strokes.
- Hold the charm under the UV lamp and rotate it slowly for 30 seconds.
- Place the charm under a covered lamp (foil tent over the lamp) for 90 more seconds without moving it.
Second resin layer
- Repeat the dip, drip, and brush sequence.
- Cure under the lamp rotating for 30 seconds, then under the covered lamp for 90 seconds.
- Give the top and bottom of the charm a final 30-second direct cure under the lamp.
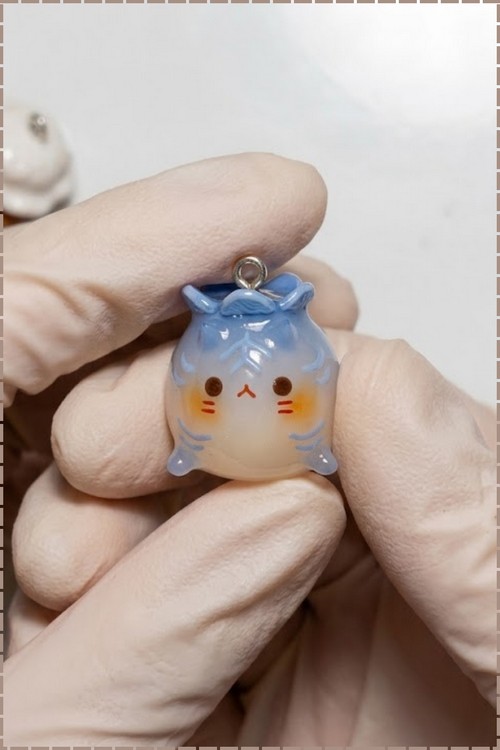
Water cure
- Submerge the resin-coated charm in a container of clean water.
- Cure under the UV lamp for 2 minutes.
- Flip the charm upside down in the water and cure for 2 more minutes.
- Remove from the water and leave to dry in front of a window for 24 to 48 hours until the resin is fully hardened and no longer tacky anywhere.
Hardware and Assembly
- Use a craft knife to pierce the eye pin hole at the top centre of the charm, pushing straight in and twisting the blade slightly to widen the opening to 2 mm. Brush away any clay dust from the hole with a dry Q-tip.
- Insert a screw eye pin into the hole. Screw eye pins have a threaded shank rather than a straight one, which grips the clay body and does not pull out under the weight of a keychain or bracelet load. Straight eye pins are not a substitute here: they rely entirely on the glue joint.
- Apply a small drop of gel super glue around the base of the pin where it meets the charm surface, using a toothpick to place it precisely. Leave the charm pin-side up in front of a window for 24 hours before attaching any jump ring or chain.
Batch Running Order
Do not reorder the build steps. Reorder the sessions.
- Session 1: Sculpt all charms. Condition all clay colours at once. Weigh portions for the full batch before shaping any single piece. Shape all bodies, add all features, clean all surfaces, then set the entire batch on the baking lid to rest overnight.
- Session 2: Inspect, bake, cool. Review all charms together. Correct any before baking. Bake the full tray at once. Cool fully before touching.
- Session 3: File, sand, and paint all charms. Do all acetone smoothing in one pass. Do all acrylic detail painting in one session. One hour drying, then move to resin.
- Session 4: Resin all charms. Make one baking handle. Resin and cure all charms in sequence. Water cure all at once. Dry 24 to 48 hours.
- Session 5: Eye pins. Pierce and glue all eye pins in one pass. Leave 24 hours.
- A tray 30 x 40 cm holds twelve to sixteen charms at 20 to 25 mm size without crowding.
Where Makers Go Wrong
- The resin surface is tacky two days after curing. This is oxygen inhibition: the outermost resin layer does not cure fully in contact with air. Water curing eliminates this by blocking oxygen during the final UV exposure. Skipping the water step produces a permanently sticky surface that collects dust and fingerprints.
- The eye pin pulls out of the charm after a few weeks. A straight pin glued into a drilled hole is only as strong as the glue bond to smooth cured polymer, which is not strong. A screw eye pin grips mechanically. No amount of extra super glue makes a straight pin equivalent.
- The pastel blush vanishes under the resin. Dry pastel pigment is fine enough to dissolve slightly into the resin as it cures, leaving a washed-out shadow instead of a defined blush. Sealing the pastel with a thin coat of Mod Podge, fully dry, before resin application locks it in place.
- A charm comes out of the oven with a flat spot on the base. Charms resting directly on a hard tray develop a contact flat. Baking on a folded piece of polyester fibrefill or a soft silicone baking mat keeps the base rounded on figures that need a fully curved bottom.
Variations
- Flat tablet charms with stamped surfaces replace the rounded figure entirely: roll to 4 mm, cut with a shape cutter, press a rubber stamp into the surface before baking, finish and resin identically. The batch running order above applies without any changes.
- Layered charms use a flat baked base with raw clay details added after the first bake and rebaked together, allowing crisp colour separation without blending at joins. The resin phase remains the same.
Care
The resin coat is the charm’s primary protection, and the weakest point in the finish is where the resin meets the eye pin base: keep the charm away from solvents including nail polish remover, which softens UV resin. Do not leave polymer and resin charms in a hot car or on a sunny windowsill; sustained heat above 60°C softens the polymer core and the resin surface together. The eye pin glue joint is the mechanical failure point, not the clay: if a pin loosens, unscrew it, clean the hole with a Q-tip dipped in acetone, and reglue with fresh gel super glue. Resin scratches before polymer does on a charm surface, so store charms individually or separated by tissue in a box rather than loose together. If acrylic detail paint chips at an edge, touch up with the original paint colour, let dry for 1 hour, and apply one thin resin coat over the repair only, curing fully.
Quick Answers
- Can I use a UV nail lamp instead of a dedicated UV resin lamp? A 36 W UV nail lamp works for thin resin coats on small charms. The water cure step remains essential regardless of lamp power, since no UV lamp eliminates oxygen inhibition on the surface without it.
- My clay is too soft and loses its shape when I add features. What fixes it? Work the soft clay on a glass plate in a cool room for ten minutes; handling transfers body heat into the clay. If it is still too soft, knead in a small amount of cornstarch, 1 part starch to 20 parts clay, until the consistency firms.
- Can I skip the resin and use a water-based varnish instead? Water-based varnish gives a satin finish and reasonable protection but does not self-level over small surface imperfections the way resin does. The charm will look handmade rather than finished. For personal use that is fine; for sale, resin is the standard.
- The acetone Q-tip left a dull patch rather than smoothing the scratch. The Q-tip was too wet. Wring it firmly against the container rim before applying it to the clay. A barely damp tip melts the surface lightly. A wet one dissolves too much and leaves a depression.