Tiny sculpted roses sit at the centre, petals rolled and wrapped one at a time, in the sweet pastel palette Y2K jewellery ran on. The rose is the focal point and everything around it stays simple so it does not compete. You shape each petal, layer them into a bloom, then set it and cure. Fiddly in the fingers, easy on the nerves, no rush anywhere in it.
Y2K Clay Rose Earrings
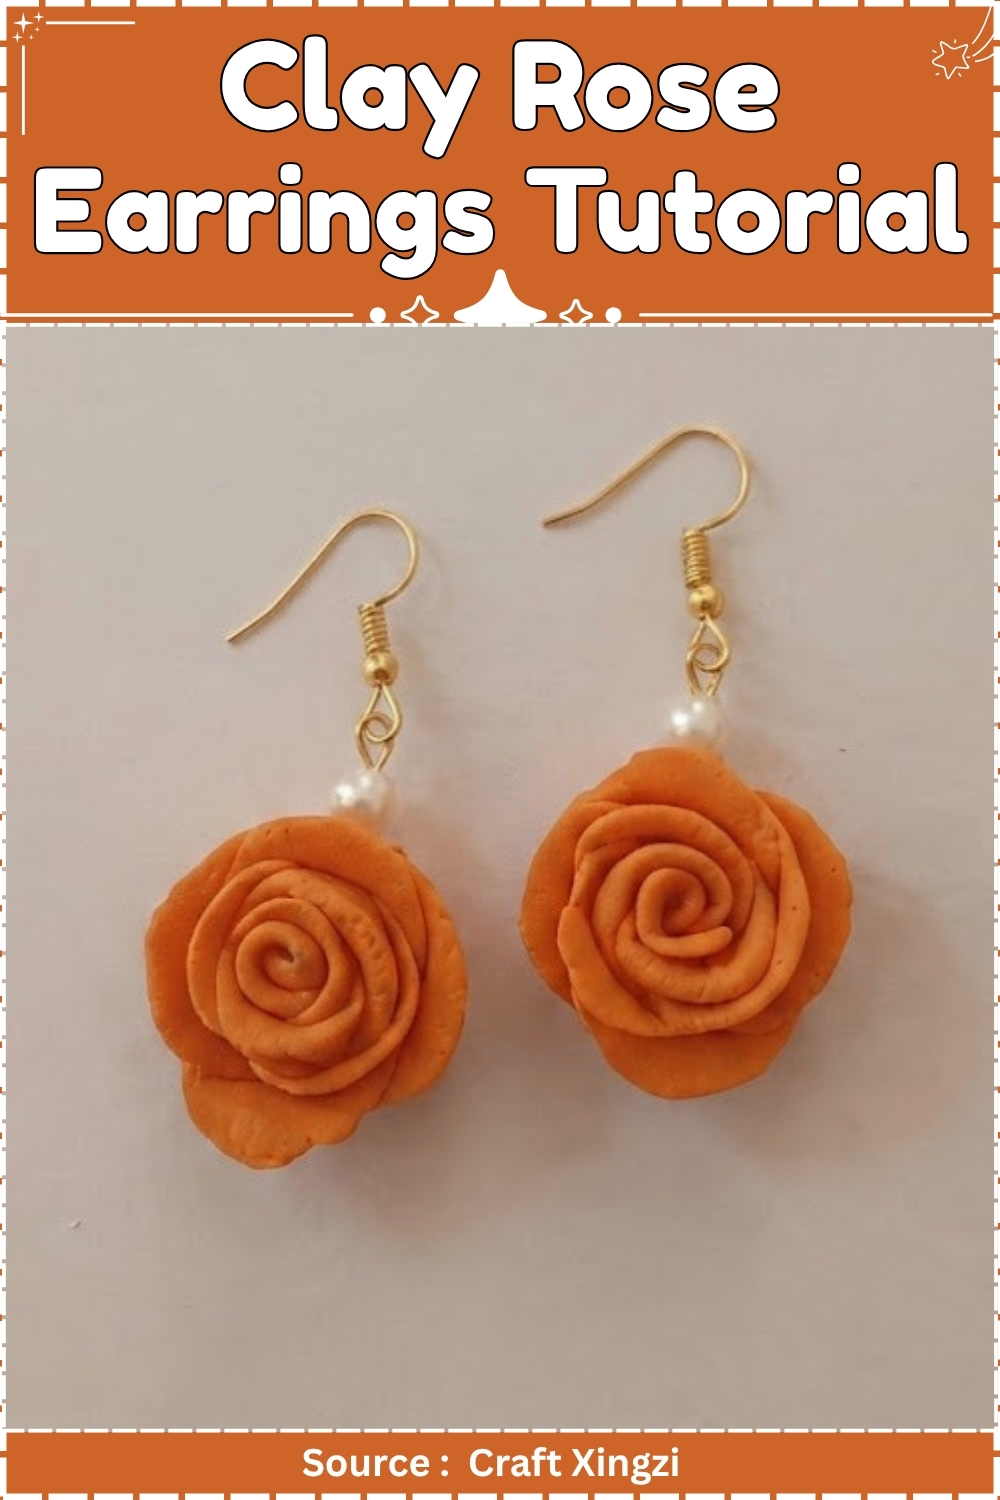
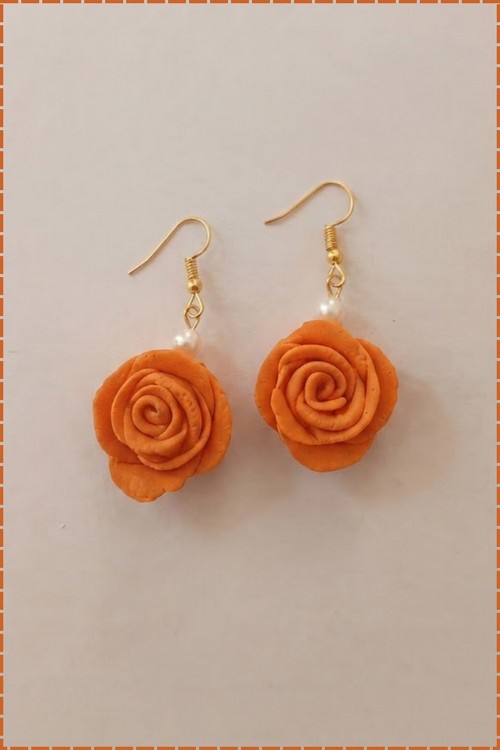
Flower earrings made from clay sit somewhere between sculptural and wearable, and the rose shape is the one that draws the most attention. This orange version uses a petal strip method where flattened rounds are overlapped, rolled from one end, and shaped by hand into a full bloom. A single pearl between the rose and the hook keeps the finished piece from feeling too heavy.
At a Glance
- Clay type and brand: air-dry clay, orange (DAS or Crayola Air Dry)
- Tools: needle-nose pliers, scissors, acrylic roller, flat acrylic block or clear ruler, soft round paintbrush, cutting mat
- Cure method: air dry, 24 to 48 hours at room temperature, followed by two thin coats of water-based acrylic varnish
- Finished size: 22 mm rose head, 32 mm total drop from the hook
- Hands-on time: 45 minutes
- Total time: 2 to 3 days including drying and sealing
- Difficulty: easy
Styling and Wear
The colour does the heavy lifting here. Orange sits well against denim, cream, and washed-out pastels, which is most of what the Y2K palette actually was once you strip out the metallics. A 32 mm drop clears a collar and moves when you turn your head, and at this weight the rose stays upright on the lobe instead of tipping forward. Wear them with a second, smaller stud higher up if you have a double piercing. The pearl reads as a spacer rather than a feature, so these do not clash with a pearl necklace. Sealed air-dry clay handles daily wear, not swimming.
Materials and Tools
Essential
- Orange air-dry clay, roughly 20 g
- 2 earring hooks, nickel-free or surgical steel
- 2 head pins, 50 mm, 21 gauge
- 2 small pearls or round beads, 4 mm
- Needle-nose pliers
- Round-nose pliers
- Scissors
- Acrylic roller
- Flat acrylic block or clear plastic ruler
- Soft round paintbrush, size 4
- Warm-toned eyeshadow or chalk pastel pigment
- Water-based acrylic varnish, satin
- Cutting mat
Nice to have
- Fine detail brush for the rose centre
- 400 grit sanding pad
- Foam block or egg carton for propping earrings while they dry
- Baby wipes for cleaning fingers between colours
Colour Notes
The video works from a single orange straight out of the pack, which is the right call for a first pair. If you want the softer sherbet orange that reads more early-2000s than Halloween, mix 4 parts orange to 1 part white and a pinch of yellow. Air-dry clay dries about half a shade lighter than it looks wet, so mix slightly deeper than your target. Make both roses from the same batch. A second batch mixed later will not match, and mismatched roses are obvious the moment the pair sits side by side.
Build the Rose
Condition and Divide the Clay
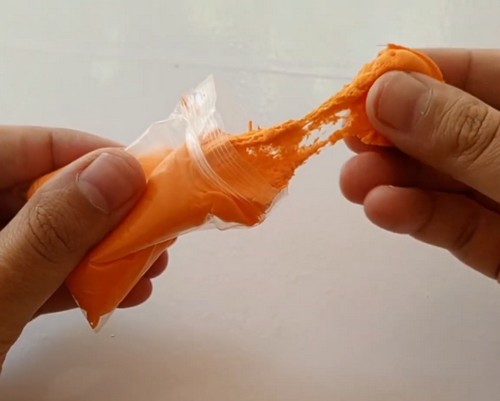
- Knead the clay for 2 minutes until it is soft, even, and free of crumbs.
- Roll it into a smooth ball about 25 mm across.
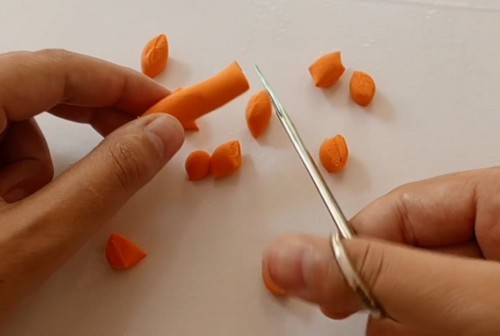
- Roll the ball into a cylinder 6 mm thick and roughly 120 mm long, keeping the diameter even end to end.
- Cut the cylinder into 24 equal pieces with scissors, 12 per earring.
- Cover the pieces you are not working with using a damp cloth or a sealed container.
Shape the Petals
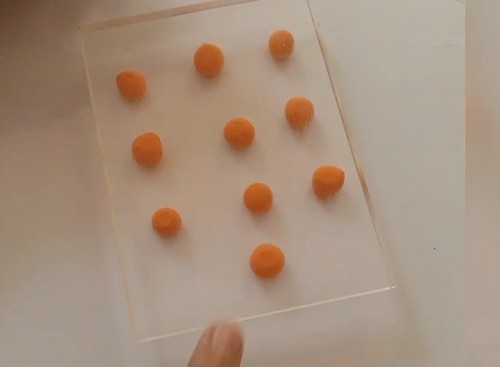
- Roll each piece into a ball about 6 mm across.
- Set a ball on the mat and press it flat with the acrylic block or ruler to a disc 15 mm across and 1 mm thick.
- Press straight down, not sideways, so the disc stays round.
- Repeat until you have 12 discs for the first rose.
Assemble the Spiral
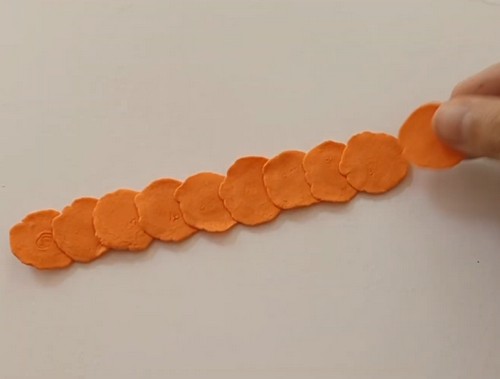
- Lay the discs in a straight line, each one overlapping the previous by about a third, to make a strip roughly 130 mm long.
- Press the overlaps down lightly with a fingertip so the strip holds together as one piece.
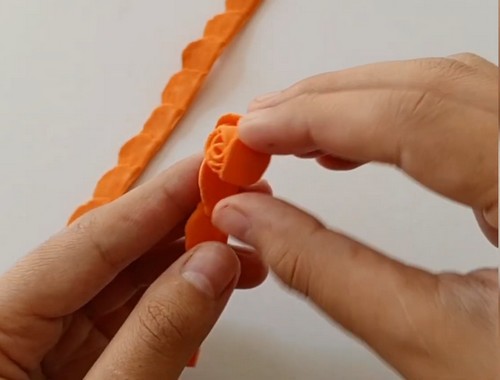
- Starting at one end, roll the strip up tightly for the first two petals to form the closed centre.
- Continue rolling with less pressure so the outer petals stand away from the core.
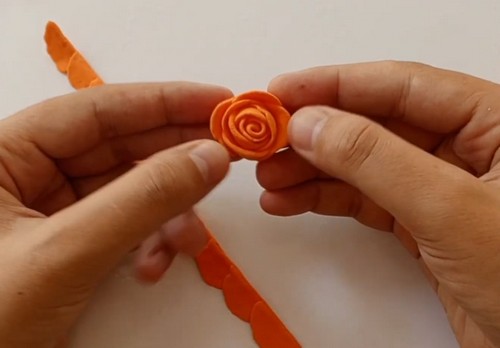
- Pinch off any excess clay at the base and flatten the underside so the rose sits at 22 mm across and 12 mm deep.
- Curl the top edge of the outer three petals outward with a fingertip.
- Repeat the full sequence for the second rose.
Set the Hardware Before Drying
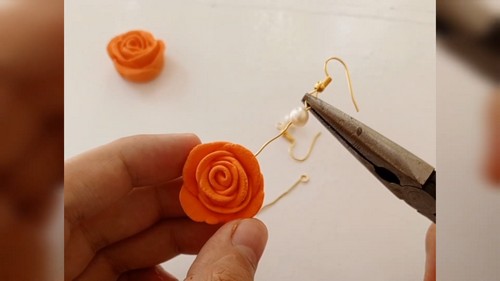
- Thread a 4 mm pearl onto a head pin and slide it to the flat head.
- Grip the pin 8 mm above the pearl with round-nose pliers and bend the wire to a 90 degree angle.
- Wrap the wire around the plier jaw to form a closed loop, then trim the tail flush with flush cutters or the blade of your pliers.
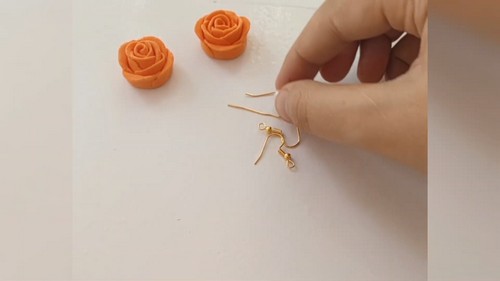
- Open the loop on the earring hook sideways, hook the pearl unit into it, and close it sideways again.
- Push the sharp end of the head pin down through the centre of the rose from the top until the pearl seats against the petals, with 4 mm of pin projecting from the base. Do this while the clay is still soft, since a dried rose will chip rather than pierce.
- Bend the projecting 4 mm of pin flat against the underside of the rose and press it into the clay so it anchors.
- Smooth the base with a damp fingertip to close the entry hole.
Drying and Sealing
- Stand the earrings rose-up in a foam block or egg carton and leave them at room temperature for 24 to 48 hours. Thin outer petals will feel dry in a few hours, but the wound core is solid clay and needs the full window. Turn the pair after the first 12 hours. Keep them off a radiator and out of direct sun, since fast surface drying while the core is still wet is what cracks the centre. The rose is bone dry when it feels room temperature rather than cool against your lip.
- Sealing is structural, not decorative. Unsealed air-dry clay pulls moisture from humid air and from skin, and a softened rose loses its petal edges within a season. Two thin coats of water-based acrylic varnish, dried an hour apart, beat one heavy coat. Cover the underside and the pin anchor as well as the petals. Use polyurethane instead if you wear these several times a week. Sealed air-dry clay is water-resistant, not waterproof.
Colouring and Finishing
Sand only if a petal edge dried ragged, and use 400 grit dry with almost no pressure. Air-dry clay cuts away much faster than polymer, and a petal edge is 1 mm thick to begin with. Load the round brush with pigment, tap the excess onto scrap paper, then work colour into the recesses between the petals and along the outer curled edges. Build in two or three passes. Let the pigment sit for ten minutes before varnishing, and lay the first coat down in one direction without going back over it, since a wet brush dragged twice lifts the powder straight off.
Where Makers Go Wrong
- The strip firms up while you are still laying it out. Air-dry clay skins over in about ten minutes on a warm day, and a strip that has sat too long cracks along the outer petals as you roll it rather than curving. Lay out and roll one rose at a time, start to finish.
- The second rose comes out larger than the first. Nobody rolls 24 identical balls by eye, and the difference compounds across twelve overlapping petals. Weigh the first ball on a kitchen scale, or split the cylinder in half before cutting so each rose gets the same mass.
- The pigment vanishes under the varnish. Eyeshadow sits on the surface as loose powder with nothing binding it, so a laden brush moves it into a muddy smear. Mist a light fixative or spray varnish first, then brush the remaining coats.
- The anchored pin works loose months later. The clay shrinks slightly as it dries and grips the pin less tightly than it did when you set it. Add a drop of two-part epoxy at the base of the pin once the rose is bone dry and before you seal.
Variations
| Version | What changes | Notes |
|---|---|---|
| Two-tone rose | Use pale clay for the first six petals and a deeper shade for the outer six | Reads like a real garden rose, where the centre is lighter |
| Cluster stud | Three 12 mm roses on a flat pad instead of one dangle | Sits flush to the lobe, better under headphones |
| Rose and chain drop | Add a 20 mm chain between the pearl and the hook | Increases movement without adding weight to the clay |
Care
- Take these off before you wash your face, since the wound core wicks water through any gap in the varnish.
- Store them flat rather than hanging, so the outer petals do not press against a hard surface.
- Re-varnish the base and pin anchor once a year, as that is the first place the seal wears.
- Keep them out of a hot car, because warm air-dry clay does not soften but the varnish can go tacky and print.
- If a petal edge chips, fill it with a scrap of the same clay mixed to a paste with water rather than glue.
Quick Answers
- Can I make these with polymer clay instead? Yes, and the build is identical up to the hardware. Set the pin before baking, then cure at your brand’s stated temperature. Skip the varnish entirely unless you want gloss.
- My rose cracked at the centre while drying. Can it be saved? Fill the crack with clay slip made from the same clay and water, let it dry a further 12 hours, then sand flush. A crack in the core will keep opening if you only seal over it.
- Can I use nail polish to seal them? No. Solvent-based finishes react with air-dry clay and stay tacky or yellow within weeks. Stick to water-based varnish or polyurethane.
- What if I do not have head pins? A 21 gauge wire cut to 50 mm with a small loop turned at one end does the same job. The loop replaces the flat head and stops the pearl sliding off.
Leave a Reply