Chunky Polymer Clay Rings DIY How to Make
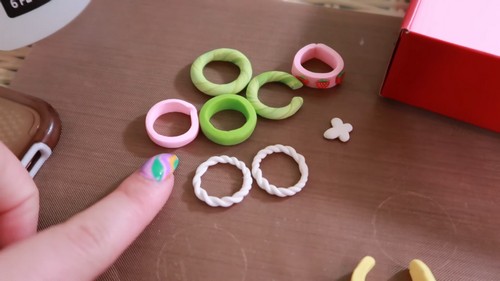
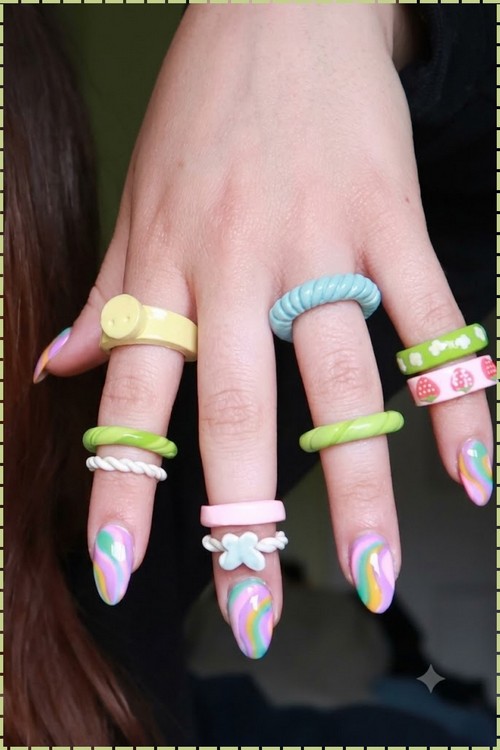
Your own finger sets the size of every band here, since each 60 mm polymer clay strand wraps around it before you cut and join the ends. Four chunky tops follow, from bubbly texture and a face or flower to fruit cane slices and a twisted braid.
Bands sit flat and thin against the finger, while raised designs add height above the base. Polymer clay rings come in solid bands, stacked shapes, and sculpted tops with added texture or cut details.
Chunky Polymer Clay Rings
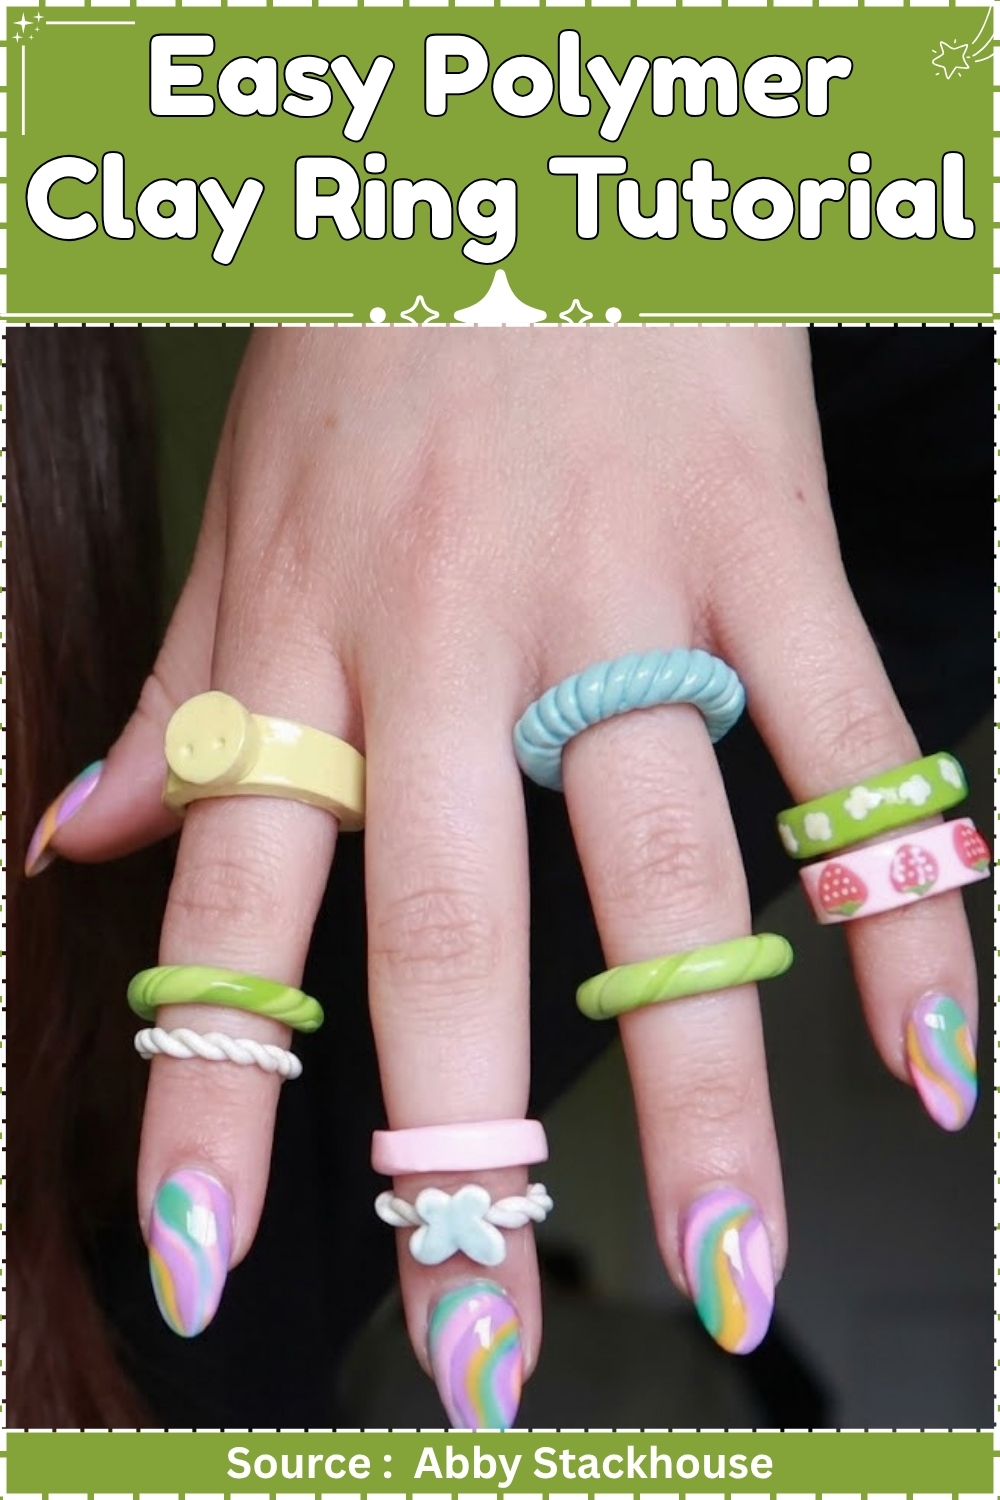
The clay bakes firm and holds its shape well, though thinner sections stay slightly more fragile than the thicker body. Most designs are built in one piece, with surface details pressed or shaped on before baking.
The one thing that separates a ring that sells from one that sits in a bowl at home is the join. A visible seam on the band is the first thing a customer finds when they pick it up. The smoothing step in Style 1 is not optional even if the ring looks fine before baking.
Mode B: Pricing and Presentation Note
A set of four different styles takes roughly 45 minutes of active work plus cure time. At a modest rate of £12–£15 per hour for skilled craft labour, and accounting for clay, glaze, and packaging, a fair floor price for a single ring sits around £6–£8. Bundles of three sell well at £16–£18 and move faster than singles at markets. Card them individually on kraft earring cards folded to size, or place a set of four in a small kraft box with tissue paper and a printed care card. A plain manila tag listing the clay type and glaze is enough; it reassures buyers who worry about waterproofing.
Materials and Tools
Essential
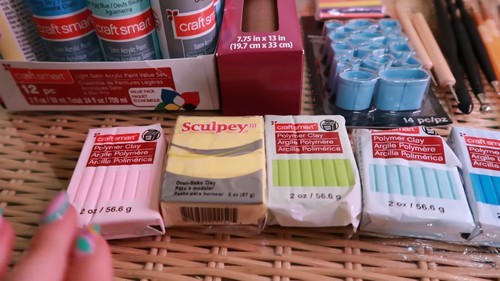
- Oven-bake polymer clay in assorted pastel or spring colours
- White polymer clay (for twisted style and painted designs)
- Rolling pin
- X-Acto knife or small clay cutting tool
- Needle tool
- Balling tool
- Blending tool
- Small flower and circle cookie cutters
- Pre-made polymer clay fruit cane slices
- Translucent Liquid Sculpey (bakeable liquid clay adhesive)
- Isopropyl alcohol
- Nail polish remover
- Q-tips
- Baking tray lined with cardstock or parchment
- Aluminium foil (for tenting)
- Oven thermometer
- Glossy glaze (Triple Thick or equivalent polymer-safe gloss)
- Paintbrushes, at least one fine and one medium flat
Nice to Have
- Acrylic paints in colours matching your clay palette
- Tile or glass work surface
- Small butterfly or accent cutters for the twisted style
Colour Recipes
- These work as starting points. Adjust by eye under natural light before committing to a full batch.
- Soft Coral: 3 parts white to 1 part orange, small pinch of red. Warm and reads well in photographs.
- Sage Green: 2 parts white to 1 part green, tiny pinch of yellow. Keeps the pastel feel without going grey.
- Lavender: 3 parts white to 1 part purple. Go lighter than you think you need; it deepens slightly after baking.
- Warm Cream (for twisted style): plain white straight from the block, no mixing needed.
The Build
Preparing to Work
- Wash your hands and dry them thoroughly.
- Wipe down your work surface with a damp cloth and let it dry before laying down any clay.
- Condition each colour block briefly: fold and press it six to eight times until it moves without cracking at the edges.
- Keep each colour separate until needed.
Style 1: Textured Bubbly Ring
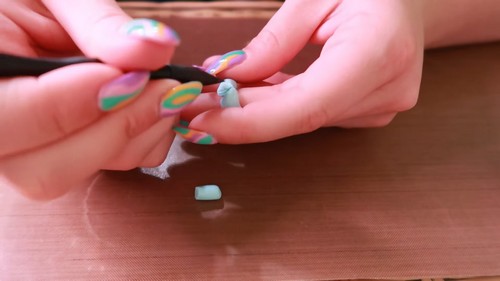
- Cut a section of conditioned clay roughly 8 mm wide and 4 mm thick.
- Roll it between your palms into a smooth snake strand approximately 60 mm long.
- Wrap the strand loosely around the finger you are sizing for and mark the overlap point with a fingernail.
- Cut straight across at the mark.
- Bring the two cut ends together and press lightly to join.
- Use the blending tool or a fingertip to smooth the join until the seam disappears. Rotate the band and check from every angle.
- Lay the ring flat on the work surface with the join at the back.
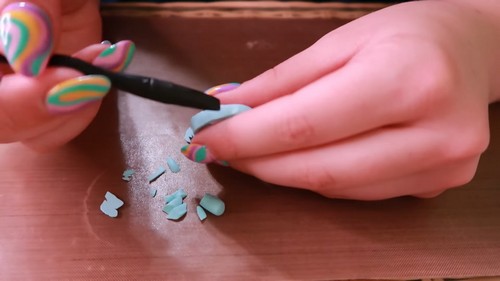
- Press the needle tool straight down into the surface at regular 2 mm intervals all the way around the band, working in rows until the entire outer surface is covered in neat round indentations.
- Place on the lined baking tray.
Style 2: Face or Flower Ring
- Build and join a band following Style 1 steps 1 through 7, smoothing completely before adding any top detail.
- Roll a small ball of clay approximately 12 mm across in the same or a contrasting colour.
- Flatten the ball to a disc roughly 3 mm thick.
- Cut a clean circle or flower shape using the cookie cutter, pressing straight down with no rocking motion.
- Press the shape lightly onto the top centre of the band.
- Use the balling tool to blend the edges of the disc into the band surface so the join is seamless.
- For a smiley face: press two small round indentations for eyes with the small end of the balling tool, then use the needle tool to draw a curved line for the mouth.
- For a flower: use the needle tool to score petal lines from the centre outward.
- Place on the lined baking tray.
Style 3: Fruit Cane Ring
- Build and join a band following Style 1 steps 1 through 7.
- Apply a thin, even coat of Translucent Liquid Sculpey to the top surface of the band with a fine brush, covering an area slightly larger than your cane slice.
- Press one or two fruit cane slices firmly onto the coated area, flat face down.
- Press gently around the edges of each slice to seat it without distorting the cane pattern.
- Place on the lined baking tray.
Style 4: Twisted Braid Ring
- Roll two thin snake strands of white clay, each approximately 3 mm thick and 70 mm long.
- Lay the two strands side by side and pinch one end together.
- Twist the strands around each other with even tension for the full length, keeping the twist tight and consistent.
- Wrap the twisted strand around the sizing finger and cut to fit.
- Press and blend the two cut ends together at the join, smoothing until the join reads as part of the twist pattern.
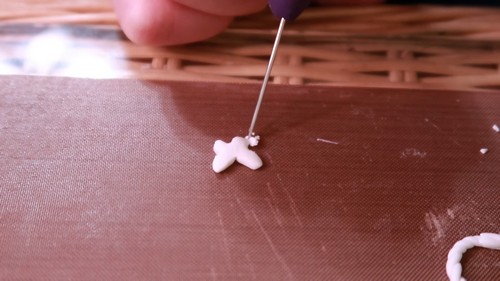
- If adding a pendant detail: cut a small butterfly or accent shape from a contrasting colour at 2 mm thickness, and press it onto the top of the band with the blending tool to secure.
- Place on the lined baking tray.
Cure
- Polymer clay brand determines both temperature and time. An oven thermometer is not optional: domestic ovens run 15–25 degrees off their dial, and that gap is the difference between a ring that flexes and one that snaps.
- Sculpey Premo or Soufflé: 275°F / 130°C for 30 minutes. These are the most likely brands given the pastel colour range in the video.
- Sculpey Original or Super Sculpey: 275°F / 130°C for 15 minutes per 6 mm of thickness.
- Fimo: 230°F / 110°C for 30 minutes.
- Cernit: 230°F / 110°C for 30 minutes.
- If you are using mixed brands in one batch, bake at the higher of the two temperatures.
- Line the tray with cardstock or parchment, never bare metal. Tent the rings loosely with aluminium foil to prevent colour shift on the exposed top surfaces. Calculate time from the thickest point on the tray, not from piece count. Longer at the correct temperature is always safer than shorter. Polymer does not degrade until around 350°F / 175°C.
Cleaning After Baking
- Remove the tray from the oven and allow the rings to cool completely at room temperature before touching them.
- For coloured clay rings: dip a Q-tip in isopropyl alcohol and wipe the surface gently to remove any dust or residue baked onto the surface. Do not use nail polish remover on coloured clay; it strips pigment and leaves white streaks that cannot be reversed.
- For white clay rings: nail polish remover on a Q-tip works well and will not affect the surface.
- If painting any white clay rings with acrylic paint details, do so now, after cleaning and before glazing. Let the paint dry fully before the next step.
Finishing
- Polymer clay rings do not require sanding unless a surface imperfection needs removing. If sanding is needed, use wet-dry sandpaper starting at 400 grit, then 800, then 1000, with water. Dry thoroughly before glazing.
- Apply Triple Thick or another polymer-compatible gloss glaze with a medium flat brush in one even coat. Let it dry completely, at least two hours. Apply a second coat in the opposite direction. Allow the finished rings to dry overnight before wearing, selling, or packaging. Rushing the glaze is the single most common reason rings arrive at a market with a tacky surface.
- Do not use regular nail polish as a sealer. It stays tacky on polymer clay and never fully cures.
Presentation
Card each ring on a folded kraft card cut to 50 x 70 mm with a ring hole punched near the top. A small sticker or stamped logo on the front of the card is enough branding. For a gift set of four, line a small kraft box with white or ivory tissue, place the rings in a 2×2 grid, and add a folded note card with basic care instructions. Photograph sets on a plain linen cloth or a cream ceramic tile for a consistent look across your shop listings.
Where Makers Go Wrong
- Not smoothing the join before adding detail. Decoration applied over an unsmoothed seam locks the flaw in. The texture or cane slice will not hide it; it will frame it. Smooth first, decorate second, every time.
- Sizing to the wrong finger. Rings sized off the index finger will not fit the ring finger. Decide which finger the ring is for before wrapping and cutting the band. A ring that is 1 mm too tight cannot be stretched after baking.
- Applying glaze before the paint is dry. Acrylic paint that has not cured traps moisture under the glaze and turns cloudy within days. Twenty minutes under a lamp is not dry. Wait until the painted surface is cool to the touch and shows no sheen.
- Skimping on the second glaze coat. One coat of Triple Thick protects; two coats protect and last. A ring worn daily needs the second coat, especially around the band where it contacts the finger.
Variations
| Style | Change | Effect |
|---|---|---|
| Mixed-colour twist | Use two contrasting colours instead of two white strands | Braid pattern becomes a colour feature rather than a texture |
| Stamped band | Press a rubber stamp or textured mat into the band before adding any top detail | Adds an all-over pattern without tools beyond what you have |
| Stacked cane slices | Cover the full top surface of the band with cane slices edge to edge | More graphic, suits a market display better than a single centred slice |
Care
- Keep rings away from prolonged water contact; the glaze is water-resistant, not waterproof.
- Remove before washing hands or swimming.
- Store flat, not stacked, to prevent the glaze surface from picking up impressions.
- Wipe with a dry cloth if dusty.
Quick Answers
- Can I resize a ring after baking? No. Polymer clay cannot be re-softened once cured. Size carefully before baking; if in doubt, go slightly larger rather than smaller.
- What if my cane slices fall off after baking? The Translucent Liquid Sculpey was either applied too thin or the slice was not pressed firmly enough before baking. For repairs, re-adhere with a small drop of E6000 adhesive and let cure 24 hours.
- Will acrylic paint stick to baked polymer clay without a primer? Yes, directly onto the sanded or clean baked surface. Paint applied over glossy glaze will flake. Always paint before sealing, never after.