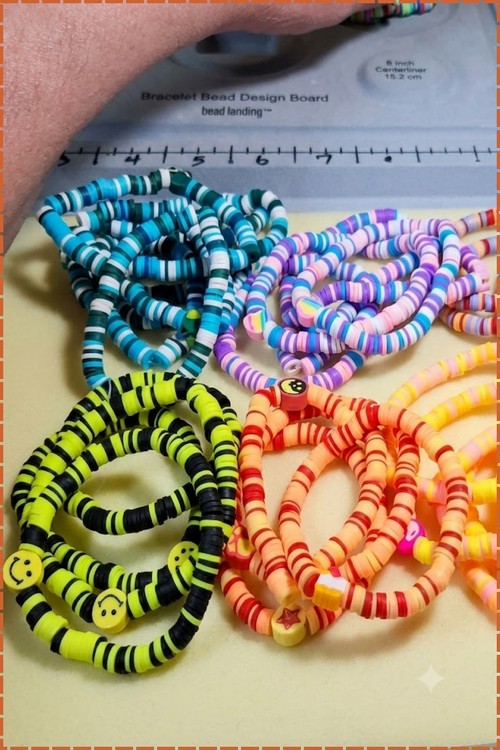
Best Polymer Clay For Earrings Idea – Liquid Clay Methods
Half the pairs that break at the join were made with the wrong clay for the job. This guide covers the best polymer clay for earrings and where liquid clay methods fit, from sealing a surface to bonding parts that will not hold on their own. Worth knowing before you bake.
Liquid clay pours instead of rolls, and that changes what you can make with it. It fills recesses, seals surfaces, bonds pieces that would otherwise crack apart at the join, and cures into a translucent finish you cannot get from block clay alone. This walks through which clays suit earrings and where liquid clay earns its place in the process. Read it before your next pair rather than after.
Polymer Clay Earrings
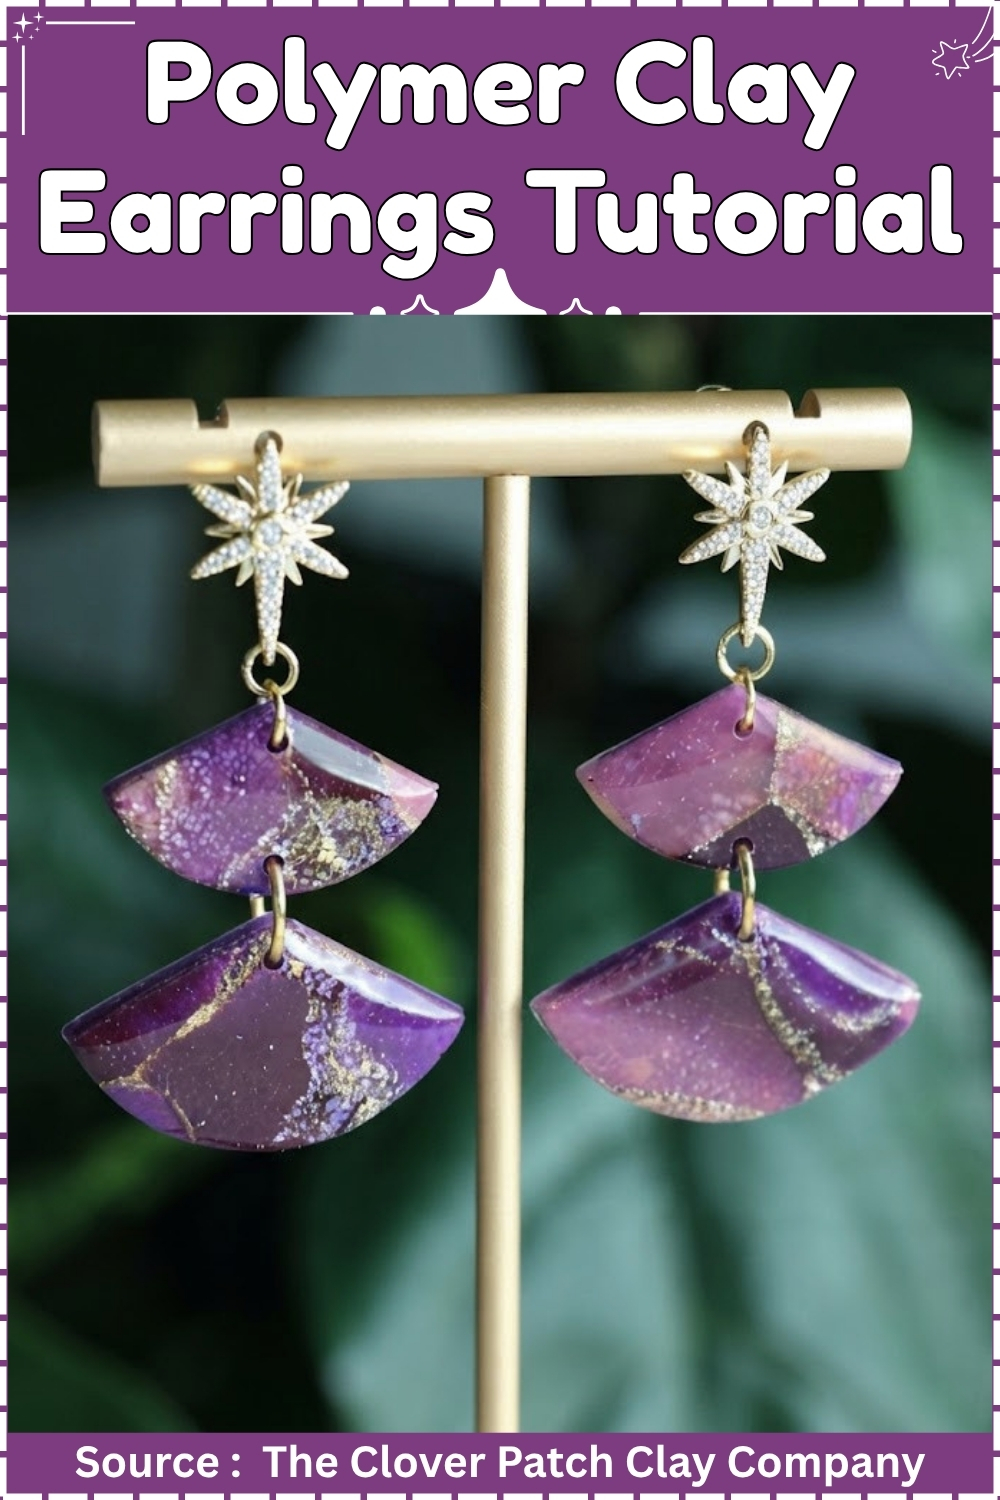
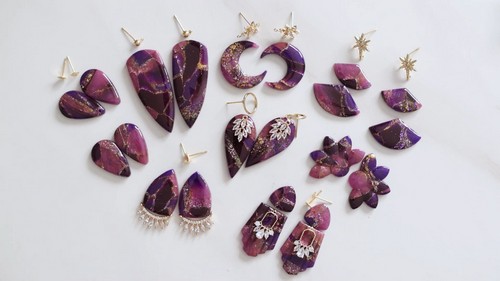
Building a mokume gane style cane with foil and alcohol ink produces a surface pattern that looks completely different on every slice, which makes it one of the more satisfying polymer clay techniques for earring production. This tutorial starts with plain white clay and layers in color, metallic foil, and glitter to build a single block that yields enough patterned material for an entire earring collection.
At a Glance
- Clay type: Polymer, oven cured (liquid clay method) or adhesive bonded (glue and resin methods)
- Brand: Sculpey Bake & Bond for liquid clay; Loctite Gel Control for glue; Lamino UV resin or two-part epoxy resin
- Tools: Nail file or 220 grit sandpaper, pliers, silicone work mat, UV lamp, old paintbrush, cotton swabs
Cure: Liquid clay method: 275°F / 130°C for 30 minutes. Epoxy resin: 24 hours. UV resin: 2 to 4 minutes under lamp. Glue: 10 minutes tack, full cure 24 hours
Finished size: Stud earring 10 to 14 mm, dangle or charm 20 to 30 mm
Hands-on time: 10 to 20 minutes per method, per batch
Total time: 30 minutes (UV resin or glue) to 25 hours (epoxy resin or liquid clay with full bake)
Difficulty: Easy
Materials and Tools
Essential
- Nickel-free or surgical steel earring posts with a flat pad, minimum 6 mm pad diameter
- Nail file or 220 grit sandpaper
- Flat-nose or chain-nose pliers (no serrations on the jaw face)
- Silicone work mat or silicone baking sheet
- Cotton swabs
- One of: Loctite Gel Control super glue, two-part epoxy resin, Lamino UV resin, or Sculpey Bake & Bond liquid polymer clay
- Old paintbrush (for resin and liquid clay)
- Oven thermometer (liquid clay method)
- Glazed ceramic tile (liquid clay method)
- Aluminium foil (liquid clay method)
Nice to Have
- UV lamp (36 watt minimum for UV resin)
- Acetone in a small dropper bottle
- Toothpicks for adhesive placement
- Scrap polymer clay for the seamless backing option
- Silicone cups for mixing epoxy resin
- Heat gun or lighter for bubble removal
The Build
Method 1: Gel Super Glue
Preparing the Backing
- Hold the earring post pad with flat pliers and run a nail file across the pad face in one direction ten times.
- Wipe the roughened pad with a dry cotton swab to remove metal dust.
- Check the back face of the clay earring for any release residue from a mould or texture sheet, and rub it lightly with 400 grit dry sandpaper if the surface feels slick.
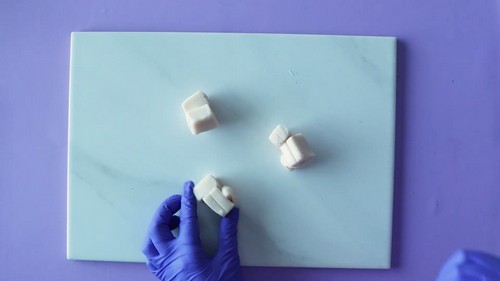
Gluing
- Squeeze a dot of Loctite Gel Control onto a piece of scrap cardstock, no larger than the pad diameter.
- Pick up the prepared post with pliers and dip the roughened pad face into the glue dot, coating it evenly.
- Press the pad firmly onto the back of the earring component and hold steady for 30 seconds.
- Run a dry cotton swab around the edge of the pad to lift any glue that has spread beyond the pad perimeter.
- Set the earring face-up on the silicone mat and leave it undisturbed for 24 hours.
Method 2: UV Resin
Preparing the Backing
- Rough up the earring post pad with a nail file, ten strokes in one direction.
- Wipe with a dry cotton swab.
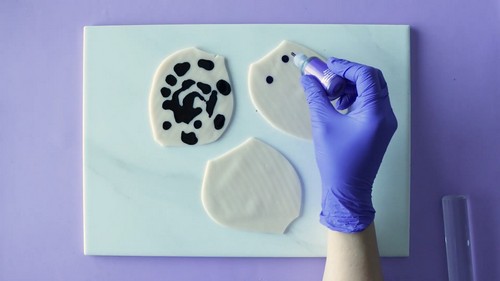
Applying UV Resin
- Pour a small amount of Lamino UV resin into a silicone cup.
- Paint a thin, even coat of resin onto the roughened pad using the old paintbrush.
- Pick up the post with pliers and press the coated pad onto the back of the earring component.
- Paint a second coat of UV resin over the entire back face of the earring, covering the pad perimeter and extending 2 mm onto the clay surface around it.
- Pass a lighter quickly, 5 cm above the surface, to bring air bubbles to the surface.
- Place the piece under the UV lamp for 2 minutes.
- Check for any tacky spots and cure for a further 2 minutes if needed.
- Dab a cotton swab in acetone and run it around the cured edge to remove any sticky residue.
Method 3: Two-Part Epoxy Resin
Mixing
- Pour equal measures of resin and hardener into two separate silicone cups.
- Pour the hardener into the resin cup.
- Stir continuously for 5 minutes with a toothpick, scraping the sides and bottom of the cup.
- Place the clay earring component face-down on the silicone mat.
Applying Epoxy Resin
- Rough up the post pad with a nail file, wipe clean.
- Paint a coat of mixed epoxy resin onto the roughened pad.
- Press the post onto the back of the earring component with pliers.
- Paint a full coat of mixed epoxy resin over the entire back face of the earring, including over the pad perimeter and 2 mm onto the clay.
- Pass a lighter quickly above the surface to pop bubbles.
- Leave the piece flat on the silicone mat for 24 hours.
Method 4: Liquid Polymer Clay, Direct Dot
Applying Bake and Bond
- Rough up the post pad with a nail file, wipe clean.
- Apply a small dot of Sculpey Bake & Bond to the roughened pad.
- Press the post onto the back of the earring component with pliers.
- Place the earring face-up on the ceramic tile and bake at 275°F / 130°C for 30 minutes.
- Cool completely on the tile before handling.
Method 5: Liquid Polymer Clay, Seamless Coverage
Applying the Clay Overlay
- Rough up the post pad and apply a dot of Bake & Bond as in Method 4, steps 1 to 2.
- Press the post onto the earring back with pliers.
- Roll a sheet of scrap polymer clay to 1 mm thick.
- Cut a piece of scrap clay to exactly the outline of the earring component.
- Lay the cut piece over the back of the earring, covering the post pad entirely.
- Smooth and blend the edges of the clay overlay into the sides of the earring using a silicone tipped tool or fingertip.
- Paint a thin coat of Bake & Bond around the perimeter where the overlay meets the earring edge.
- Bake at 275°F / 130°C for 30 minutes on the ceramic tile, face-up.
- Cool completely on the tile.
Baking
- This applies to Method 4 and Method 5 only. Glue and resin methods do not go in the oven.
- Bake at 275°F / 130°C for 30 minutes, calculated from the thickest point of the earring component, not from the clay overlay thickness. The overlay is 1 mm, but a 5 mm earring body needs the full 30 minutes.
- Bake on the glazed ceramic tile, face-up so the post is vertical and the pad bond is not under any pressure while the clay is hot. Never on bare metal.
- Tent with aluminium foil. Sit the oven thermometer beside the tile and read the temperature before the piece goes in. The Bake & Bond bond fails below 260°F, and a dial that reads 275°F may be running 20 degrees cold.
- Cool completely on the tile. The bond between the liquid clay and the post pad sets to full strength cold, not warm.
Finishing
- The earring front was already finished before any backing method began. Do not sand or buff the back of the earring after a resin method: cured resin resists abrasion and you will scratch the clay around the edge before you scratch the resin.
- For Method 4 and Method 5, after the piece has cooled, check the seam where the scrap clay overlay meets the earring body. If a slight ridge is visible, run wet 800 grit along the junction only, then buff the area with denim.
- No sealer is needed over cured polymer clay. No glaze over the resin back coat. Both are already sealed surfaces.
Where Makers Go Wrong
- Not roughing up the pad. The flat stamped surface of a commercial post pad is too smooth for any adhesive to grip long term. Glue, resin, and liquid clay all bond to the microscopic scratches a nail file leaves, not to the polished metal itself. A backing that passes the pinch test on day one can detach clean on day thirty.
- Choosing epoxy resin for tight turnaround. Two-part epoxy resin needs a full 24 hours before the earring can be packaged or worn. Mixed resin used before the 24-hour mark will have gelled but not fully crosslinked, and the bond will fail under the flex of daily wear within weeks.
- The scrap clay overlay traps air. In Method 5, pressing the overlay sheet down over the post creates an air pocket around the pad perimeter that expands in the oven and lifts the overlay edge. Rolling the overlay sheet onto the back from one side rather than pressing it flat from the centre avoids this.
- Acetone on uncured resin. The cleanup step in the UV resin method requires the piece to be fully cured before acetone touches it. Acetone on partially cured resin softens the surface and pulls the bond at the pad edge.
Variations
- Attach a flat-back crystal or cab alongside the post pad using the resin method: paint the resin, set the crystal and the post together, cure under the lamp. One step, two elements bonded simultaneously.
- Use tinted UV resin over the back face in Method 2 as a colour-matched backing coat. This hides the metal pad on translucent clay components where the post shows through from the front at certain angles.
Batch Running Order
- Work through one method per session. Mixing methods mid-batch leads to skipped roughing steps and confused cure times.
- For glue batches: rough all pads first, then glue all posts in sequence, then clean all edges.
- For UV resin batches: rough all pads, mix one cup of resin to cover the session, coat all pads, press all posts, do one full pass under the lamp before the second coat goes on.
- For liquid clay batches: set all posts with Bake & Bond dots, fill the tile to capacity before the oven goes on. A second batch can go onto the warm tile immediately after the first is removed.
- For epoxy batches: this method does not suit batching well. Mix resin for no more than ten earrings per cup, since the pot life is around 30 minutes and the mixture heats and sets faster in larger volumes. Work in groups of ten.
Care
Remove earrings before swimming, showering, or applying hairspray. Resin-backed earrings are permanent. Glue-backed earrings can be reattached if a post detaches: re-rough, re-glue. Store studs post-side down in a soft-lined tray so the pad bond does not bear any weight. Do not use nail polish remover near polymer earrings: it softens the clay surface around the post and weakens any resin coat.
Quick Answers
- Can I use super glue on an earring that will be worn in water? Standard super glue is not waterproof. Gel-based super glue has better water resistance than thin-formula, but neither will last through regular swimming. Use epoxy resin or the liquid polymer clay method for earrings worn near water.
- The post came off cleanly after a week. Can I reattach it? Yes, for any method except seamless liquid clay coverage. Clean both surfaces, re-rough the pad, and apply fresh adhesive. A clean detachment usually means the roughing step was skipped or the bond was disturbed before full cure.
- Does the scrap clay colour matter in Method 5? Only if the earring clay is translucent or very pale. A dark scrap overlay visible through translucent clay will read as a shadow on the front face. Use white scrap clay as the default.
- Can I apply earring backs before the first bake? Yes, for Methods 4 and 5. Press the post into position on unbaked clay with a Bake & Bond dot and bake the whole assembly together. This is actually the more secure option since the clay shrinks slightly around the post during cure.