Air-Dry Clay Rings Ideas In 4 Wearable Styles
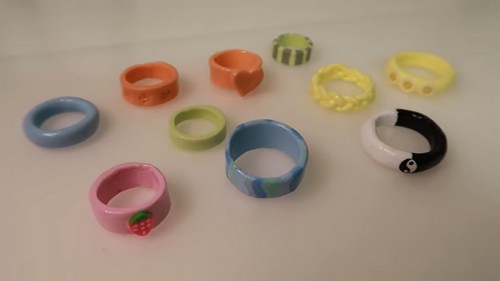
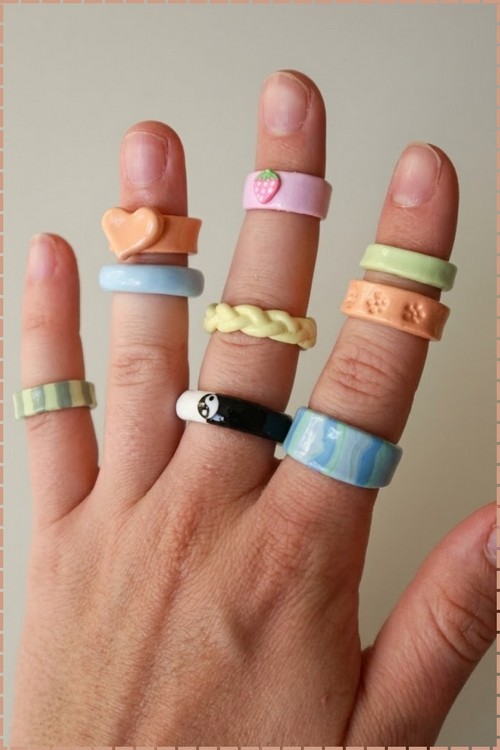
From one rolled strand of cold porcelain come four cute clay ring designs, including a flat band, a flower topped ring, a rounded band and a braid. Every band starts slightly oversized to cover the 15 to 20 percent the air-dry clay loses as it dries.
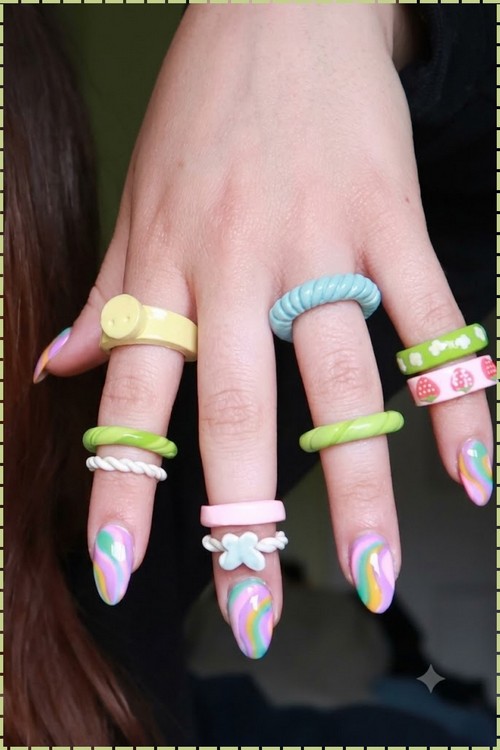
Raised tops, flat bands, and sculpted shapes give clay rings a range that spans simple to detailed. Most designs are built from a base band with added layers or texture pressed on top before baking.
Air-Dry Clay Rings
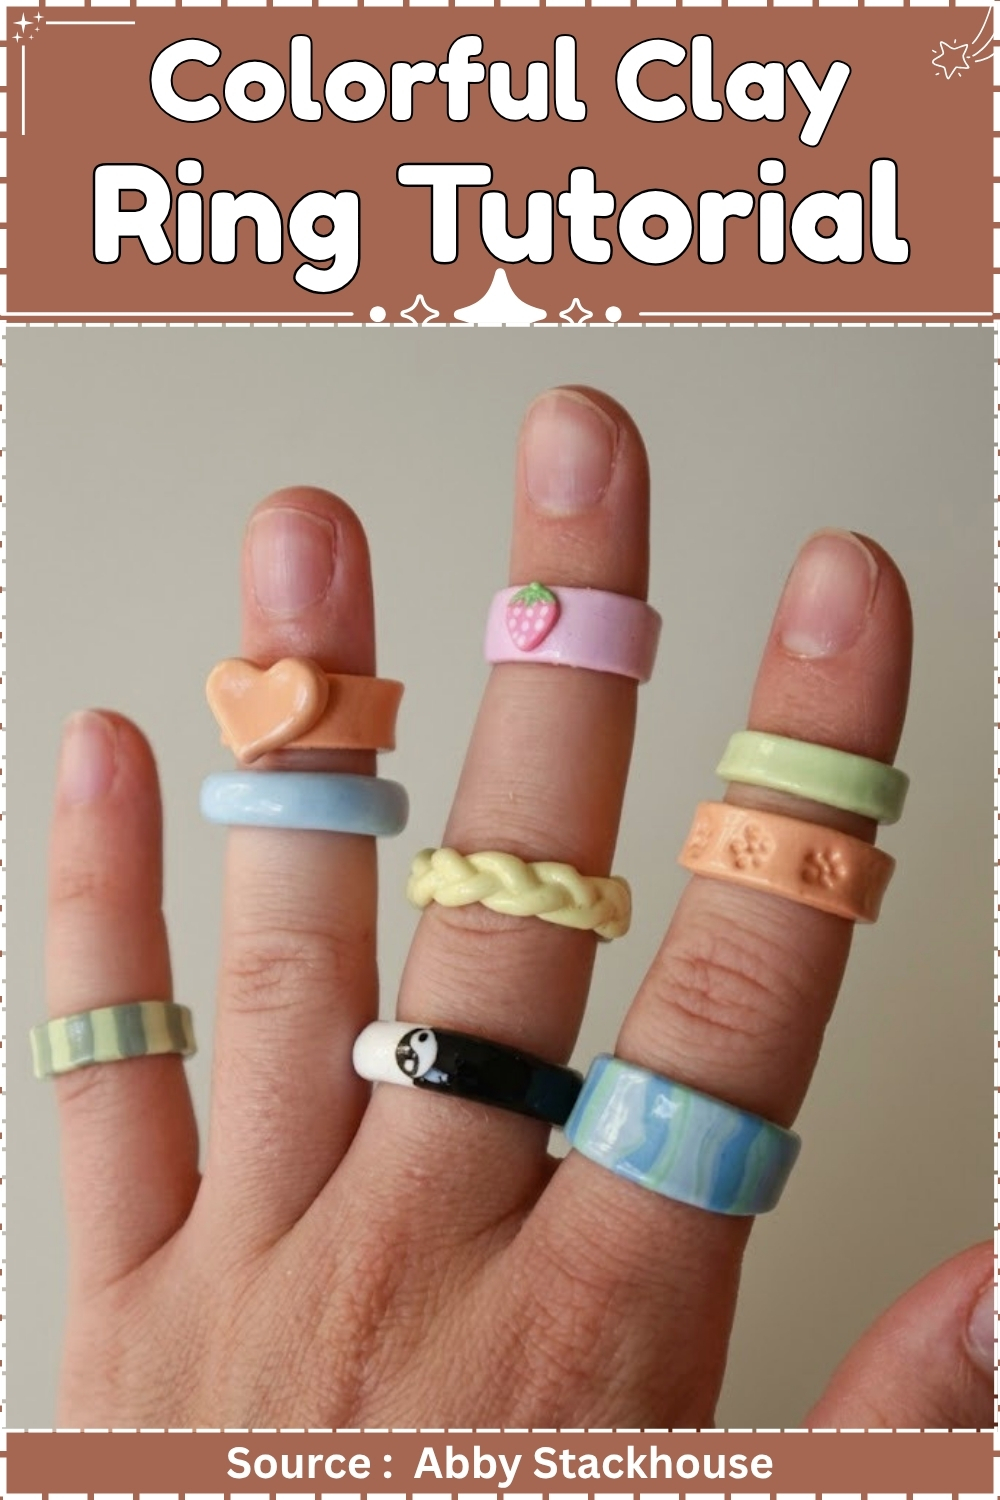
The clay hardens fully in the oven and the finished ring holds firm, though fine raised details can be more delicate than the main body. Surface finishes vary from matte to sealed gloss.
At a Glance
| Field | Detail |
|---|---|
| Clay type | Cold porcelain air-dry clay |
| Tools | Rolling pin or marker, cutting tool, Exacto knife, balling tool, blending tool, needle tool, nail file |
| Cure method | Air-dry, 24 hours minimum |
| Finished size | Ring band sized to finger, accounting for 15–20% shrinkage |
| Hands-on time | Approximately 45–60 minutes across all four styles |
| Total time | 48 hours including drying and final glaze cure |
| Difficulty | Intermediate |
What Makes This Worth the Effort
Four rings from a single session. That alone puts this project ahead of most clay tutorials, but the real draw is how differently each style behaves off the same base technique. The flat band and the rounded band look almost nothing alike despite sharing the same starting roll. The braided style develops texture through construction, not surface stamping. And the flower detail ring gets its depth from a single balling tool used in two sizes. These are not colour variations of the same ring. They are genuinely distinct design directions, and learning all four inside one session means you leave with a complete vocabulary for making rings rather than one locked method.
Cold porcelain rewards patience more than skill. It is cheap, it is forgiving while wet, and it dries overnight. The shrinkage it brings is real and must be accounted for from the first step. Size every ring deliberately larger than your finger. Ignore that rule once and you will have a beautiful ring that will not pass your knuckle.
Materials and Tools
Essential
- Cold porcelain air-dry clay
- Rolling pin (or a cylindrical marker as a substitute)
- Cutting or flattening tool
- Exacto knife
- Balling tool (dual-ended: small ball on one side, large on the other)
- Blending or silicone-tip tool
- Needle tool
- Hand lotion (plain, unscented — this is functional, not optional)
- Acrylic paint in colours of your choice
- Triple-thick glaze or Mod Podge Gloss Lustre Seal
- Airtight zip bags (multiple — you will need one per colour batch)
Nice to Have
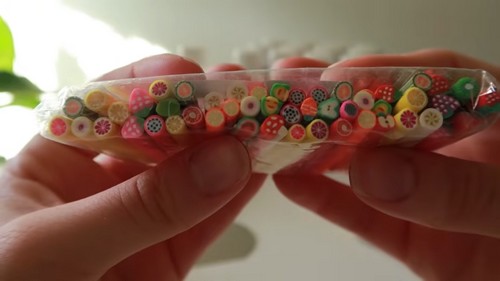
- Polymer clay fruit or flower canes for embellishment
- Small heart cookie cutter
- Silicone molds for embellishments
- Nail file (medium grit, for post-dry crack smoothing)
- Acrylic roller for even sheet thickness
Colour Recipes
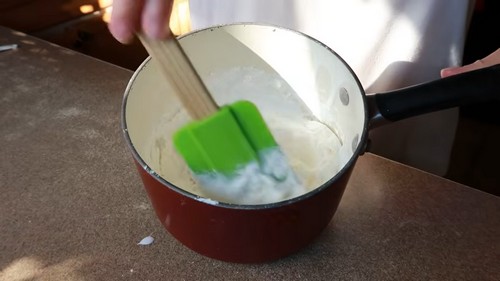
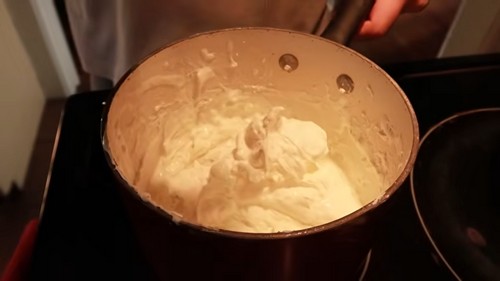
Mix acrylic paint directly into a small section of cold porcelain. Work the colour in by folding and kneading the clay against itself. A pea-sized drop of paint per walnut-sized portion of clay gives a saturated mid-tone. Add more paint in small increments for deeper colour. Return all unused clay immediately to an airtight bag after colouring — cold porcelain begins to skin over within minutes of air exposure.
Pastels: use a toothpick-tip amount of paint to a walnut-sized piece. The clay’s natural white does the lightening. Earth tones: mix raw sienna into white clay, then add a touch of burnt umber to push it warmer or cooler. Black: achieves full saturation with approximately a 1:4 ratio of black paint to clay by volume.
The Build
Style 1: Flat Band Ring
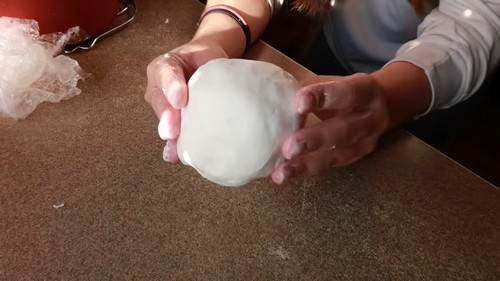
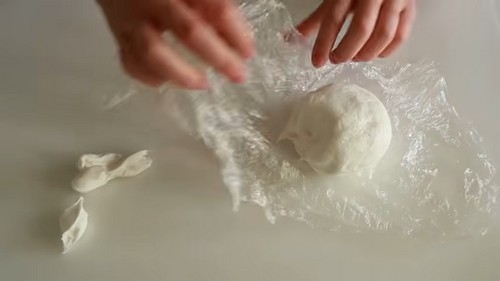
- Pinch off a piece of clay roughly the size of a large grape and seal the rest immediately in its airtight bag.
- Roll the clay into a snake shape approximately 10 cm long and 8 mm wide.
- Use a rolling pin to flatten the snake to approximately 2–3 mm thickness. Roll evenly with a single consistent pass in each direction.
- Use a cutting tool and Exacto knife to trim both long edges straight, producing a clean band 6–8 mm wide.
- Hold the band against the outside of the target finger and cut it to length, leaving an extra 5 mm on each end for the closure.
- Angle-cut each end on a 45-degree diagonal so the two faces will meet flush when pressed together.
- Wrap the band around the finger, press the angled ends firmly together, and smooth the join by applying a small amount of lotion to one fingertip and working the seam in circular motions until it disappears.
- Set the ring on a flat surface and allow it to rest for five minutes before removing it from the finger.
Style 2: Flower Detail Ring
- Complete Steps 1 through 8 from Style 1 to form the base band.
- Pinch off a separate small piece of clay, approximately the size of a chickpea, and roll it into a smooth ball.
- Flatten the ball to approximately 3 mm thickness using the rolling pin.
- Use the small end of the balling tool to press a centred indentation into the disc — this becomes the flower centre.
- Use the large end of the balling tool to press five evenly spaced impressions around the outer edge of the disc, curving and thinning the clay outward to form petals.
- Smooth any cracked petal edges with a lotion-tipped fingertip.
- Set the flower disc aside to firm slightly for ten minutes before attaching, so it holds its shape without distorting under pressure.
- After both pieces have dried fully (24 hours), attach the flower to the band using triple-thick glaze as adhesive. Press and hold for thirty seconds, then allow to cure flat for a further 24 hours before wearing.
Style 3: Rounded Band Ring
- Pinch off a piece of clay the size of a large grape and roll it into a round snake approximately 10 cm long and 5 mm in diameter. Do not flatten — keep the cross-section circular throughout.
- Wrap the snake around the target finger, leaving an extra 5 mm on each end.
- Cut each end at a matching angle and press them together, smoothing the seam with a lotion-tipped tool until no line remains.
- To create a wider flat-top look: while the clay is still on the finger, press the top section gently between two fingers until it flattens to approximately 10–12 mm wide. The sides remain rounded.
- If adding polymer clay cane embellishments (fruit slices, flower slices): cut cane slices to 1–1.5 mm thickness using the Exacto knife and press them directly into the softened flat top surface. Blend the outer edges lightly with the needle tool so they sit flush rather than sitting on top.
- Remove from the finger and dry flat for 24 hours.
Style 4: Braided Ring
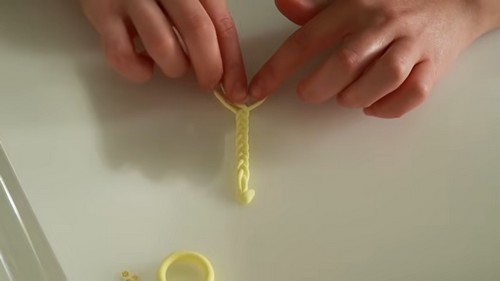
- Roll three equal snakes of clay, each approximately 8 cm long and 3 mm in diameter. They can be the same colour or three different colours.
- Pinch all three together firmly at the top and press that pinched end flat against a clean surface to anchor it while you work.
- Braid the three strands: cross the left strand over the centre, then the right strand over the new centre, repeating until the braid is long enough to wrap the target finger with 5 mm of overlap at each end.
- Pinch the braid firmly at the bottom to hold the pattern.
- Wrap the braid around the finger. Angle-cut both ends and press them together using the standard lotion-and-blending-tool closure. The texture of the braid makes this seam harder to hide — work it slowly.
- If the braid seam remains visible after blending, press a small, flat clay disc over the join on the inside of the band and smooth its edges flush.
- Remove carefully from the finger and dry flat for 24 hours.
Heart Detail Ring
- Roll and cut a flat band following Style 1, Steps 1 through 8.
- Roll a separate small piece of clay to 3 mm thickness.
- Press a small heart cookie cutter firmly through the clay sheet and lift cleanly.
- Smooth all cut edges with a lotion-tipped fingertip.
- Set the heart aside to dry alongside the band for 24 hours.
- After full drying, use triple-thick glaze to adhere the heart to the band. Hold in place for thirty seconds and allow the glaze to cure flat for 24 hours.
Drying and Sealing
- Cold porcelain is an air-dry clay. It does not go into an oven. Heat cracks it.
- Drying: Place finished rings on a flat, non-absorbent surface such as a ceramic tile or a sheet of baking paper. Allow to dry undisturbed for a minimum of 24 hours. Rings are thin pieces and will reach bone dry at the shorter end of the 24–72 hour window, but do not rush this. Moving or handling a ring before it is fully dry distorts the shape.
- Keep rings away from direct sunlight and away from heating vents. Even drying prevents warping. If a flat band is curling as it dries, gently press it flat and allow it to continue drying in that position.
- Crack repair: Cold porcelain shrinks 15–20% as it dries. Thin sections at joins and petal edges are where cracking appears first. After full drying, run a medium-grit nail file lightly over any cracked areas to smooth the surface before painting or sealing. Do not wet-sand cold porcelain — moisture reactivates the clay.
- Sealing: Sealed cold porcelain is water-resistant, not waterproof. Sealing is not decorative. Unprotected cold porcelain absorbs moisture from skin and eventually softens and cracks at pressure points. Apply two thin coats of triple-thick glaze or an acrylic varnish such as Liquitex Gloss Medium, allowing each coat to dry fully before applying the next. Seal every surface including the inner band. A second glaze application goes over any adhered embellishments to lock them in place.
- Allow the final glaze coat to cure for a full 24 hours before wearing.
Finishing
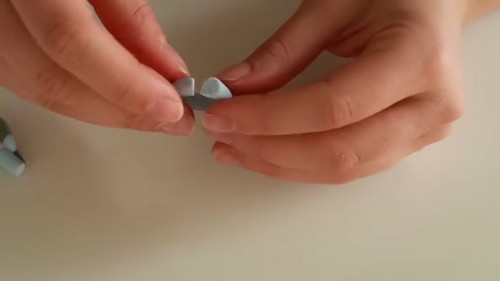
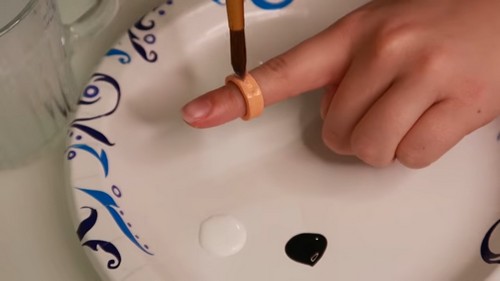
- After crack-filing and before sealing, paint any plain bands with acrylic paint. Apply in thin layers. Cold porcelain accepts paint well but thick coats will peel at flex points on the band. Two thin coats of paint, each dried completely, outperform one thick coat.
- No wet sanding. No buffing compound. Cold porcelain is soft enough to be sanded through quickly if pressure is applied carelessly — file only the raised cracks, not the surrounding surface.
Where Makers Go Wrong
- Not accounting for shrinkage when sizing. Cold porcelain contracts 15–20% during drying. A band that fits your finger perfectly when wet will be unwearable when dry. Size deliberately large. If you are between ring sizes, size up two full steps when making the wet band. This is not a mistake you can correct after drying.
- Skipping the seam angle cut. Butting two square-cut ends together creates a raised ridge that blending cannot fully erase because the clay is compressed rather than merged. The diagonal cut gives the two faces an overlapping surface to actually bond. A ridge at the seam also becomes a stress point, and the first place a ring breaks after drying is an unsealed, poorly joined seam.
- Sealing embellishments before they are fully adhered. Glaze sets quickly on the surface but takes time to bond fully underneath a heavy embellishment. Applying the topcoat too soon traps the embellishment in a movable glaze skin. The embellishment then shifts or detaches when the seam eventually flexes. Let the adhesive layer cure flat for the full 24 hours before applying the protective topcoat over it.
- Using lotion too heavily. A fingertip amount is the working amount. Excess lotion makes the clay surface greasy and slick, which prevents blending by allowing the tool to slide rather than drag the clay. It also disrupts paint adhesion later. Dab the lotion on, do not coat the clay.
- Painting before the ring is bone dry. Even a slightly moist cold porcelain ring will bleed paint into the clay rather than holding it on the surface. If the ring feels cool to the touch, it still contains moisture. Wait until it reaches room temperature uniformly before painting.
Variations
- Marbled two-colour band. Roll two contrasting snakes, twist them loosely together, then roll once to blend the surface slightly. Cut and form into a standard flat band. The interior of the band will be fully blended; the surface will show veining. Avoid over-rolling or the colours will fully merge.
- Stamped surface texture. After forming a flat band and before removing it from the finger, press a fine-mesh fabric scrap or a silicone texture mat against the top surface. The clay picks up the texture cleanly while still soft. Remove the texture tool and allow the ring to dry undisturbed.
- Layered stack set. Make three narrow flat bands (4 mm wide rather than 6–8 mm) in graduated colours from the same mix family. Wear them stacked on the same finger. Each ring is sized individually, since finger width varies across knuckle and base..
Care
Store away from other jewellery pieces that could chip the glaze coating. Remove rings before washing hands, doing dishes, or any water contact. If the glaze dulls, apply one fresh thin coat and allow 24 hours to cure before wearing. Do not leave cold porcelain rings in a hot car or direct sunlight for extended periods. A small crack in the band can be filled with a dot of fresh cold porcelain clay, smoothed, dried, and re-sealed.
Quick Answers
- Can I use regular air-dry clay instead of cold porcelain? Yes. Das, Crayola Air-Dry, and similar clays follow the same process, but they are denser and crack more aggressively around thin joins. Hollow out any thick sections and use the lotion-blending technique at every seam.
- The ring cracked along the seam during drying. Can I fix it? If the crack is surface-level, file it smooth, apply a thin bead of fresh cold porcelain mixed with a drop of water to the seam, smooth it flush, and allow it to dry again before sealing. If the ring has broken through entirely, use strong jewellery adhesive such as E6000 to re-join, clamp for 30 minutes, then seal over the repair.
- Can I paint the clay before shaping instead of after drying? Mixing pigment into the clay before shaping gives consistent colour through the piece and eliminates the risk of paint peeling from a surface coat. Acrylic paint works well for this. The trade-off is that shaped-and-painted rings cannot easily be repainted after drying without the new layer sitting visibly on top.
- Will the ring hold up to daily wear? With two coats of a hard-setting sealer such as triple-thick glaze, cold porcelain rings handle daily wear reasonably well. The weakest point is always the seam. Treat them as fashion rings rather than heirloom pieces: wear with care, remove for water contact, and re-seal once a year.