Clay Bead Bracelet Color Combinations – A Rose and Pearl Stretch Bracelet Made to Sell
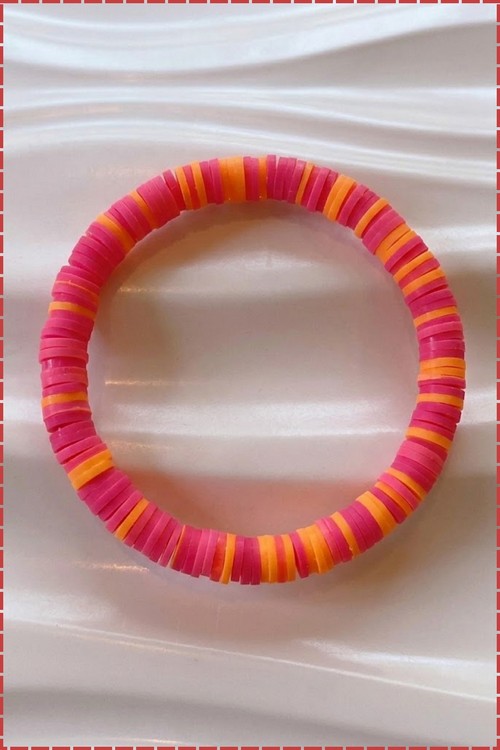
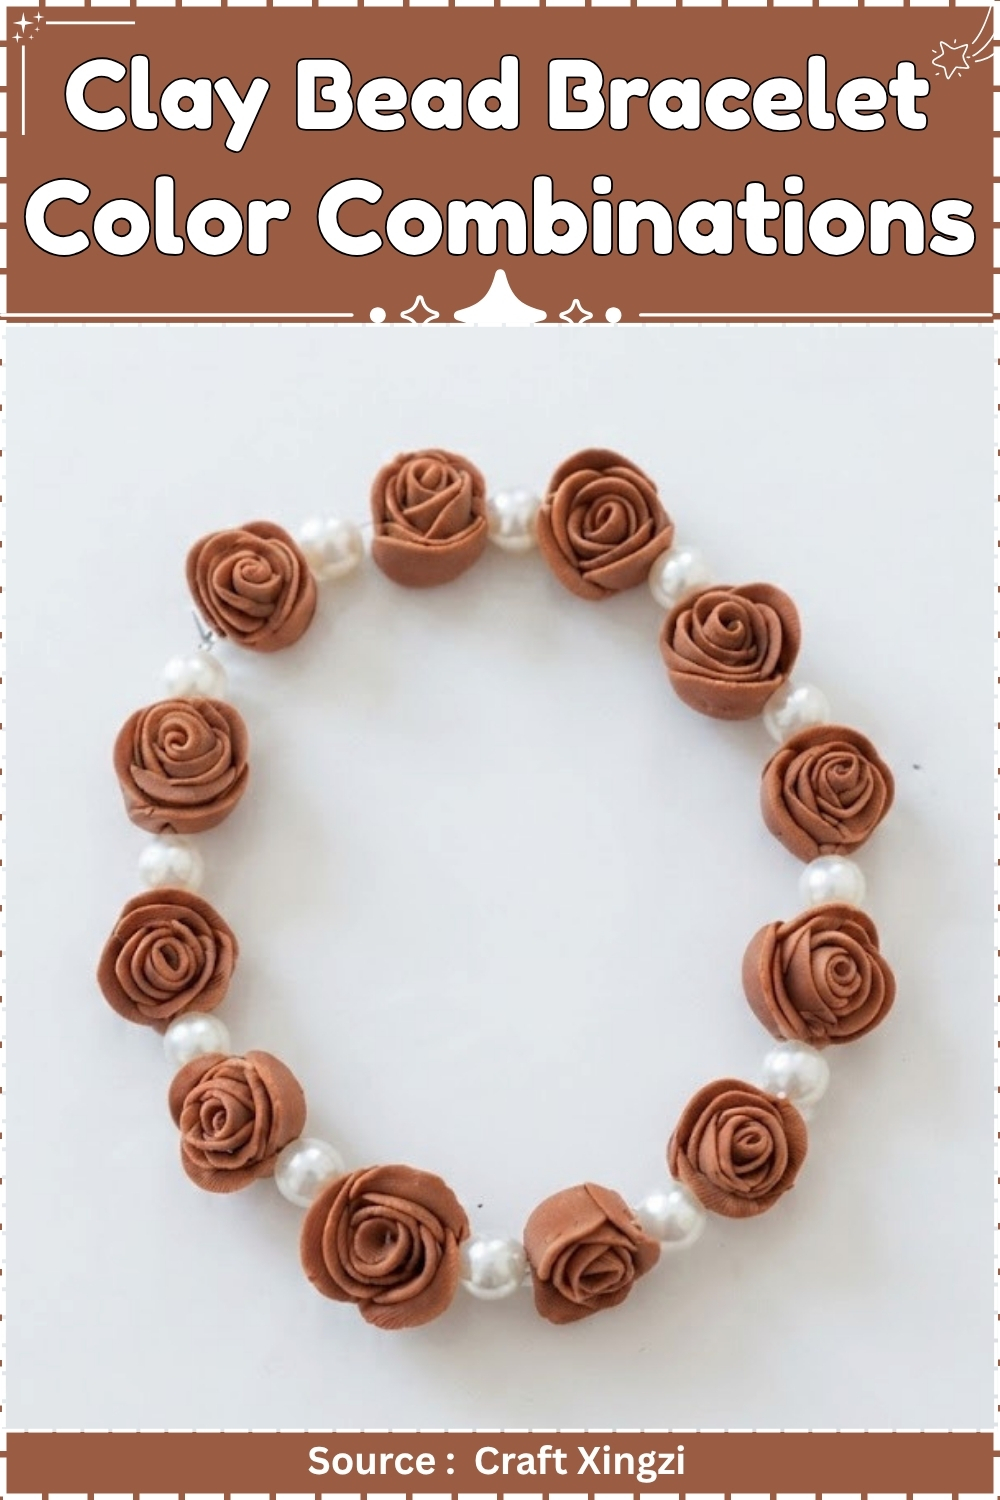
Clay bead bracelet color combinations that hold together instead of clashing, shown on a rose and pearl stretch design. Three colors is the working limit for most palettes, and pearls act as the break between them so the eye has somewhere to rest. Repeat the same combination across a batch and the whole set reads as intentional on a sale table.
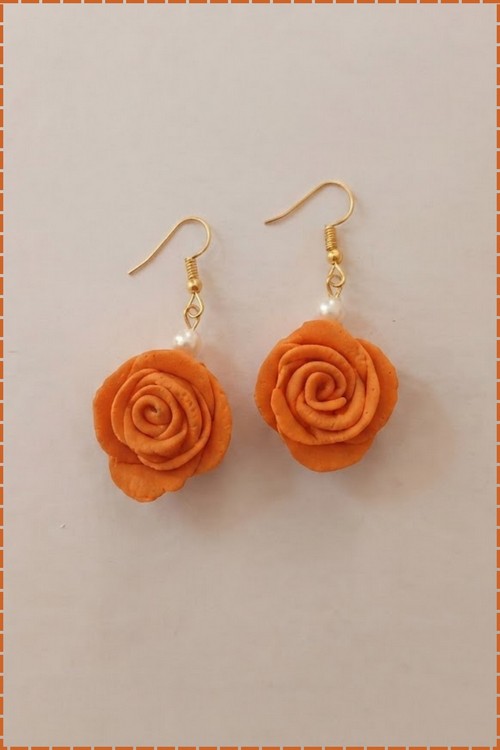
Terracotta tones paired with white pearls is one of those clay bead bracelet color combinations that lands somewhere between earthy and elegant without trying too hard. The roses here are built by rolling and stacking small clay discs rather than sculpting from a single piece, which gives each one a consistent spiral that reads clearly even at bead scale. Dropping a pearl between every rose keeps the bracelet from feeling heavy and lets the white pop against the warm brown in a way that a single color strand never would.
Clay Bead Bracelet Color Combinations
Materials and Tools
Essential
- Padico Grace resin clay, white
- Red and black clay colourant or oil paint
- White glass pearls, 8 mm, nine per bracelet
- Clear stretch elastic, 0.8 mm
- Needle tool, 1.2 mm shaft
- Pearl Ex mica powder in Interference Gold
- Soft flat brush, 6 mm
- Varathane water-based polyurethane, satin
- GS-Hypo Cement
- Ceramic tile
- Wire cooling rack
- Cling film
- 600 grit sandpaper
Nice to have
- Digital scale, 0.1 g
- Silicone petal-shaping tool
- Bead reamer
- Kraft display cards, 55 by 85 mm
- Cellophane bags, 70 by 100 mm
Colour Recipes and Colourways
- Blush pink: 20 parts white to 1 part red. Dusty mauve: the blush base plus a scrap of black no larger than a pinhead. Butter cream: 20 parts white, 1 part yellow, a trace of brown.
- Resin clay dries darker and semi-translucent, so mix everything paler than the shade you want. Colourways that move at a market: blush with pearl white, mauve with cream, butter with soft sage.
Making a Consistent Set
- Weigh the clay for the petals rather than eyeballing it. Nine roses at five petals each means 45 balls, and a scale set to 0.1 g gets you there faster than any amount of care by hand. Mix the full colour batch before you shape anything.
- Price it at three times your material cost or your hourly rate against 55 minutes, whichever comes out higher. Roses read as expensive. Do not undercut yourself because the shapes are small.
How to Make the Clay Rose Bracelet
The Roses
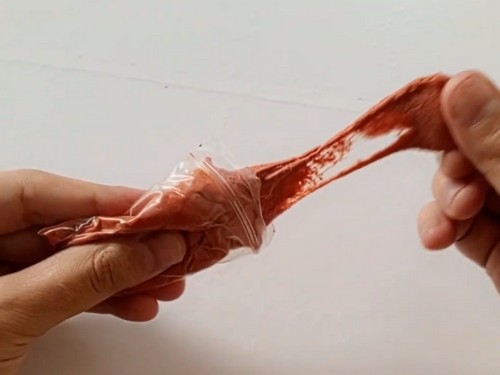
- Knead a walnut-sized piece of resin clay for one minute until it stops clinging to your fingers.
- Work the colourant through until no streaks remain at all.
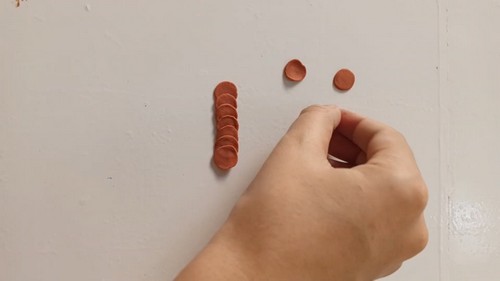
- Divide the clay into 45 balls at 5 mm each.
- Keep every ball you are not working on under cling film.
- Flatten one ball between your fingertips into a disc 8 mm across and 1 mm thick.
- Press along the top edge of the disc with your thumb to thin it further.
- Repeat for the remaining 44 balls.
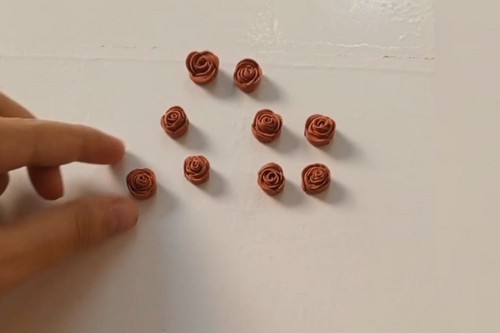
- Roll one disc into a tight tube to form the rose centre.
- Wrap a second disc around the tube with its thinned edge facing up, overlapping by half its width.
- Wrap the remaining three discs around in the same direction, each overlapping the previous petal by half.
- Pinch the base of the rose and twist away the excess clay.
- Curl the outer petal edges outward with the tip of the needle tool.
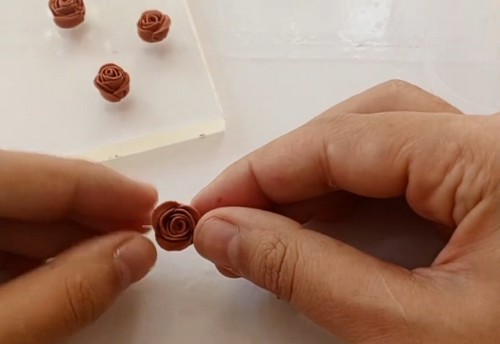
- Press the base flat against the tile until the rose measures 12 mm across.
- Repeat steps 8 to 13 for the remaining eight roses.
Piercing
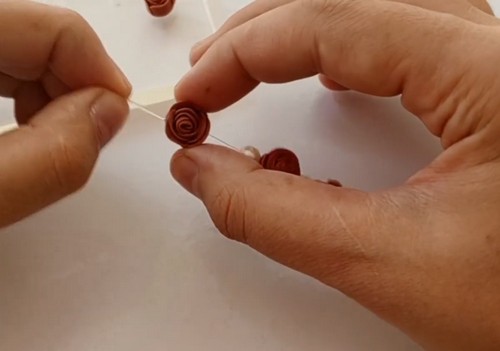
- Push the needle tool horizontally into the base of a rose, just below the lowest petal, and stop halfway through.
- Withdraw the tool, turn the rose, and pierce from the opposite side until the two channels meet.
- Reshape any petal crushed during piercing while the clay is still soft, since a distorted petal cannot be corrected once dry.
- Repeat for the remaining eight roses.
- Stand all nine roses base-down on the wire rack with 20 mm between them.
Drying and Sealing
- Leave the roses on the rack for 48 hours at room temperature, turning each one onto its side at the halfway mark. Keep them away from radiators, sunlight, and any draught that hits one side only.
- Resin clay shrinks as it dries. Expect the finished roses to come in slightly under 12 mm and the piercing channels to tighten.
- Sealing is structural on this piece, not decorative. Air-dry clay draws moisture from the air and from skin, and unsealed roses on a wrist will soften and crumble at the petal edges within a season.
- Brush on two thin coats of water-based polyurethane, allowing four hours between them. Cover the base and the inside of the hole as well as the petals. Give the second coat 24 hours before stringing.
- Sealed resin clay is water-resistant, not waterproof.
Finishing
- Sand nothing on the petals. Resin clay cuts away far faster than polymer, and a single pass with paper takes the crisp curl off a petal edge permanently.
- Work the 600 grit only across the flat base of each rose and around the rim of the piercing hole, using three or four light strokes. Dry sanding throughout, since water softens the surface of dried resin clay.
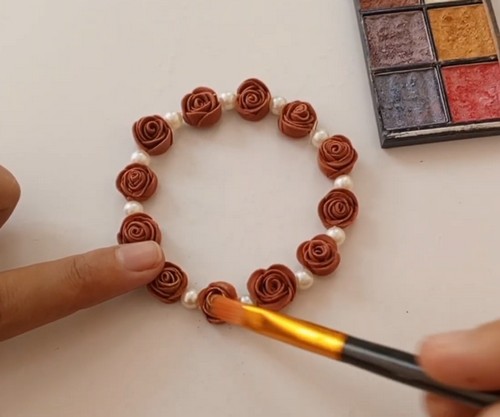
- Load the flat brush with Interference Gold, tap most of it off against the tile, then sweep it across the petal edges alone. Leave the recesses clean.
- Seal after the mica goes on, never before.
Stringing and Assembly
- Cut 320 mm of clear elastic. Pull it firmly between both hands along its full length four times, then let it rest for a minute before you thread anything.
- Run a bead reamer or a rolled scrap of 600 grit through each rose channel until the elastic passes without dragging on the sealer.
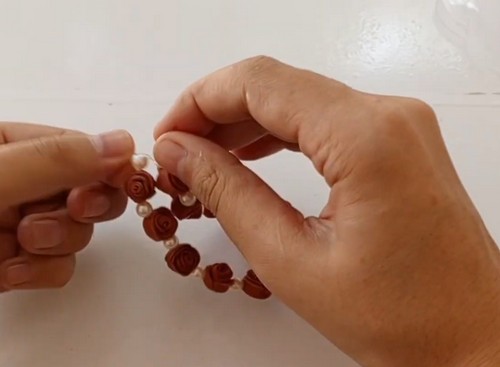
- String a rose, then a pearl, and continue alternating until all nine of each are on the cord. Bring the ends together with no slack and no stretch, which lands the strung length at 180 mm for an average adult wrist.
- Tie a surgeon’s knot, which is a square knot with a doubled first pass. Pull it tight, then tug each side of the bracelet outward twice to seat it fully.
- Apply a pinhead of GS-Hypo Cement to the knot and leave it one hour. Trim the tails to 2 mm and draw the knot inside the nearest glass pearl.
Presentation and Packaging
Card these rather than bagging them loose. A 55 by 85 mm kraft card with two punched holes takes the bracelet threaded through and flat, which stops the petals from pressing against each other in transit. Print your shop name on the front and three lines on the back: handmade air-dry clay, keep away from water, 180 mm stretch fit. Slide the carded bracelet into a cellophane bag. Buyers at a market table pick up what looks finished, and a rose bracelet lying in a heap reads as a craft project rather than a product.
Where Makers Go Wrong
- The colour keeps drifting across a batch. Resin clay darkens as it dries, so roses made on Tuesday sit visibly deeper than roses made on Sunday even from an identical recipe. Mix one batch for the entire run and keep it sealed, because there is no way to correct a mismatched rose after the fact.
- Mica lifts and streaks under the first sealer coat. A heavy load of powder sits on the surface rather than binding to it, and the brush pulls it into drag marks the moment wet polyurethane touches it. Tap the brush out until it looks almost empty, and float the first sealer coat on rather than working it back and forth.
- Sweat wears through at the hole before anywhere else. The channel is the one surface the sealer coats thinnest and the one that flexes every time the bracelet goes on, so moisture reaches raw clay there first. Nothing shows until a rose starts to feel chalky inside, by which point that rose is finished.
- Petal edges thin to almost nothing and dry brittle. The look depends on those edges being fine, and a rose that survived making will still chip if the bracelet travels loose in a bag. This is a judgement call rather than a mistake: thicker edges last longer and photograph worse.
Variations
| Variation | What changes | Notes |
|---|---|---|
| Rose and daisy alternating | Five flattened petal discs pressed around a yellow centre replace every second rose | Daisies dry flatter, so pierce them through the side rather than the base |
| Clasp version | Beading wire and crimps in place of elastic, with a surgical steel lobster clasp | Adds 15 mm to the cut length for the crimp tails |
| Single focal rose | One rose at the centre, pearls throughout the rest | Size the focal up to 18 mm so it carries the design alone |
Care
- Take the bracelet off before washing hands, since water reaching the piercing channel is what ends this piece.
- Keep perfume and hand cream off the petals, where the sealer film softens and goes tacky.
- Store it flat and alone, not stacked under other jewellery that presses the curled edges down.
- Add a fresh coat of polyurethane once a year, concentrating on the base of each rose.

Quick Answers
- Can I make these in polymer clay instead? Yes, and the roses will be far more durable at the petal edge. Bake at the manufacturer temperature for your brand, but note that the petals must be pierced before baking and that polymer roses this thin need supporting in a bed of cornstarch so they do not slump on the tray.
- My roses cracked at the base while drying. That is shrinkage against a base that was pressed too dense, and it cannot be repaired invisibly on a dried rose. Fill the crack with a smear of the same clay thinned with water, let it dry a further 24 hours, then hide the repair under the mica.
- Can I use Mod Podge instead of polyurethane? It will look fine and protect very little. Mod Podge stays slightly soluble and goes tacky against skin in warm weather, which is the wrong behaviour for something worn on a wrist all day.