How to make clay bead bracelets to sell, starting with the part most tutorials skip: making the same design twice. Pick two or three colorways and build a stock of each rather than one-off pieces, since buyers browse a coherent set faster than a scattered pile. Consistent bead count and knot method keep sizing predictable across every bracelet you list.
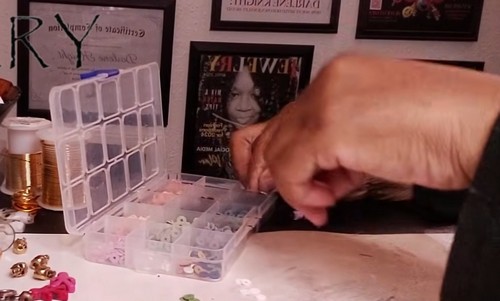
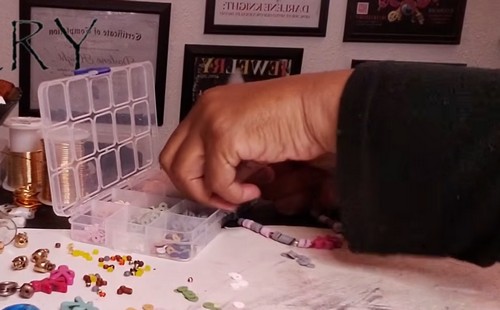
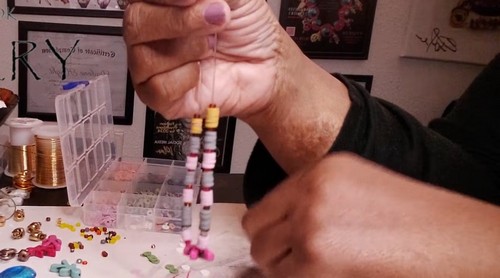
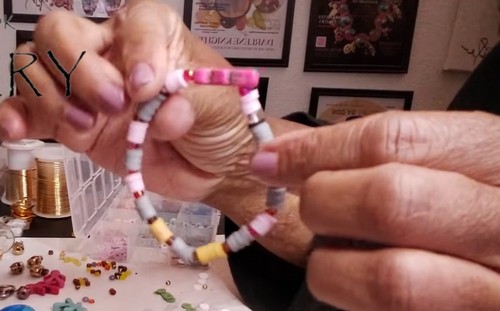
Flat heishi clay disc beads give bracelets a completely different feel from round beads because the discs sit tight against each other with almost no gap, creating a smooth band of color rather than a dotted line. Layering two bracelets with different color runs and adding a single figural charm bead to one of them is enough to make the set look intentional without needing any complex pattern planning. The plastic organizer tray in these shots is doing a lot of work, keeping each color sorted so the threading stays fast.
Clay Bead Bracelets to Sell
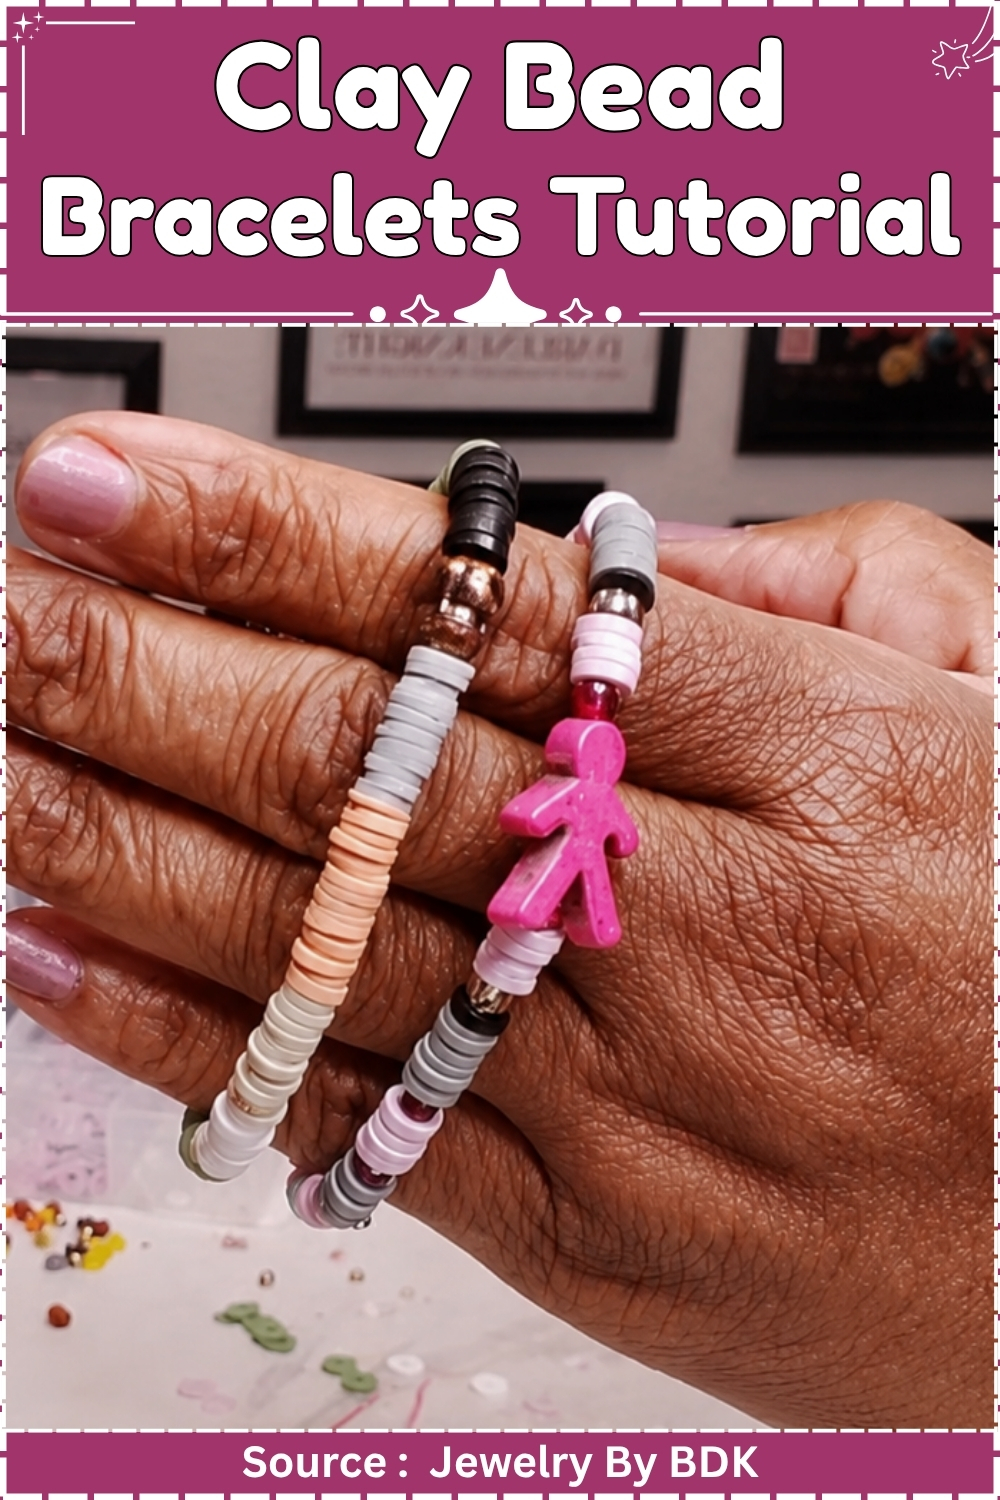
Materials and Tools
Essential
- Pre-made flat round clay heishi beads in assorted colours
- Focal beads: Buddha heads, face beads, or similar flat accent pieces
- 0.5 mm Stretch Magic clear elastic cord
- Big-eye or flexible beading needle
- Scissors
- Loctite Super Glue Gel
- Ruler or bracelet sizing board
Nice to Have
- Bead spinner bowl
- Craft clips or stitching clips
- Divided storage box for sorted bead colours
- Small metal charms for charm bracelet variations
- Tweezers with silicone tips for focal bead placement
Pricing the Labour
At 15 minutes per bracelet including setup and knotting, four bracelets complete in one hour. Material cost per bracelet runs $0.30 to $0.50 in clay beads and cord. At a $3 retail price, one hour of stringing produces $12 in revenue, which covers materials and returns roughly $9 to $10 in labour. Selling in sets of three at $8 moves more volume per transaction and raises the per-unit average to $2.67 while giving the buyer a visible deal. At craft fairs, a tiered display with single bracelets at $3 and sets of three at $8 consistently outsells single pricing alone.
Presentation
Display bracelets on a T-bar stand or rolled around a small wooden dowel at different heights so buyers can see the focal bead on each one without picking every bracelet up. Group by colour family rather than by bead type: a row of earthy tones together reads as a collection; a mixed row reads as overstock. Package sold bracelets in a small resealable cello bag, closed with a sticker or a small branded tag. For sets of three, use a kraft paper band to bundle them together: it presents as a gift-ready item without the cost of a box. A plain card tag with the bracelet name and care note (“remove before swimming, roll over the hand to put on”) adds perceived value for under $0.05 per unit.
The Build
Sorting and Planning
- Divide the clay bead stock into colour groups in a divided storage box before stringing any bracelet.
- Decide the bracelet palette: monochrome with one focal bead, two-colour alternating, or solid with a black spacer every fifth bead.
- Select the focal bead for the bracelet and set it aside.
Stringing the Main Beads
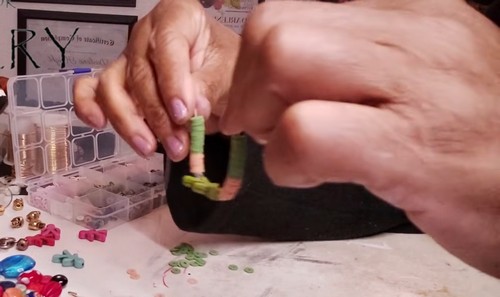
- Cut 30 cm of Stretch Magic.
- Pull the cord firmly along its full length, then release.
- Thread one end through the big-eye needle, leaving a 10 cm tail.
- Clip a craft clip onto the far end.
- Load the main colour beads into the bead spinner bowl.
- Spin the bowl and angle the needle tip into the moving beads to load them.
- Slide beads down toward the clip until the strung length reaches half the target: 9.5 cm.
Adding the Focal Bead
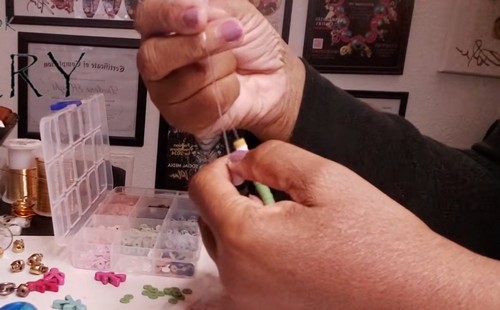
- Remove the needle from the spinner bowl.
- Thread the focal bead manually, checking that the hole runs parallel to the face so it hangs flat.
- Add one contrasting or neutral bead directly on each side of the focal bead.
- Return the needle to the spinner and load the second half of the main colour beads until the total strung length reaches 19 cm.
Knotting and Finishing
- Remove the needle and the clip.
- Tie the surgeon’s knot: right over left through the loop twice, then left over right through the loop once, pulling both ends in opposite directions until the knot seats against the adjacent beads.
- Touch the tip of the Loctite Gel tube to the knot, leaving a dot no larger than the knot itself.
- Hold the two neighbouring beads apart for 60 seconds while the surface tack sets.
- Leave the bracelet flat for 24 hours.
- Trim both tails to 2 mm with scissors.
- Draw the nearest bead over the knot so it seats inside the hole.
Where Makers Go Wrong
- The focal bead faces sideways on the finished bracelet. A flat focal bead threaded with the hole running front to back rather than side to side will hang perpendicular to the wrist and show its edge rather than its face. Check the hole orientation before threading: the hole must run parallel to the decorated face, not through it.
- The knot fails after the first month. An elastic knot without adhesive loosens each time the bracelet is pulled over a hand. By the second or third week the knot has worked itself loose enough to slip, and a bracelet that passed the pull test on day one fails in a buyer’s hands two weeks later. The glue step is not optional at a selling price point.
- Colour sorting done mid-session slows the batch. Searching through an unsorted bead pile for the next colour costs 30 seconds per bracelet and 10 minutes across a 20-bracelet session. Sort the full bead stock into the divided box once per restocking cycle, not per session.
Variations
- A charm bracelet version adds one or two small metal charms to the cord alongside the clay beads. Thread each charm on a 5 mm jump ring before stringing and treat the ring like a bead. The charm sits flush with the bead line rather than dangling loose, which keeps the bracelet flat on the wrist.
- A stacked children’s set uses the same beads at a shorter strung length: 16 cm for a child’s wrist, three bracelets in coordinating colours packaged together. The price point moves to $5 for the set. Children’s sizing also uses every bead from odd-lot colours that do not suit an adult bracelet on their own.
Care
Remove the bracelet before swimming: pool water does not damage the clay but shortens the elastic cord’s lifespan. Roll the bracelet over the hand rather than stretching it open. If a bead chips at the hole, replace that bead and re-string: a chipped hole edge will cut the cord from the inside over time. Re-string on fresh elastic annually for a bracelet worn more than three times a week.

Quick Answers
- Where do I source Buddha head and face beads in bulk? AliExpress and DHgate carry them in packs of fifty to one hundred at $3 to $6 per pack. Search “flat polymer clay face beads” or “Buddha head clay beads.” Order a sample pack before buying in quantity to check the hole size against your cord thickness.
- Can I use regular thread instead of Stretch Magic? Regular thread requires a clasp. A no-clasp elastic bracelet at this price point sells faster because it requires no sizing. Keep the elastic and add a clasp only if a customer specifically asks.
- The bracelet feels loose after a week. What went wrong? The cord was not pre-stretched before stringing. Pulling the cord to full extension before threading removes the initial slack; a cord strung without this step settles looser than the finished length suggests.
Leave a Reply