Clay Pendant Necklace Handmade DIY
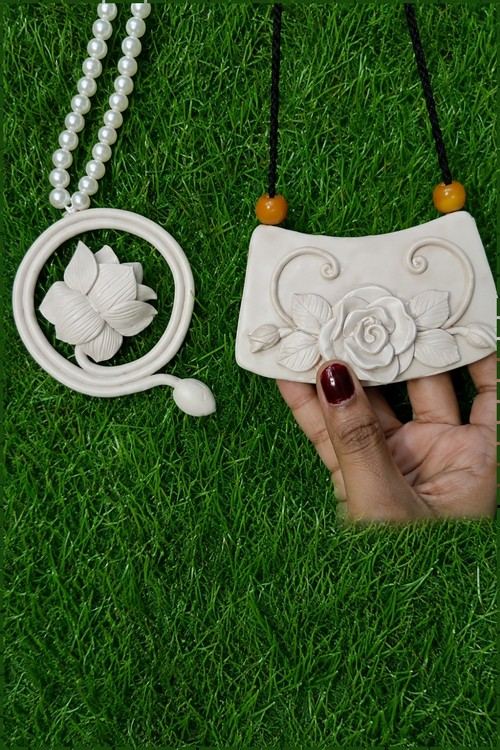
Pairing a dark air-dry clay bar with a white and yellow frangipani, tiny hearts and green leaves gives this aesthetic clay necklace a cottagecore feel. Matching 25 mm leaf drops hang from 24 gauge wire loops, so the pendant and earrings wear as one set.
Thin at the edges and slightly thicker at the centre, a sculpted pendant sits flat against the collarbone when hung on a chain or cord. Clay necklace pendants are built as one piece, with a loop or bail embedded before baking.
Clay Pendant Necklace
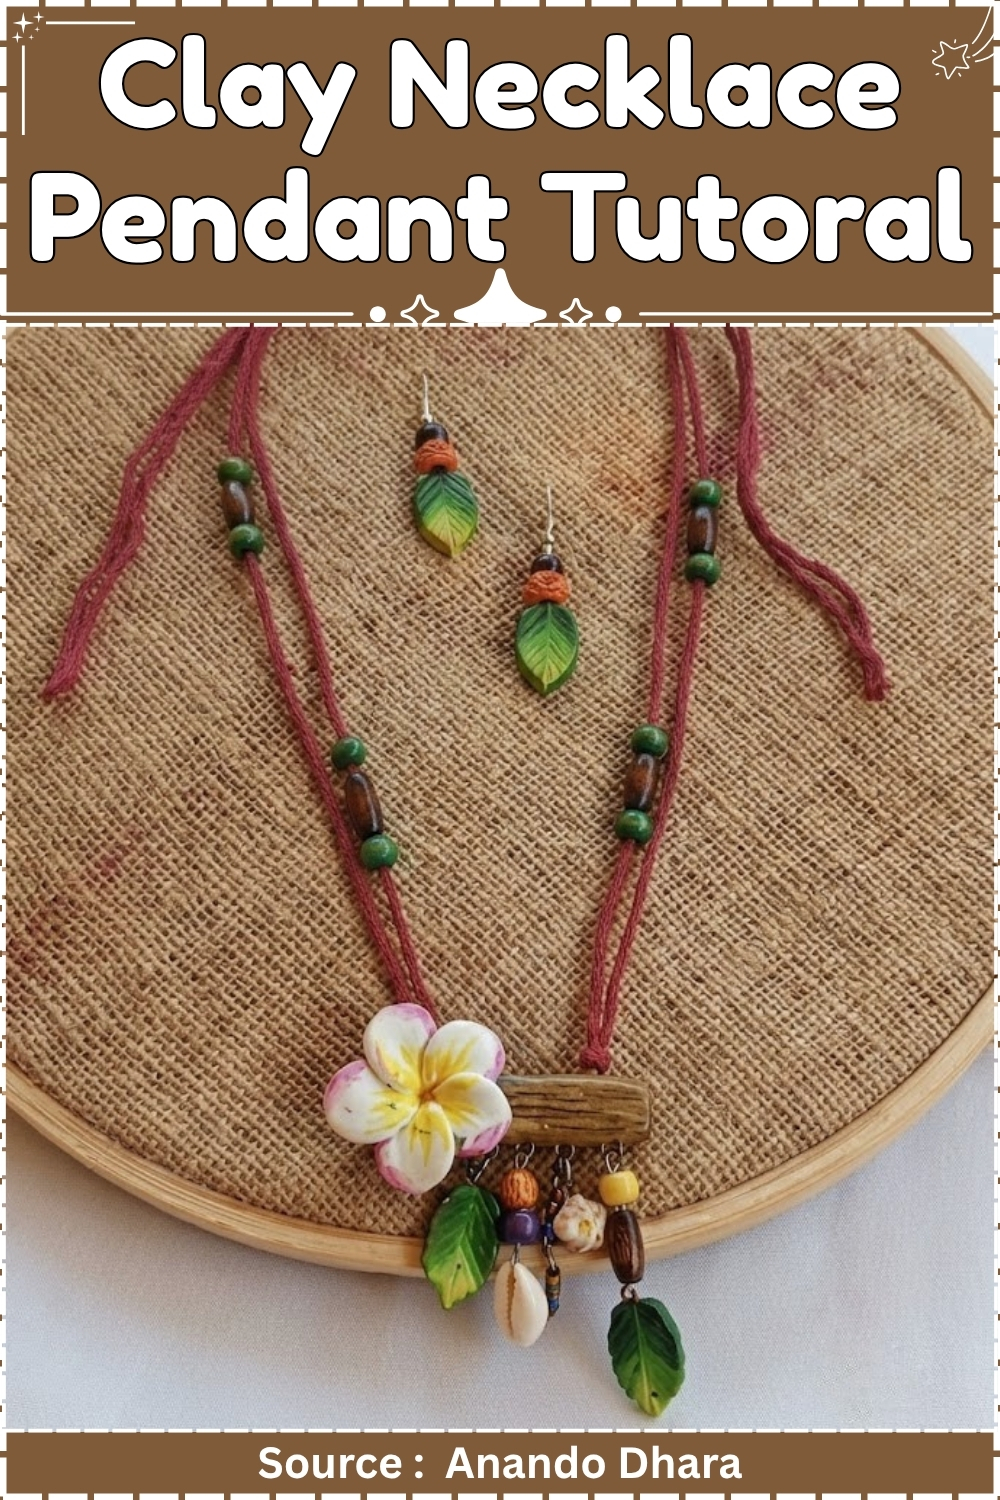
The finished piece is firm and light. Surface texture, smooth or impressed, is set before the oven and sealed after.
At a Glance
- Clay type: Air-dry clay (unbranded; DAS or Crayola Air Dry are direct substitutes)
- Tools: Rolling pin, craft knife or clay blade, small leaf and heart cutters, wire (24-gauge), round-nose pliers, flat-nose pliers, fine paintbrush, acrylic paints
- Cure method: Air-dry, 24 to 48 hours
- Finished size: Pendant approximately 35 mm across; earring drops approximately 25 mm
- Hands-on time: 90 minutes across two sessions
- Total time: 2.5 to 3 days including drying and sealing
- Difficulty: Intermediate
Materials and Tools
Essential
- Air-dry clay, dark base colour (charcoal, black, or deep brown)
- Air-dry clay, white and yellow (for flower petals)
- Air-dry clay, green (for leaves)
- 24-gauge craft wire
- Round-nose pliers
- Flat-nose pliers
- Craft knife or clay blade
- Fine-tipped paintbrush (size 2 and size 0)
- Acrylic paint: white, yellow, pink, green, orange
- Wax-based clay sealer or satin acrylic varnish
- Wax cord or cotton cord, 2 mm diameter, 45 cm per necklace
- Small seed beads or spacer beads in coordinating colour
- Earring hooks, nickel-free or surgical steel
- Jump rings, 5 mm, nickel-free
Nice to Have
- Leaf-shaped clay cutter, 15 to 20 mm
- Heart-shaped clay cutter, 10 mm
- Ceramic tile as work surface
- Gel medium or water for smoothing joins
- Colour shaper or silicone-tipped tool for blending petals
Colour Recipes
Petal painting base: Undiluted white acrylic, applied as a solid first coat over shaped clay. Petal gradient: One part yellow to three parts white, dry-brushed from the centre outward, then one part pink to four parts white feathered at the very tip. Leaf pendants: Two parts green to one part yellow for the main body; a thin wash of undiluted orange along the upper edge while the green is still wet.
Build
Pendant: Dark Bar Base
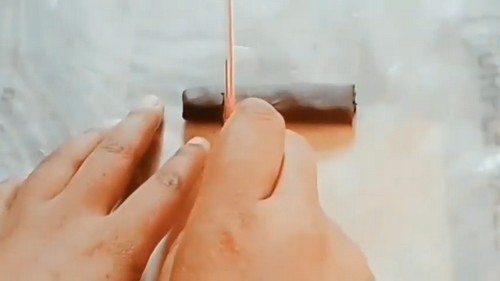
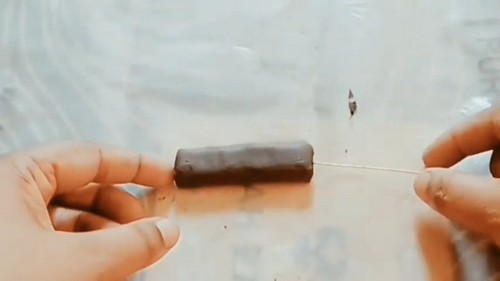
- Roll dark clay to 4 mm thickness.
- Cut a bar shape approximately 45 mm long by 12 mm wide.
- Press a fine texture into the surface using a piece of mesh fabric or a toothbrush held flat — work across the full length in one direction.
- Press a 24-gauge wire loop into the top edge, 6 mm deep, centred. Close the loop above the surface with flat-nose pliers so it stands upright.
- Set the base aside on a ceramic tile. Do not move it during drying.
Pendant: Frangipani Flower
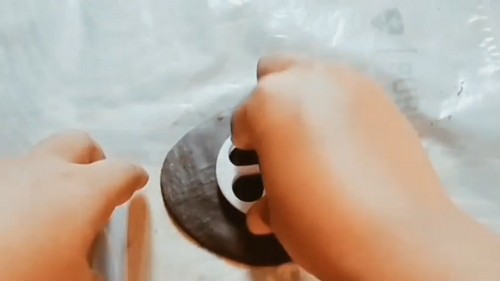
- Roll white clay to 3 mm thickness.
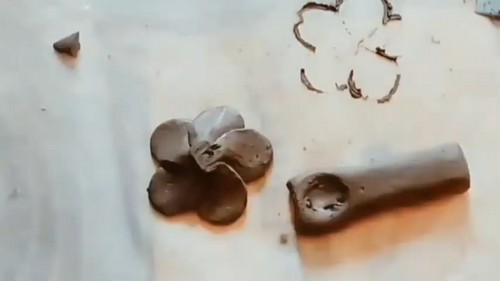
- Cut five oval petal shapes, each approximately 18 mm long by 10 mm wide. Narrow each slightly at the base with your fingertip.
- Curl the outer edge of each petal gently upward.
- Arrange the petals in a pinwheel on a flat surface, slightly overlapping at the centre. Press the overlapping bases together firmly.
- Roll a small ball of yellow clay, approximately 6 mm diameter. Flatten it to a disc and press it into the centre of the petals.
- Let the assembled flower firm for 20 minutes before attaching.
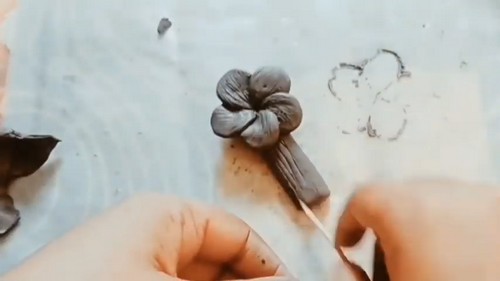
- Dampen the back of the flower and the bar surface lightly with water. Press the flower onto the upper half of the bar. Hold for 30 seconds.
Pendant: Leaf and Heart Accents
- Roll green clay to 3 mm thickness. Cut two leaf shapes using a cutter or by hand, each approximately 20 mm long.
- Score a central vein with a craft knife tip. Press lightly, do not cut through.
- Roll a 24-gauge wire loop, 8 mm high, and press the tail into the base of each leaf 5 mm deep.
- Roll a small amount of clay in any colour to 3 mm. Cut one heart shape approximately 10 mm across. Press a wire loop into the top in the same way.
- Lay all accent pieces flat on the tile beside the pendant base.
Earrings: Matching Leaf Drops
- Repeat the leaf shape from the pendant step, cutting four leaves total (two pairs for matched earrings).
- Score veins on each. Press wire loops into each base, 8 mm high.
- Lay flat on the tile.
Drying and Sealing
- Air-dry clay is not baked. Place all pieces on a ceramic tile in a room-temperature space away from direct sunlight and open windows. Thin flat pieces dry in 24 hours; the pendant bar with the flower attached needs 48 hours minimum because of the layered depth at the join.
- Halfway through drying, gently lift each piece and turn it over for 15 minutes, then return it face up. This prevents the underside from staying soft while the top skins over. Do not use a heat gun or place pieces near a radiator. Forced drying causes surface cracks that open from the inside outward.
- Before painting, confirm the pieces are bone dry by pressing the thickest part with a fingernail. If it gives at all, wait another 12 hours.
- Sealing: Air-dry clay absorbs moisture from skin and humidity, which softens it over time and eventually causes cracking. Sealing is not optional for wearable pieces. Apply two thin coats of satin acrylic varnish or a dedicated air-dry clay sealer, letting each coat dry fully before the next. Seal all surfaces including the back, edges, and the area around the wire loops. Sealed air-dry clay is water-resistant, not waterproof. Remove before washing hands or showering.
Painting and Detailing
- Apply one solid coat of white acrylic across all five petals and the yellow centre. Let dry fully, roughly 20 minutes.
- Mix a pale yellow wash (one part yellow, three parts white) and dry-brush from the centre of each petal outward, covering the inner two-thirds.
- Mix a pale pink wash (one part pink, four parts white) and feather it onto the outer tips only. Work quickly with a nearly dry brush.
- Paint the yellow centre disc with undiluted yellow, then add a dot of orange at its very centre.
- Paint both leaf accents with the green-yellow mix. While wet, pull a thin line of undiluted orange along the upper edge with a size 0 brush.
- Paint the heart accent in any single accent colour. The pendant and earrings in the original use white.
- Let all painted surfaces dry completely before sealing.
Hardware and Assembly
- Pendant: Open a 5 mm jump ring by rotating one end toward you and one away, never pulling the gap wider sideways. Thread it through the wire loop on the pendant bar. Close the ring firmly. Thread the jump ring and pendant onto a 45 cm length of wax cord. Add seed beads on each side of the pendant, as many or few as you prefer, then tie a sliding knot or overhand knot at each end so the length adjusts from roughly 40 to 50 cm.
- Leaf pendants and heart: Attach each to its own jump ring. These hang as drops below the bar or are threaded separately onto the cord as secondary pendants — the placement is a design choice. Either way, position them before tying off the cord so you can adjust spacing.
- Earrings: Attach one leaf drop per earring hook using a jump ring. Open and close all jump rings in the same direction. Use nickel-free or surgical steel hooks at all skin contact points.
- Weight check: The full pendant assembly including bar, flower, and accent drops weighs approximately 8 to 12 grams. That is within comfortable wear range for an all-day necklace. If the bar feels heavy, hollow out the back side before drying by pressing a thumb firmly into the clay while it is still fresh.
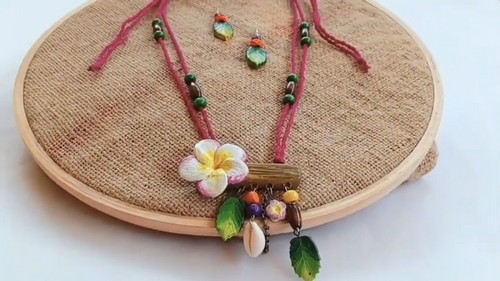
Presentation
For market selling, card each pair of earrings on a standard earring display card (85 mm by 55 mm) and place the necklace in a small kraft box with tissue. A matching tag noting the air-dry clay material and the care instruction to remove before water contact builds trust and reduces returns. Photograph the set flat on a white or raw linen surface with the necklace laid in a slight curve and the earrings positioned symmetrically above the pendant. The flower detail reads clearly from above. Avoid photographing on dark surfaces, which flatten the petal gradient.
Where Makers Go Wrong
- The flower lifts off the bar after drying. Pressing flower to base while both are fully fresh gives the best bond. If the flower has begun to skin over and the base has not, or the reverse, the two surfaces dry at different rates and shrink apart from each other. Score both contact surfaces lightly and use a small amount of slip (clay mixed with water to a paste) at the join rather than water alone.
- Wire loops pull free when the cord is strung. A loop pressed only 5 mm into fresh clay sits in what becomes a thin, brittle shell once dry. Press loops at least 6 mm deep, angle the tail slightly, and curl the very end of the wire into a small hook before inserting. Do not tug on wire loops to test them while the clay is still soft — test only after full cure.
- Petal painting bleeds across the gradient zones. This happens when the previous colour layer is not fully dry before the next is applied, not when the brush is too wet. Between each of the three paint stages, wait until the surface is cool to the touch. A slightly dry brush helps control placement, but timing is what sets the edge.
Variations
Monochrome version: Skip all petal painting. Shape the flower from white clay, leave the bar in dark clay, and seal without colour. The contrast is strong and the making time drops by 30 minutes.
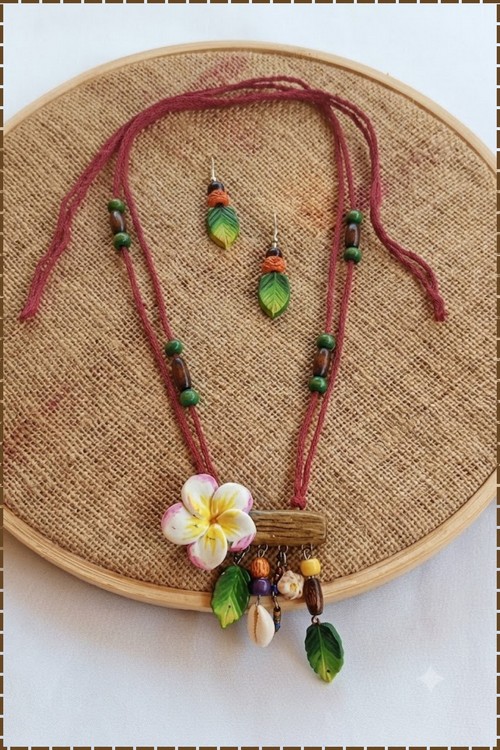
Single pendant only: Drop the leaf and heart accents and the earrings. Increase the pendant bar to 55 mm and use a thicker cord, 3 mm leather or suede, for a bolder single-piece necklace.
| Variation | Change | Effect |
|---|---|---|
| Coloured base clay | Roll base from terracotta or sage green clay instead of dark | Warmer, earthier result; no painting needed on the base |
Care
Keep away from water — remove before washing, swimming, or showering. Do not store in direct sunlight, which fades acrylic paint over months. If a wire loop loosens, apply a small drop of strong jewellery adhesive at the entry point and let cure 24 hours before wearing. Wipe the surface with a barely damp cloth if needed; do not scrub.
Quick Answers
- Can I use polymer clay for this instead? Yes. Use the same shapes and dimensions. Bake at 275°F / 130°C for 30 minutes per 6 mm of thickness, then paint with acrylic after cooling. Polymer takes paint less evenly than air-dry, so apply a light sand with 400-grit before painting.
- The petals are cracking at the tips as they dry. What went wrong? Thin tips dry faster than thick centres, creating tension as the clay shrinks unevenly. Roll petals to a consistent 3 mm, make tips no thinner than 2 mm, and cover the piece loosely with cling film for the first four hours of drying to slow the surface.
- Can I use a different flower shape? Any five-petal flower works — hibiscus, plumeria variant, or a simplified daisy. Keep the assembled diameter under 30 mm so the flower does not overpower the bar base or add unwanted weight.