How To Attach A Tassel To Your Clay Necklace Ideas
Piercing the hole before the clay cures is what separates a tassel that hangs straight from one that pulls the pendant sideways. These clay necklace ideas cover ring sizing and hole placement, both of which decide how the finished piece sits.
A tassel that hangs crooked ruins an otherwise clean pendant, and the fix is in how you attach it rather than how you make it. This how to attach a tassel to your clay necklace ideas guide covers piercing the hole before the clay cures, sizing the jump ring so the tassel swings freely, and positioning the hole so the weight hangs straight rather than pulling the pendant sideways. Everything here applies to polymer and air dry clay equally. The hole placement is the whole job.
Attach Tassel To Your Clay Necklace
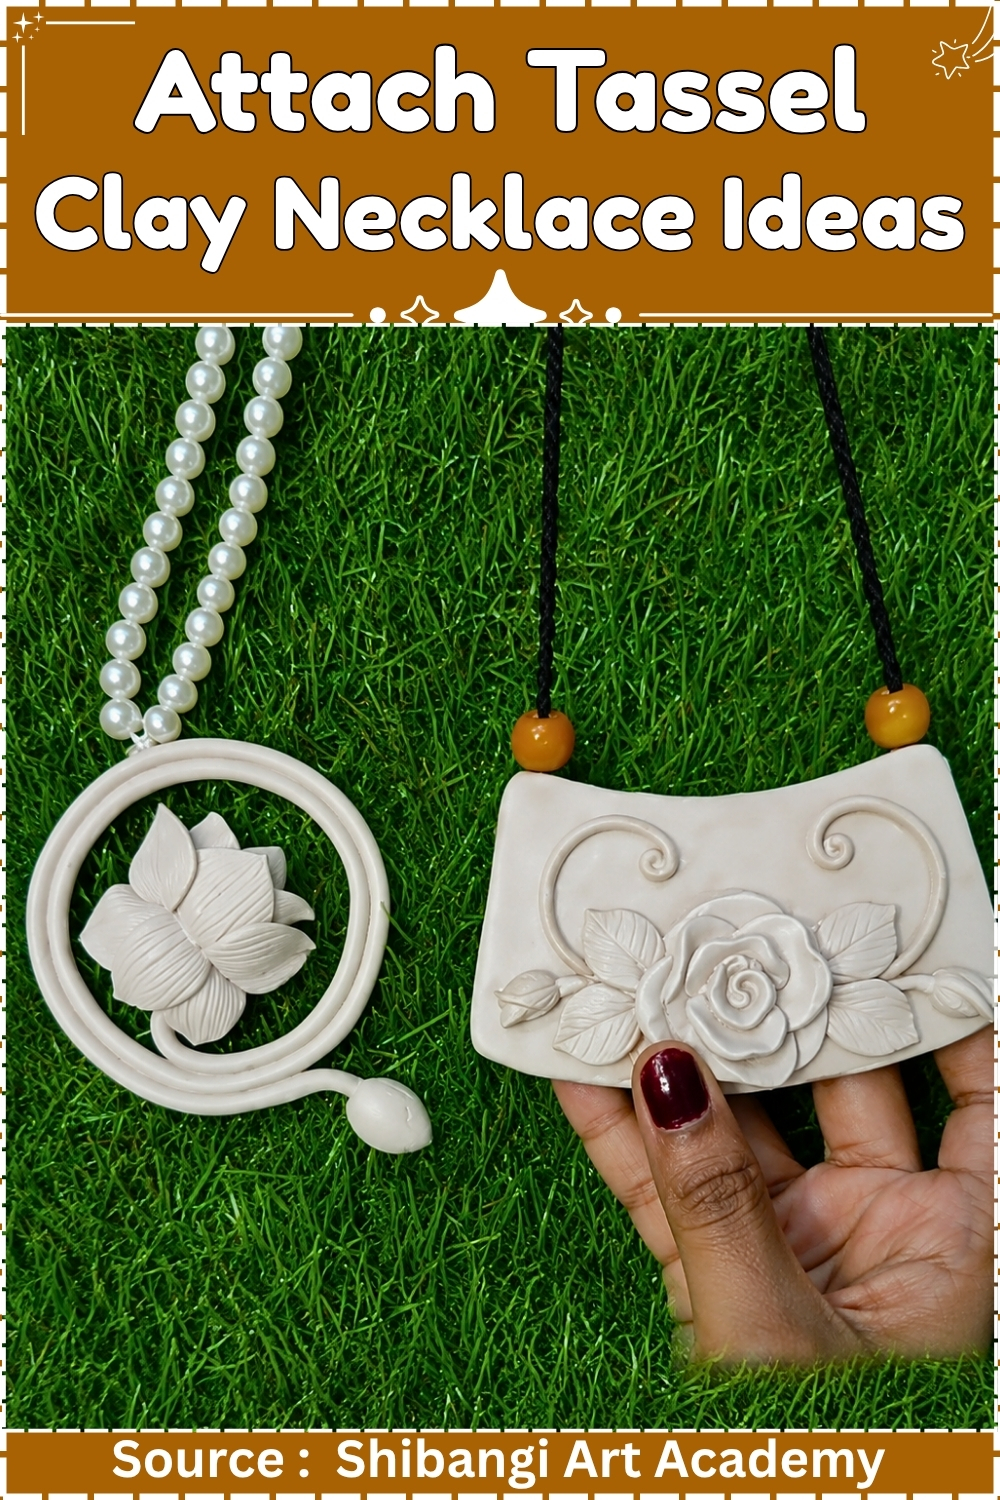
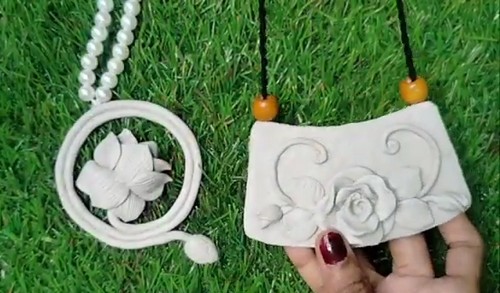
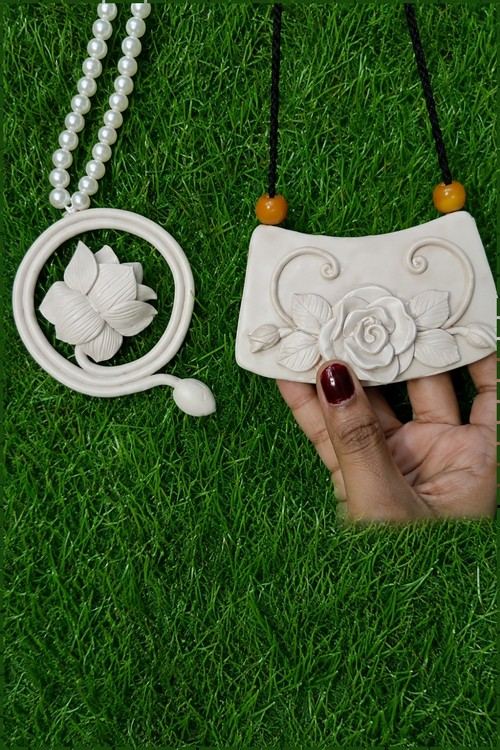
Sculptural clay pendants in all white have a quiet, handcrafted quality that painted pieces rarely match. Both designs here use the same material but land in completely different places depending on the shape and chain choice. The lotus sits inside a circular frame on a pearl chain while the rose pendant hangs from a black braided cord with amber beads, and that pairing alone shows how much the stringing changes the final look. Neither piece needs color to stand out.
At a Glance
- Clay type: Air-dry clay for the collar. Cold porcelain or Japanese resin clay, white.
- Clay quantity: 2 g per join
- Tools: Craft blade, tapestry needle, stiff card, fine comb, 400 and 600 grit sandpaper, small paintbrush
- Cure method: Air drying at room temperature. Glue tacky in 10 minutes, collar dry in 24 hours, glue fully cured at 24 hours. No baking at any stage.
- Finished size: Pendant 35 mm, tassel 70 mm, collar 12 mm, total drop 110 mm
- Hands-on time: 35 minutes, plus 15 minutes to make a tassel from scratch
- Total time: 2 days
- Difficulty: Easy
Materials and Tools
Essential
- Finished clay pendant, painted and sealed
- White air-dry clay, cold porcelain or Japanese resin type
- Cotton craft thread, Dolly thread or size 10 crochet cotton
- Fabric glue, Fevicryl or Aleene’s Fabric Fusion
- Pearl beads, 8 mm, five per strand
- Wooden bead, 10 mm with a 3 mm hole
- Cornstarch, talc-free
- Acrylic craft paint to match the pendant
- Water-based polyurethane sealer, satin
- Waxed cotton cord, 1.5 mm
- Craft blade
- Tapestry needle
- Stiff card
- 400 and 600 grit sandpaper
- Small paintbrush
Nice to have
- Metal bead caps, 8 mm
- Nickel-free lobster clasp and 6 mm jump rings
- Flat-nose pliers, two pairs
- Fine comb for dressing the tassel
- Silicone-tipped clay shaper
Styling, Weight and Everyday Wear
A tasselled pendant hangs long, so it works against a plain round or V neckline where nothing competes with the movement. On a high collar the tassel sits on fabric and stops swinging, which is exactly the thing that makes it worth wearing. Keep the whole necklace under 40 g. A pearl strand is heavier than it looks and doubles the load at the join compared with a thread tassel of the same length. Wear it with the cord long enough that the tassel falls below the sternum rather than resting on it, since a tassel that touches skin picks up oil and mats within a few weeks.
Colour Recipes for the Collar
Tint the collar clay to match the pendant, then paint over it if the pendant has a metallic finish.
- Black collar: 10 g white clay plus 1/8 teaspoon black acrylic
- Terracotta collar: 10 g white clay plus 1/8 teaspoon burnt sienna and a pinpoint of white
- Gold-finish collar: leave the clay white, dry it, then paint with two coats of gold acrylic
- Ivory collar: 10 g white clay plus a pinpoint of yellow ochre
The Technique
Preparing the Pendant
- Check the pendant is bone dry, painted and sealed before anything is attached.
- Mark the attachment point at the bottom centre of the pendant.
- Sand a 10 mm contact patch at that point with 400 grit until the sealed surface goes matte.
- Wipe the patch with a dry cloth to clear all dust.

Making a Handmade Tassel
- Cut a strip of stiff card 70 mm wide.
- Wind cotton thread around the card 40 times.
- Slide a 200 mm length of the same thread under the loops at the top edge and tie a tight double knot.
- Cut the loops open along the opposite edge and slide the card out.
- Wrap a 150 mm length of thread six turns around the bundle, 6 mm below the top knot.
- Tie the wrap off and thread both ends down inside the skirt with a tapestry needle.
- Comb the skirt straight and trim it level at 70 mm from the top knot.
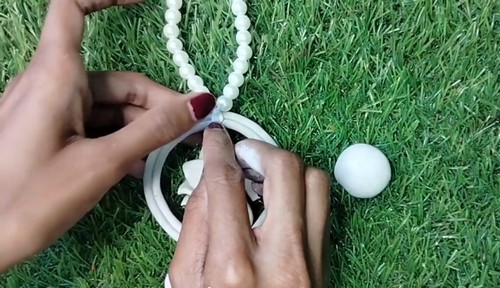
Method 1: Attaching a Pearl Bead Tassel
- Cut 300 mm of cotton craft thread.
- Tie a stopper knot 40 mm from one end.
- Thread five 8 mm pearl beads onto the long end and slide them down to the stopper knot.
- Tie a firm knot directly above the top bead, leaving a 40 mm tail above the knot.
- Fold the tail back on itself into a flat loop 15 mm long.
- Apply fabric glue to the sanded patch in a circle 8 mm across.
- Press the folded loop into the glue and hold it for 30 seconds.
- Leave the join for 10 minutes until the glue is tacky and the thread no longer shifts.
- Dust cornstarch onto your fingertips only, then wipe the pendant face clear of stray powder.
- Roll 1 g of tinted clay into a 12 mm teardrop.
- Press the teardrop over the join with the point running down the thread.
- Thin the collar edges to 2 mm where they meet the pendant, keeping the centre at 5 mm.
- Smooth the seam with a fingertip dampened with water.
- Hang the piece and dry it as set out in Drying and Sealing.

Method 2: Attaching a Handmade Tassel
- Cut off the top knot of the tassel, leaving two thread ends 60 mm long.
- Pass both ends through the 10 mm wooden bead and pull the bead down onto the tassel head.
- Tie the two ends together 5 mm above the bead.
- Apply fabric glue to the sanded patch in a circle 8 mm across.
- Press the knotted ends into the glue and hold for 30 seconds.
- Wait 10 minutes for the glue to firm.
- Dust cornstarch onto your fingertips and roll 1 g of tinted clay into a 12 mm teardrop.
- Press the teardrop over the joint and taper it down onto the top of the wooden bead.
- Trim any excess thread flush with a craft blade.
- Flatten a 3 mm ball of clay over any thread still showing.
- Blend every clay edge into the pendant with a damp fingertip.
- Hang the piece and dry it as set out in Drying and Sealing.

Drying and Sealing
- Hang the necklace by its cord so the tassel pulls straight down while the collar sets. The join then hardens under the exact load it will carry in wear, and the thread beds into the clay rather than out of it. Keep it out of sun and away from radiators. The collar is dry in 24 hours and must be bone dry before it is sanded or sealed.
- Sealing air-dry clay is structural rather than decorative. Bare clay draws moisture from the air and from skin, softens, then cracks along its stress lines. Use water-based polyurethane here, since this is a piece handled daily. Avoid solvent lacquers and nail polish, which react with the clay. Two thin coats beat one heavy one. Sealed air-dry clay is water-resistant, never waterproof.

Finishing
- Sand dry, never wet. Water turns the collar surface to paste that dries chalky. Work 600 grit lightly over the collar alone, using two or three passes at most. Air-dry clay cuts away far faster than polymer, and a collar this small can be sanded through to the thread in seconds.
- Brush sealer over the collar and 5 mm of the pendant surrounding it, so the coating bridges the seam instead of stopping at it. Keep the brush off the tassel threads. Sealer wicks along cotton and dries the fibres into a stiff plate that never softens again. If the collar was painted gold, seal after the paint has dried for an hour, not before.
Hardware and Assembly
- Thread a 700 mm length of 1.5 mm waxed cotton cord through the pendant bail. If you prefer a chain, use nickel-free or surgical steel, since the cord sits against the neck all day. Open jump rings by twisting the ends past each other sideways rather than pulling them apart, which leaves a gap no amount of squeezing closes.
- Where a bail needs gluing rather than knotting, use E6000 or two-part epoxy and allow a full 24 hours before the piece is worn. Fabric glue holds thread and nothing else.
- Balance matters more than it looks. A tassel hangs true only if the join sits on the vertical centre line of the pendant, and 2 mm off centre reads as crooked once the piece is on a body rather than a table.
Where Makers Go Wrong
- The collar shrinks after you walk away. Air-dry clay pulls in as it dries while the thread bundle underneath does not, so a hairline split opens along the top edge of the collar days later. Fill it with the same clay thinned with a drop of water, let it dry, then re-seal the whole collar.
- Powder migrates into the joint. Cornstarch that lands on the contact patch works as a release agent, and a collar pressed onto a dusted surface lifts cleanly at the edge weeks later. Powder your fingers away from the piece and check the patch is clean before the clay goes on.
- Weight decides how long the join lasts. The same collar that holds a light cotton tassel for years fails within months under a strand of pearls, because the load never stops pulling. Add a metal bead cap under the collar on anything heavier than 15 g.
- Fabric glue stays flexible for ever. It is designed to move with cloth, so the tassel slowly rotates on that soft layer until the thread twists inside the collar. Treat the glue as a tack that holds position for 10 minutes and let the clay do the actual holding.
Variations
Swap the clay collar for an 8 mm metal bead cap glued with epoxy, which suits a pendant already finished in gold or silver and cuts the drying wait entirely. Run three short tassels across the lower edge of a wide rectangular pendant instead of one central drop, spacing the joins 15 mm apart so the fringe moves as a group. Or take the same join onto a bag charm, using a heavier 100 mm tassel and a lobster clasp, since the collar carries far more abuse there than it ever does on a neck.
Care
Lift the necklace by the cord, never by the tassel. Store it hanging so the tassel skirt stays straight instead of kinking in a box. Comb the tassel dry, since water travelling up the threads reaches the collar. Keep perfume off the tassel head, as alcohol softens the sealer at the seam. Steam a matted tassel briefly and hang it, keeping the steam away from the clay.
Quick Answers
- Can I use polymer clay for the collar? Not over an attached tassel, since baking scorches thread and destroys fabric glue. Bake a wire loop into the pendant instead, then hang the tassel from a jump ring after curing.
- The collar snapped off and the tassel is still glued on. Pick the old clay away, sand the patch back to matte at 400 grit, and press a fresh collar on. The join underneath is usually fine.
- Can I skip the clay and rely on glue alone? For a display piece, yes. For something worn, use two-part epoxy and a metal bead cap, because fabric glue on its own will not hold a swinging weight.
- Which thread makes the best tassel? Cotton crochet thread holds a blunt cut and combs straight. Rayon shines but frays at the tips, and embroidery floss splits into separate plies within a week of wear.