Polymer Clay Stud Earrings Idea – Rose Clay Earrings
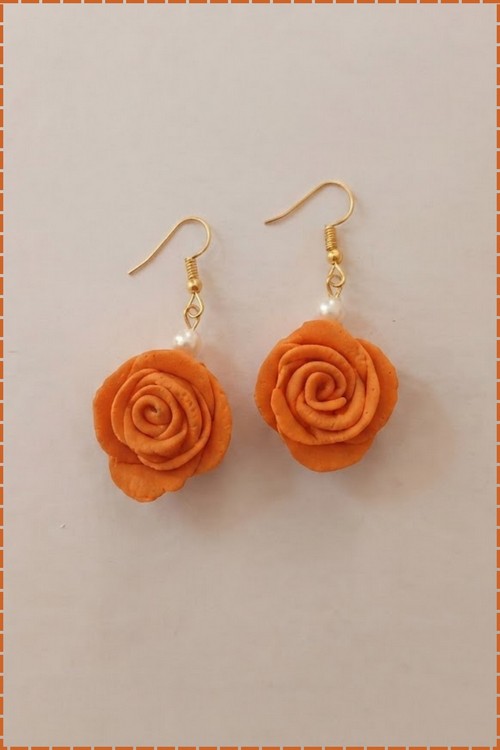
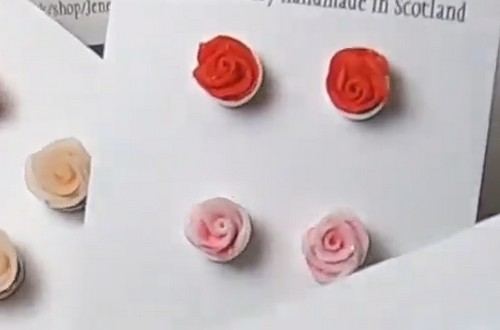
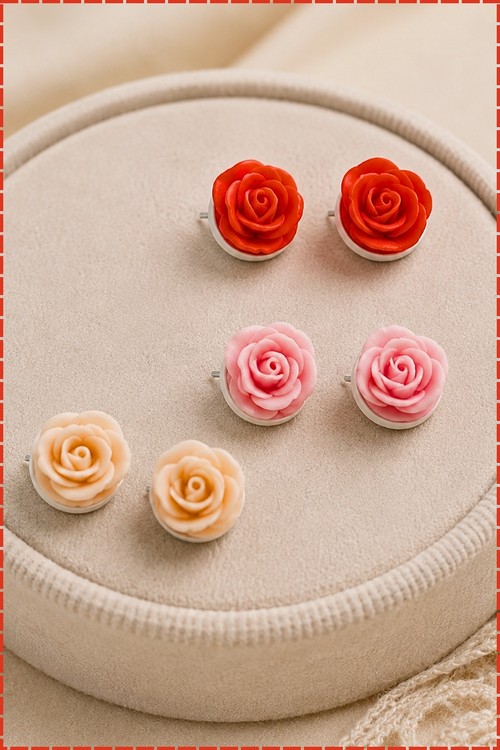
The small rose sitting flat against the ear, petals coiled from a thin strip of clay rolled in on itself. Studs are the shortest project in polymer clay jewelry. No jump rings, no chain, just the shape and a post glued to the back once it has cooled. The petals are where the time goes. Roll the strip thin, wrap it loose at the centre and tighter at the edge, then trim the base flat.
Polymer Clay Stud Earrings
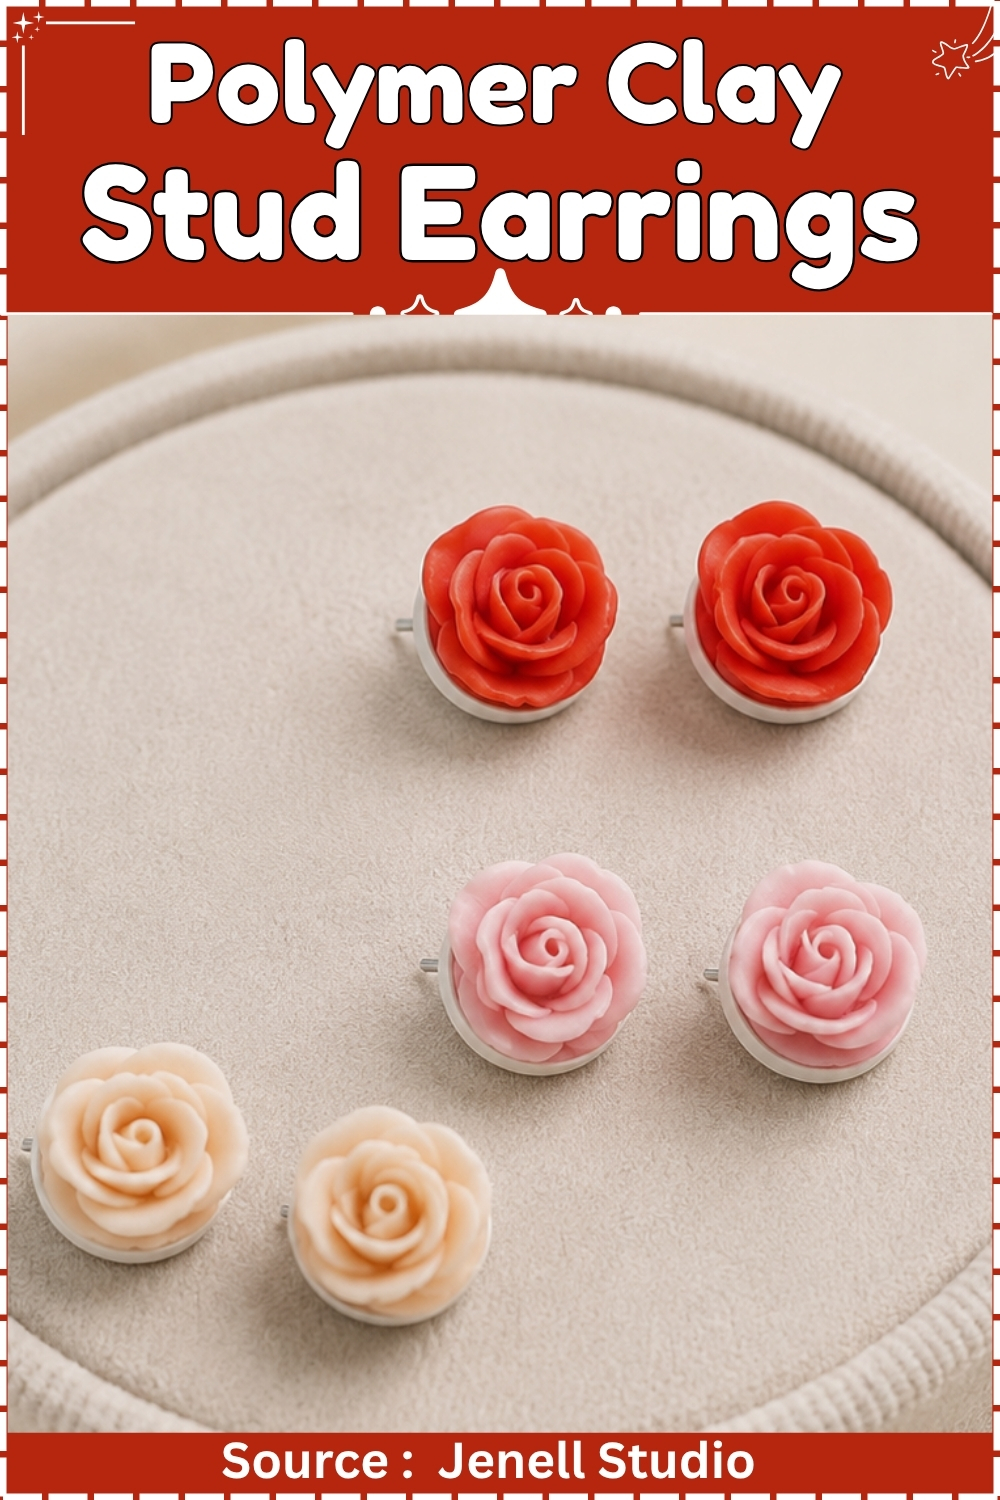
Roses are the project every new clay maker tries second, right after a lump that was supposed to be a heart. They look like they need skill and tools. They need neither. What they need is one thing nobody says out loud: every petal has to be thin at its top edge and thick at its base, and the moment you press a petal to an even thickness all the way across, you stop making a flower and start making a cabbage.
That taper is the entire technique. Everything else here is rolling balls and wrapping them around each other in order. No cutters, no pasta machine, no moulds.
At a Glance
- Clay type: Polymer, oven-cured
- Brand: Fimo Professional
- Colours: White, plus one colour of your choice
- Tools needed: Your hands, an acrylic roller, a blade, a ceramic tile
- Petals per rose: One rolled bud, five inner petals, seven outer petals
- Cure: 110 degrees Celsius for 30 minutes
- Cool: 20 minutes before touching
- Finished size: 13 millimetres across, 9 millimetres tall
- Weight: 1.5 grams per earring
- Hands-on time: 1 hour 15 minutes
- Glue set: 24 hours before wearing
- Total time: 26 hours
- Difficulty: Beginner, first piece
Credit: Jenell Studio
Materials and Tools
Essential
- Fimo Professional in White
- Fimo Professional in one colour, such as Rose or Ruby
- Acrylic roller
- Craft blade or tissue blade
- Ceramic tile, 20 by 20 centimetres
- Parchment paper
- Aluminium foil
- Oven thermometer
- Flat-pad earring posts, 6 millimetre pad, surgical steel, with backs
- Two-part epoxy adhesive
- Cocktail stick
- Baby wipes
Nice to have
- Second ceramic tile
- Wet-dry sandpaper in 400 and 600 grit
- Clear ultraviolet-cure resin and a small lamp
- Small ruler with millimetre markings
- Cotton gloves
Colour Recipes
- Ratios are by volume. Mix light before dark and wash your hands between each one.
- Pale blush: 8 parts White to 1 part colour. This is your outer ring.
- Mid blush: 4 parts White to 1 part colour. This is your inner ring.
- Deep blush: 2 parts White to 1 part colour. This is the bud at the centre.
- Adjust by eye. Add colour a pinhead at a time, because you can always deepen a mix and you can never lighten one without doubling the batch.
Techniques You Need First
- Conditioning. Warm and stretch the clay by hand until it pulls apart slowly instead of snapping. Cold clay crumbles. Two minutes of kneading fixes it.
- Rolling by hand. Roll a ball between your palms until no seam shows, then press it on the tile with your fingertip. Move the pressure toward the outer edge as you go, so the middle stays thick.
- Tapering a petal. Press hardest at the top edge, lightest at the base. Hold the petal up to a window: you should see light through the top and not through the bottom.
- Curling. Bend the thin top edge back over a fingertip, away from the flower.
The Pattern
Mixing the Three Shades
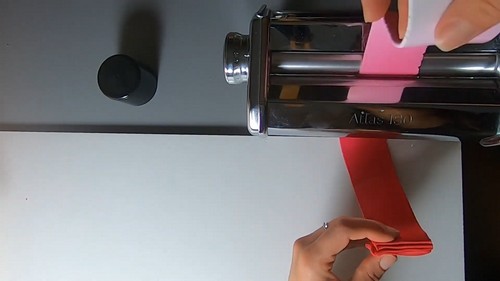
- Break off a 30 millimetre ball of White and condition it for two minutes.
- Wash and dry your hands.
- Condition a 15 millimetre ball of your chosen colour the same way.
- Wash and dry your hands again.
- Mix a 24 millimetre ball of pale blush using 8 parts White to 1 part colour.
- Knead the pale blush until no streaks show when you stretch it flat.
- Wash your hands.
- Mix a 16 millimetre ball of mid blush using 4 parts White to 1 part colour.
- Knead until no streaks remain, then wash your hands.
- Mix a 10 millimetre ball of deep blush using 2 parts White to 1 part colour.
- Set the three mixed balls on the tile, spaced apart, with pale on the left and deep on the right.
The Bud at the Centre
- Roll a 6 millimetre ball from the deep blush.
- Press it flat on the tile into a strip 12 millimetres long and 5 millimetres wide.
- Thin one long edge to under 1 millimetre and leave the opposite long edge at 2 millimetres.
- Lift the strip and roll it up from one short end, keeping the thin edge at the top.
- Pinch the bottom into a short stem 3 millimetres across.
- Stand the bud upright on the tile.
The Inner Ring, Five Petals
- Roll five balls from the mid blush, each 5 millimetres across.
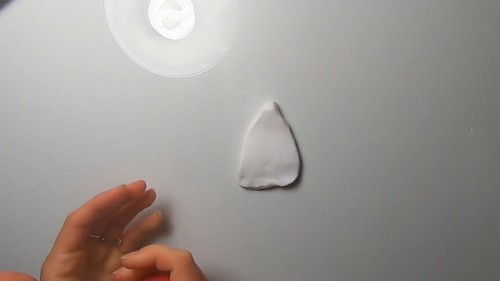
- Press the first ball into a round petal 10 millimetres wide, thinning the top half to 1 millimetre.
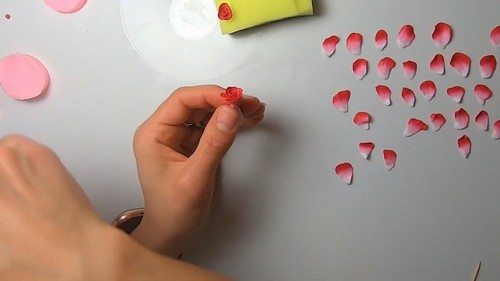
- Wrap it around the bud so the petal covers half of the bud’s face.
- Press the petal base firmly against the stem.
- Press and attach the second petal so it overlaps the first by half its width.
- Add the remaining three petals the same way, working around the bud in one direction only.
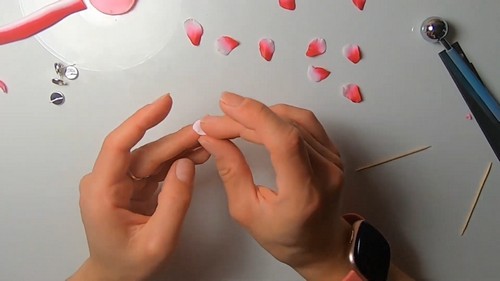
- Curl the top edge of each of the five petals outward over a fingertip.
The Outer Ring, Seven Petals
- Roll seven balls from the pale blush, each 6 millimetres across.
- Press each ball into a petal 13 millimetres wide, thinning the top edge to under 1 millimetre.
- Attach the first outer petal so its centre sits over the join between two inner petals.
- Add the remaining six petals around the ring, each overlapping the last by half.
- Press every petal base down against the stem, not against the petal beside it.
- Curl each outer top edge back further than you curled the inner ring.
- Press the whole flower down onto the tile until it measures 13 millimetres across and 9 millimetres tall.
Trimming and Matching
- Hold the blade flat and parallel to the tile.
- Slice the stem off 2 millimetres below the lowest petal so the back sits flat.
- Build the second rose using the same petal counts and the same ball sizes.
- Set both roses side by side and compare their width before going further.
Setting the Posts
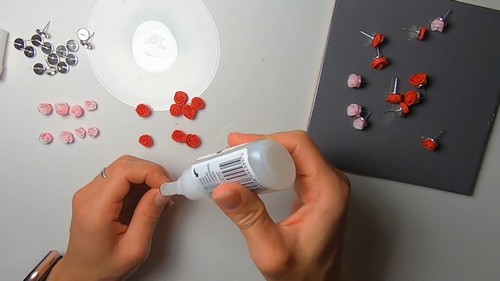
- Press the flat pad of a post into the back of each rose until the pad sits level with the clay.
- Sight along the side of each rose to check the post stands square to the back.
- Hold each rose up by the post and watch which way it leans.
- Move the post 1 millimetre toward the heavier side and press it home again if the rose tilts.
- Chill both roses on the tile in the fridge for 15 minutes before moving them.
Curing
Bake at 110 degrees Celsius for 30 minutes. Lay parchment paper over the ceramic tile and slide each rose onto it with the blade held flat underneath. Fimo needs the full 30 minutes at temperature even though these pieces are small, because the time is set by the brand and not by the size of what you made. Tent the tile loosely with aluminium foil, keeping the foil clear of the petals by at least 20 millimetres. Put an oven thermometer inside the oven and set the dial by that reading. Home ovens run 15 to 25 degrees off their panel, and a low oven is what produces roses that shatter in your fingers. Cool 20 minutes before touching.
Finishing
- Do not sand the petals. There is no way to reach between them, and any grit that lands on a curled edge dulls it permanently. Sand only the flat back if the blade left a ridge, using 400 then 600 grit wet, dipping the paper in water with a drop of dish soap in it.
- Leave the surface bare. Gloss varnish on a rose puts a wet plastic shine across every petal at once, and the flower stops reading as a flower. Matte petals are the whole effect.
- For a permanent dew finish, touch a cocktail stick tip into clear ultraviolet-cure resin and set single beads onto four or five petals. Cure 60 seconds under the lamp.
Attaching the Posts
- Twist each baked post gently and pull it straight out of its socket. Baking with the post in place has cured a snug hole in the clay, which is what gives the glue something to grip other than a smooth surface.
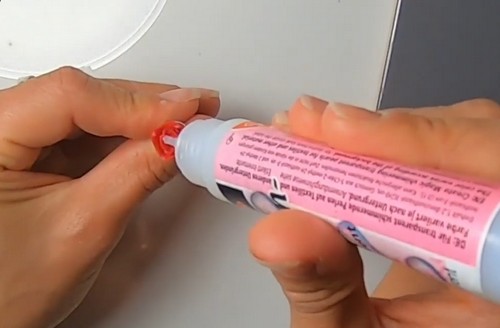
- Mix a small amount of two-part epoxy on scrap card. Push a little into each socket with the cocktail stick, then press the post back in and wipe any squeeze-out away with a baby wipe before it sets.
- Stand the roses face up on the tile so gravity holds the posts in their holes. Leave them 24 hours before wearing, not the five minutes the packet claims for handling strength.
- Surgical steel is the right choice here. At 1.5 grams these sit flat on the lobe with no drag at all.
Where Makers Go Wrong
- Your hands get warmer as you work. The clay you touch at minute forty is softer than the clay you touched at minute five, so the last petals you press will spread wider and thinner than the first ones under exactly the same pressure. Work one rose, chill your hands under a cold tap, then start the second.
- White clay carries colour it picked up hours ago. A trace of pigment left on your palms, the roller, or the tile transfers into a pale mix without showing at all while the clay is raw, then appears as a grey or muddy cast once baked. Wipe the roller and the tile with a baby wipe between every shade, not just your hands.
- You judge each rose against the one in your hand. Petals drift a millimetre at a time across thirteen pieces, and because you are always comparing the new petal to the last petal, the two finished roses can differ by three millimetres without either one ever looking wrong while you built it.
- A rose is never balanced around its centre. The side where you started the outer ring carries slightly more clay than the side where you finished, so a post set in the geometric middle makes the stud sit tilted on the ear. You will only notice this in a mirror, after the glue has cured.
Variations
- Open bloom. Use nine outer petals instead of seven, press each one to 15 millimetres, and curl every edge fully back until the bud shows. The flower reads as a garden rose rather than a tea rose and grows to 17 millimetres, which sits at the top end of what works as a stud.
- Bud with leaves. Skip the outer ring entirely. Press two pointed leaf shapes from green clay, 12 millimetres long, and set them behind the inner ring so their tips show past the petals.
- Dangle version. Screw a 6 millimetre eye pin into the trimmed stem before baking instead of pressing a post into the back.
Care
The outer petal edges are under 1 millimetre thick and snap clean off if these get pressed against anything. Store the pair standing face up in a small box, never loose in a bag with other jewellery. Perfume and hairspray leave a tacky patch on bare polymer that never hardens again. White polymer yellows under strong daylight over a year or two, so a windowsill is the worst place to keep them. The epoxy behind the post gives up in heat long before the clay does, so keep them out of a hot car.
Quick Answers
- Can I make these in air-dry clay instead? No. Petal edges this thin crack apart as air-dry clay shrinks, and the petals will not bond to each other the way polymer does.
- My clay crumbles and will not come together. It is old or cold. Warm it against your body for ten minutes, then work in two or three drops of liquid clay softener.
- What temperature for a different brand? Sculpey Premo and Soufflé bake at 130 degrees Celsius for 30 minutes. Kato needs 150 degrees. Never bake a brand below its own number to be safe, because underbaked clay is the brittle kind.
- My rose squashed when I moved it to the oven tray. Chill it first. Fifteen minutes in the fridge firms the clay enough to move without marking, and it costs nothing to try again.