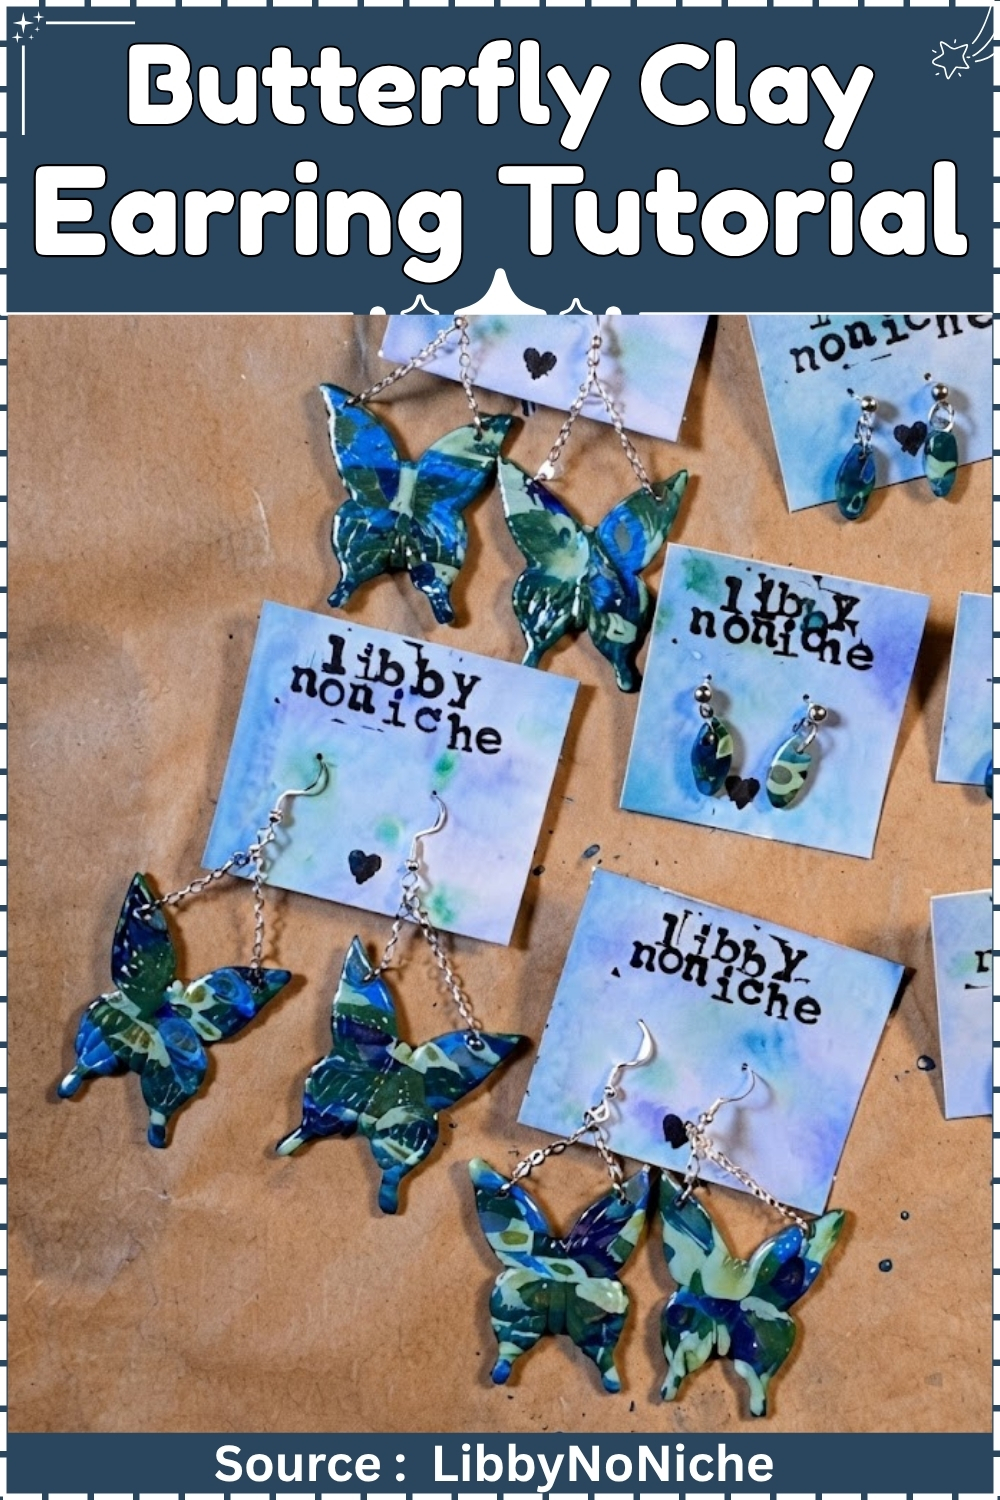
Marbled Butterfly Clay Earrings
What Makes This Design Worth the Effort
Three decisions carry the piece. Translucent clay as the base means every colour strand is backlit rather than sitting on an opaque ground, which is where the stained glass quality comes from. An analogous palette, blue through teal to green, keeps the cane from turning muddy at the seams where colours compress into each other during bundling. And building pattern as a cane rather than marbling it means the design runs through the full depth of the clay, so the cut edge of the butterfly matches its face instead of showing a grey core. Skip any one of the three and you get a pretty earring. Keep all three and you get depth.
At a Glance
- Clay type and brand: Polymer clay, Sculpey Premo (Translucent, Turquoise, Peacock Pearl, Ultramarine Blue, White)
- Technique: Extruded composite cane, sliced and rolled into a patterned veneer
- Tools: Pasta machine, clay extruder with circle discs, tissue blade, butterfly and gemstone cutters, acrylic roller, ceramic tile, X-Acto knife, pin vise drill, UV resin lamp, two pairs of chain-nose pliers
- Cure method: Oven, 275°F / 130°C for 30 minutes
- Finished size: Butterfly 28 mm wingspan, 45 mm total drop. Gemstone stud 12 mm
- Hands-on time: 2 hours 30 minutes
- Total time: 3 hours 45 minutes including cure, cooling, and resin curing
- Difficulty: Advanced
Materials and Tools
Essential
- Sculpey Premo Translucent, two 57 g blocks
- Sculpey Premo in Turquoise, Peacock Pearl, Ultramarine Blue, and White, one block each
- Pasta machine dedicated to clay
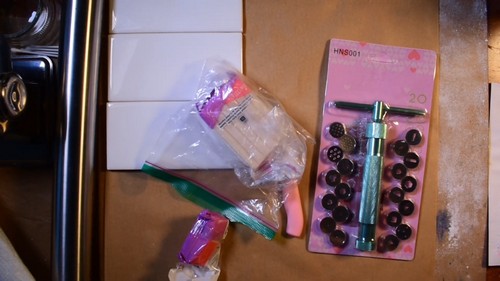
- Clay extruder with 6 mm, 3 mm, and 1.5 mm circle discs
- Tissue blade and rigid blade
- X-Acto knife with a fresh #11 blade
- Acrylic roller
- Butterfly cutter, 28 mm across
- Gemstone or marquise cutter, 12 mm
- Two 150 mm ceramic or glass tiles
- Parchment paper and a clipboard or board
- Cornstarch in a shallow dish
- 70% isopropyl alcohol and lint-free cloth
- Oven thermometer
- Aluminium foil for tenting
- Wet/dry sandpaper in 400, 600, 800, and 1000 grit
- UV resin and a 36 W UV lamp
- Pin vise with a 1 mm drill bit
- Nail file or fine sanding stick
- 5 mm x 0.8 mm nickel-free jump rings, 12
- 2 mm nickel-free cable chain, 60 mm
- Surgical steel fishhook earwires, one pair
- Surgical steel flat-pad stud posts with backs, one pair
- Two pairs of chain-nose pliers
Nice to Have
- Cane reducing tool or acrylic block
- Clay-dedicated tile for slicing
- Bowl of ice water for post-bake quenching
- Watercolour paper, paints, paper cutter, and a logo stamp for earring cards
- Awl or leather punch for piercing cards
- E6000 or two-part epoxy for stud pads
Colour Recipes
All ratios are by volume, mixed as a starting point and adjusted by eye against a light source.
- Sea glass pale: 6 parts Translucent, 1 part Turquoise
- Mid teal: 5 parts Translucent, 1 part Peacock Pearl
- Deep water: 4 parts Translucent, 1 part Ultramarine Blue, a pea of White
- Green edge: 5 parts Translucent, 1 part Turquoise, a pea of Peacock Pearl
Mix each fully, then rest the blocks 10 minutes before extruding.
The Build
Setting Up
- Tape parchment paper across a clipboard or flat board to make a portable 300 mm work surface.
- Wipe hands, blades, roller, extruder barrel, and the parchment with 70% isopropyl alcohol on a lint-free cloth.
- Set the tiles aside on a clean shelf, wiped and dry.
Conditioning
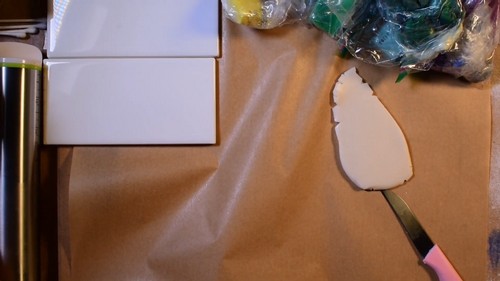
- Cut each block into 5 mm slabs with the rigid blade.
- Pass the Translucent through the pasta machine at 3 mm, folding and re-feeding fold-first, 20 times.
- Condition each colour the same way, 15 passes each, wiping the rollers between colours.
- Mix the four palette colours to the ratios above, folding and re-rolling until no streaking shows against the light.
Extruding and Wrapping the Strands
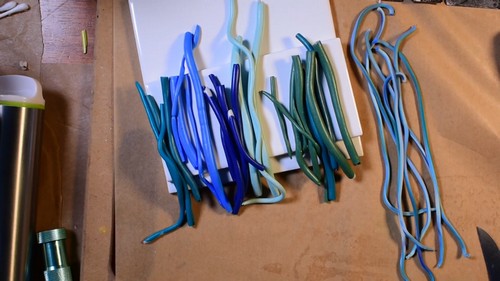
- Fit the 6 mm circle disc and extrude a 200 mm strand of plain Translucent.
- Roll one palette colour to 1 mm and cut a strip long enough to wrap the strand once with a 2 mm overlap.
- Wrap the strand, trim the seam flush with the X-Acto knife, and roll it under a tile until the seam disappears.
- Repeat steps 8 to 10 with the 3 mm disc, wrapping each strand in a different palette colour. Make six strands.
- Fit the 1.5 mm disc and extrude eight accent coils from the leftover mixed colours.
- Roll all strands and coils to an even diameter along their full length.
Bundling the Cane
- Cut every strand and coil to 100 mm.
- Stand the strands upright on a tile and bundle them so no two strands of the same colour touch.
- Pack the 1.5 mm accent coils into the gaps between the larger strands until the bundle holds its shape with no visible air channels.
- Compress the bundle gently from all sides with a tile, working from the middle outward, until it holds as one cane roughly 30 mm across.
- Rest the cane 20 minutes.
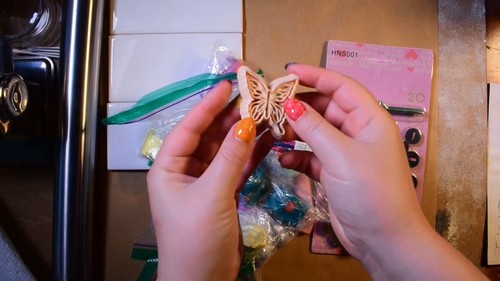
Slicing and Building the Sheet
- Trim 10 mm off each end of the cane and set the ends aside as scrap.
- Cut 5 mm slices with the tissue blade, turning the cane a quarter turn between cuts.
- Lay the slices edge to edge on the tile in a single layer, covering an area of at least 100 mm x 100 mm.
- Press the slices together with fingertips until the seams close.
- Roll a sheet of plain Translucent to 1 mm and lay it under the joined slices as a backing.
- Roll the combined sheet flat with the acrylic roller, then pass it through the pasta machine at 3 mm, feeding the same edge first each time.
Cutting the Butterflies
- Dip the butterfly cutter in cornstarch and tap off the excess.
- Press the cutter into the sheet, then set a flat-bottomed glass over it and press straight down to drive the fine wing detail through.
- Lift the cutter, and if the clay lifts with it, release it by carving around the outline with the X-Acto knife.
- Cut a second butterfly from an adjacent area of the sheet.
- Transfer both to a clean tile with the tissue blade.
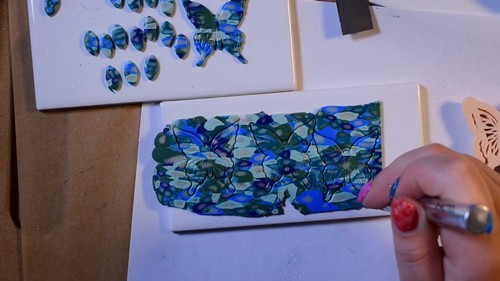
Cutting the Gemstone Studs
- Dip the 12 mm gemstone cutter in cornstarch.
- Cut two shapes from the sheet, placing them within 30 mm of each other so the pattern reads as a pair.
- Transfer to the same tile.
- Trim any lifted edge flat with the X-Acto knife and smooth it with a fingertip dipped in alcohol.
Curing
- Bake on the ceramic tile, never on bare metal. Set an oven thermometer on the shelf and preheat to 275°F / 130°C, waiting for the thermometer rather than the oven’s own signal. Tent the tile with a folded sheet of aluminium foil, edges sealed against the tile, to block direct element radiation. Bake 30 minutes. The pieces are 3 mm, well under Premo’s 6 mm reference thickness, but the brand minimum still applies in full and translucent clay in particular needs the whole 30 minutes to clear.
- Here is the part most tutorials leave out: drop the pieces straight from the oven into ice water. The thermal shock drives translucent Premo noticeably clearer and takes about a minute.
Finishing
Scrape the cooled pieces off the tile with a rigid blade held almost flat. Wet sand the edges only, 400 through 1000 grit, keeping water on the paper throughout. Faces stay unsanded because the resin coat will do that work. Drill the suspension holes now with the pin vise and a 1 mm bit, siting each hole 2 mm in from the edge. Coat one face with UV resin, working it to the edge with a needle tool, and cure 4 minutes under a 36 W lamp. Flip and repeat. Re-drill each hole to clear cured resin from the channel.
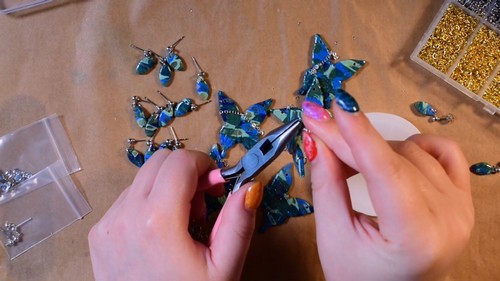
Assembly and Hardware
- Open every jump ring by twisting the ends past each other sideways, never by pulling them apart, and close them the same way until the ends grate together with no gap.
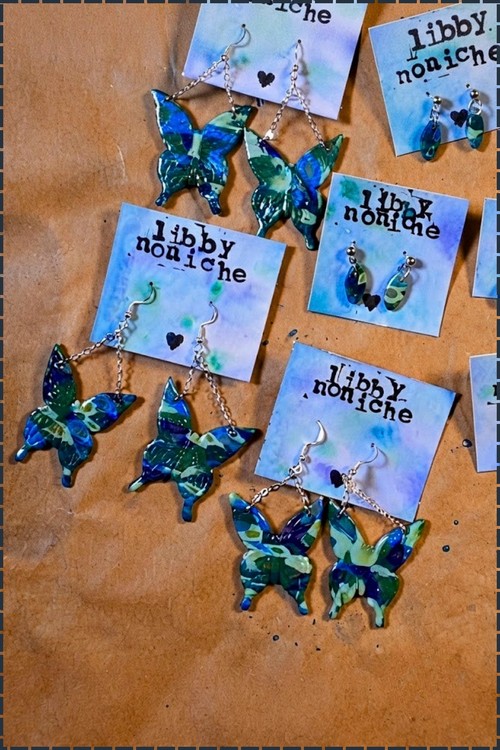
- For the butterflies, cut two 20 mm lengths of 2 mm cable chain. Thread a jump ring through the drilled hole at the top of each butterfly and close it around the bottom link of a chain. Attach a second jump ring from the top link of the chain to the loop of a fishhook earwire. Check both drops hang at the same length before closing the last ring.
- For the studs, attach a jump ring through the drilled hole and directly onto the loop of a loop-backed surgical steel post. If using flat-pad posts instead, glue the pad centrally with E6000 and leave 24 hours to cure fully.
- All skin-contact findings are nickel-free or surgical steel. At 3 mm and 28 mm across, the butterflies weigh roughly 1.5 g each and sit comfortably on a fishhook.
Where Makers Go Wrong
- Plaquing shows up after the bake, not before. Translucent polymer traps microscopic air during conditioning and those pockets open into crescent-shaped internal clouds under heat, which is invisible while you work and permanent once it happens. Leach the translucent between paper for an hour before conditioning and let the cane rest cold before slicing.
- Translucent ambers where opaque would look fine. The same oven hot spot that leaves a turquoise piece untouched will push a translucent one visibly yellow-brown, so a tray that baked perfectly last week can still ruin this one if the tent shifts.
- Slices from opposite ends of a cane are not a pair. The outer strands drag as the cane compresses, so the pattern at one end differs measurably from the other. Cut both butterflies from slices within 20 mm of each other, and cut them before you cut anything else.
- Resin wicks into the drilled hole and cures invisibly. The channel looks open from the outside while the interior is plugged, and forcing a jump ring through it stresses the clay at the thinnest point on the whole piece. Re-drill every hole after curing even when it looks clear.
- Asymmetric holes only show once the earrings are on. Two millimetres of difference in where the hole sits on the butterfly reads as level on the bench and as a visible tilt on the ear. Hold the finished pair up by the earwires and compare before the last jump ring closes.
Variations
| Variation | What Changes | What It Asks For |
|---|---|---|
| Mokume gane sheet | Pattern comes from stacked layers shaved with a blade rather than a bundled cane, giving soft organic drifts instead of defined cells | A deep stack, a very sharp tissue blade, and a light touch on the shave |
| Opaque backing | Swapping the 1 mm translucent backing sheet for white or black kills the backlighting and turns the cane into a graphic surface pattern | Nothing extra, but commit to it, since the two effects do not combine |
| Single statement butterfly | One 45 mm butterfly on a post with no chain, cut at 4 mm for rigidity across the wider span | A thicker sheet, a 45 minute bake, and a check that the post pad sits above the balance point |
Care
Take these off before swimming, since UV resin clouds with repeated chlorine contact. Store them flat rather than hanging, so the chain does not put standing tension on the drilled hole. Keep them out of a car in summer, because polymer softens well below its cure temperature. Perfume and hairspray both dull a resin coat, so dress first and put the earrings on last. Clean the resin with a damp cloth only, never alcohol, which hazes the surface.
Quick Answers
- Can I use air-dry clay for this? No. The technique depends on extruding, caning, and slicing without the material drying between steps, and air-dry clay skins over within minutes of leaving the packet.
- My cane went muddy at the seams. Can it be saved? Slice it anyway and look at the face rather than the ends. If the muddiness runs through the whole cane, roll the slices into a fresh marbled sheet and cut studs from it rather than butterflies.
- Is there a substitute for the extruder? Hand-rolled snakes wrapped in thin sheet work, but they vary in diameter along their length and the bundle will not pack tightly. Expect visible air channels through the finished slice.
- Can I skip the UV resin? Only if you sand and buff the faces through 1000 grit instead. Unresined translucent looks matte and the stained glass effect largely disappears.
Leave a Reply