Personalized Clay Bead Bracelet Letter – Alphabet Bracelet at Home
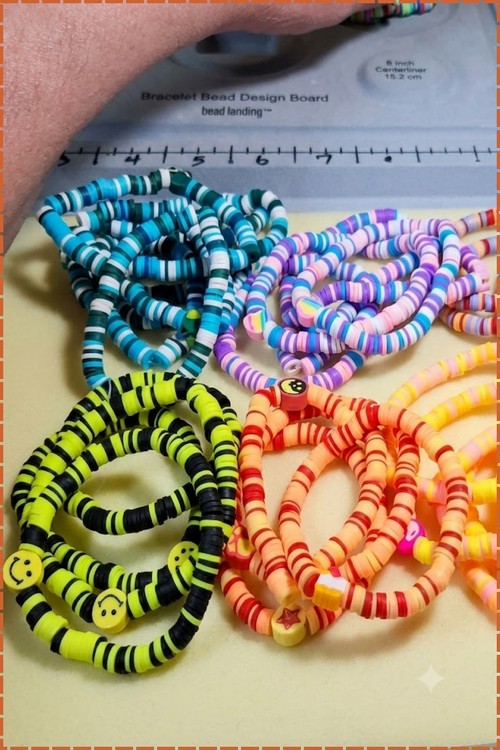
Personalized clay bead bracelet with the letters spaced rather than crammed together, so a name reads at a glance instead of turning into a block of white beads. One neutral between each letter is usually enough. Names, initials, or a short word.
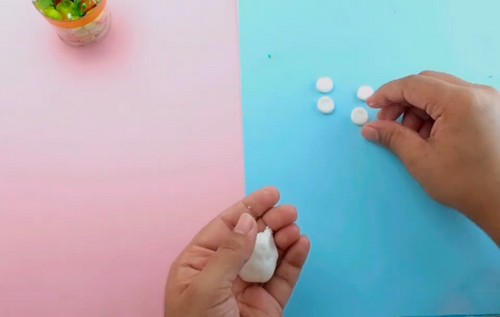
Letter clay beads made by hand give bracelet projects a fully custom feel that bought beads cannot replicate, since the letters, colors, and sizing are all decided before the clay goes flat. White polymer clay rolled into small discs keeps the base consistent, and colored markers applied after shaping let each letter stand out individually. Heart beads mixed in between letters add variety without needing a second bead shape.
Clay Bead Bracelet Letter

- Clay type: homemade cold porcelain, mixed from white PVA craft glue and cornflour
- Brand guide: Elmer’s Glue-All or any white washable PVA, plain supermarket cornflour
- Tools: mixing bowl, rolling pin, 12 mm round cutter, 2.5 mm bamboo skewer, wire cooling rack, soft flat brush, oil-based paint pen
- Cure method: air dry only, 36 to 48 hours at room temperature, turned twice
- Finished size: 12 mm discs, 6 mm thick, strung to a 180 mm bracelet
- Hands-on time: 75 minutes, split across two sessions
- Total time: 3 days including drying and glue cure
- Difficulty: beginner
Materials and Tools
Essential
- White PVA craft glue, 60 ml
- Cornflour, about 150 g, plus extra for dusting
- Baby oil or unscented hand lotion, 1 teaspoon
- Lemon juice or white vinegar, half a teaspoon
- Mixing bowl and spoon
- Ceramic tile or baking parchment as a work surface
- Rolling pin or a smooth glass jar
- Round cutter, 12 mm
- Bamboo skewer, 2.5 mm at the tip
- Wire cooling rack
- Cling film
- Oil-based paint pen, fine tip
- Water-based acrylic clay sealer or matte polyurethane varnish
- Soft flat brush, 6 mm
- Clear elastic beading cord, 0.8 mm
- Clear jewellery glue
Nice to Have
- Talcum powder in place of cornflour
- 400 grit sandpaper
- Metal alphabet stamps, 5 mm
- Beading needle
- Airtight container for leftover dough
- Digital kitchen scale
- Thin card strips, 6 mm, as rolling guides
The Clay Mix
Start at one part white glue to one and a half parts cornflour by volume, so 60 ml of glue to 90 ml of cornflour. The baby oil and lemon juice go into the glue before any cornflour does. Knead, then work in more cornflour a spoonful at a time until the dough stops clinging to your palms. It should feel like fresh chewing gum, firm and a little springy. Too much cornflour makes it crumble at the cut edge.
The Build
Mixing the Clay
- Pour 60 ml of white PVA glue into the bowl.
- Stir in 1 teaspoon of baby oil and half a teaspoon of lemon juice.
- Add 90 ml of cornflour and stir until the mixture pulls cleanly off the sides of the bowl.
- Turn the dough out onto a surface dusted with cornflour.
- Knead for 5 minutes, adding cornflour a spoonful at a time, until it no longer sticks to your hands.
- Wrap the dough in cling film and rest it for 20 minutes.
Rolling and Cutting the Beads
- Dust the tile and the rolling pin lightly with cornflour.
- Set a 6 mm card strip on each side of the dough as a depth guide.
- Roll to an even 6 mm sheet, roughly 120 by 90 mm.
- Cut 12 mm discs, leaving 2 mm between cuts, starting at one edge and working straight across.
- Cut the whole sheet before you lift anything off it.
- Lift each disc on a knife blade and set it on the parchment.
- Smooth any ragged rim with a fingertip dampened with water.
- Gather the offcuts, knead them back together, and wrap them straight away.

Piercing the Holes
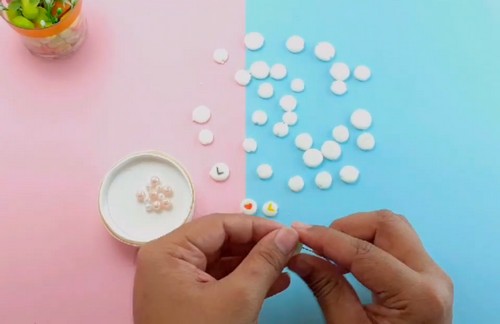
- Hold a disc flat between finger and thumb, gripping the two side rims.
- Push the 2.5 mm skewer into the rim at the centre line, level with the flat faces.
- Turn the skewer as it travels rather than forcing it straight through.
- Bring the tip out through the opposite rim.
- Slide the disc off and press the rim back to a circle between your fingers.
- Re-pass the skewer once through the finished tunnel.
- Transfer each pierced bead to the wire rack, flat face up.
- Work through the whole tray within 20 minutes of cutting.

Drying and Sealing
Cold porcelain at 6 mm needs 36 to 48 hours to go bone dry. Lay the beads on a wire rack so air reaches both faces, and turn them at 12 hours and again at 24. Keep them off radiators and out of direct sun, since one face drying ahead of the other is what curls a disc and opens hairline cracks at the hole. Re-pass the skewer at each turn. The clay loses up to a fifth of its volume as the water leaves, and the tunnel narrows with it. A bead is ready when it feels dense rather than slightly giving, and when the rim ticks against a fingernail. Sealing here is structural. Glue and starch pull moisture back out of the air and off skin, which softens a bead and cracks it over months. Two thin coats, every surface. Sealed cold porcelain is water resistant, not waterproof.
Finishing
Sand only what needs it. A 400 grit paper, dry, takes the burr off the rim and the pucker around the hole mouth. Cold porcelain sands fast and does not stop where you meant it to, so two or three passes is the whole job. Wipe the dust away with a barely damp cloth and let the face flash dry. Write the letters with the fine oil-based paint pen and give them 20 minutes to set hard. Brush the first sealer coat on in one direction, leave it an hour, then run the second coat across it. Keep both coats thin at the hole mouth so the tunnel stays open.

Stringing the Bracelet
- Measure the wrist and add 15 mm.
- Cut clear 0.8 mm elastic 100 mm longer than that figure.
- Pre-stretch the cord by drawing it firmly through your fingers four or five times.
- Stiffen one cut end with a dab of clear glue and let it dry for 5 minutes.
- Test-fit that end through one bead before you thread the batch.
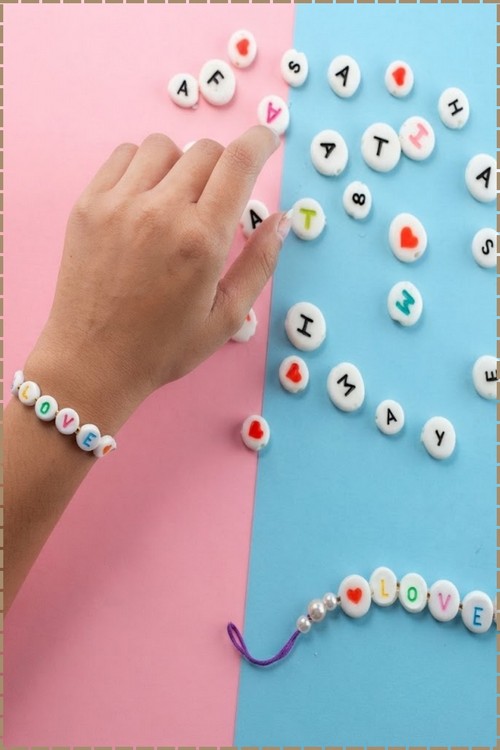
- String 15 beads at 12 mm each for a 180 mm bracelet, with the lettered beads centred.
- Tie a surgeon’s knot, then one overhand knot on top of it.
- Work a drop of clear jewellery glue into the knot and leave it 24 hours.
- Trim the tails to 2 mm and pull the knot inside the nearest bead.
- If you fit a clasp instead of elastic, use surgical steel or nickel-free findings.

Batch Running Order
- Mix one 60 ml batch, which rolls into two sheets and yields close to 90 beads.
- Roll, cut, and pierce one sheet fully before rolling the second.
- Cut the full sheet in a single pass, then lift the whole sheet in a second pass.
- Pierce down the tray in rows so the skewer never leaves your hand.
- A 300 by 200 mm cooling rack holds 60 beads with air gaps between them.
- Turn the rack as one unit at 12 and 24 hours, then re-pass every hole.
- Letter in alphabet order rather than by word, so every A is drawn before the nib moves on.
- Seal the whole rack in two runs, one coat each, an hour apart.
Where Makers Go Wrong
- The hole closes after the bead reads dry. The core gives up its last water hours behind the surface, so a bead that passed the 24 hour check can still tighten overnight. Test-fit the cord before you letter anything, because clearing a fully dry tunnel chips the rim and a chipped rim cannot be repaired invisibly.
- Discs cut late behave differently from discs cut early. A sheet skins over within about 20 minutes, and a disc cut from skinned clay dries with a tighter outer layer than its core. Those are the ones that crack at the rim on day two, long after the batch looked identical.
- Clear nail polish looks like a sealer and is not one. The solvent softens cold porcelain and lifts oil-based pen ink, and the film yellows and stays faintly tacky in humid weather. Nothing shows for a fortnight, by which point the whole batch is coated.
- Dough with no preservative grows mould from the inside. Grey specks surface weeks later on beads that dried perfectly, usually from a batch stored damp or mixed without the lemon juice. Sealer traps it rather than stopping it.
Variations
Talcum powder swaps in for cornflour at the same volume and gives a denser bead with a faint sheen off the sanded rim, though the dough stays sticky longer during kneading and wants a few extra minutes of rest. For a marbled set, knead one drop of acrylic paint into the finished dough and stop while the streaks are still separate, then cut across the sheet so no two discs catch the same part of the swirl. Letters read best on the paler sections, so plan the alphabet beads from the lightest area.
Care
Take the bracelet off before washing your hands, since water sitting in the hole softens the bead from inside. Keep hand cream and perfume off the faces, as both lift pen ink through the sealer. Store it flat rather than coiled tight. Re-coat the sealer once a year, or sooner if a rim looks chalky. Replace a cracked bead rather than gluing it.
Quick Answers
- Can I use clear or gel glue instead of white PVA? No. Clear formulas dry rubbery and never take a paint pen cleanly, and the dough will not hold a cut edge.
- An alcohol marker haloed into the bead. Can I save it? Sand the face back with 400 grit until the halo is gone, seal that face with one thin coat, then letter on top of the sealed surface.
- How long does leftover dough keep? Two to three weeks wrapped tight and boxed, if the lemon juice went in. Knead a few drops of baby oil through to soften it back.
- Can I bake these to dry them faster? No. Heat pulls water from the surface faster than the core can follow and the beads split around the hole. A fan set low across the rack is the only safe way to speed it up.