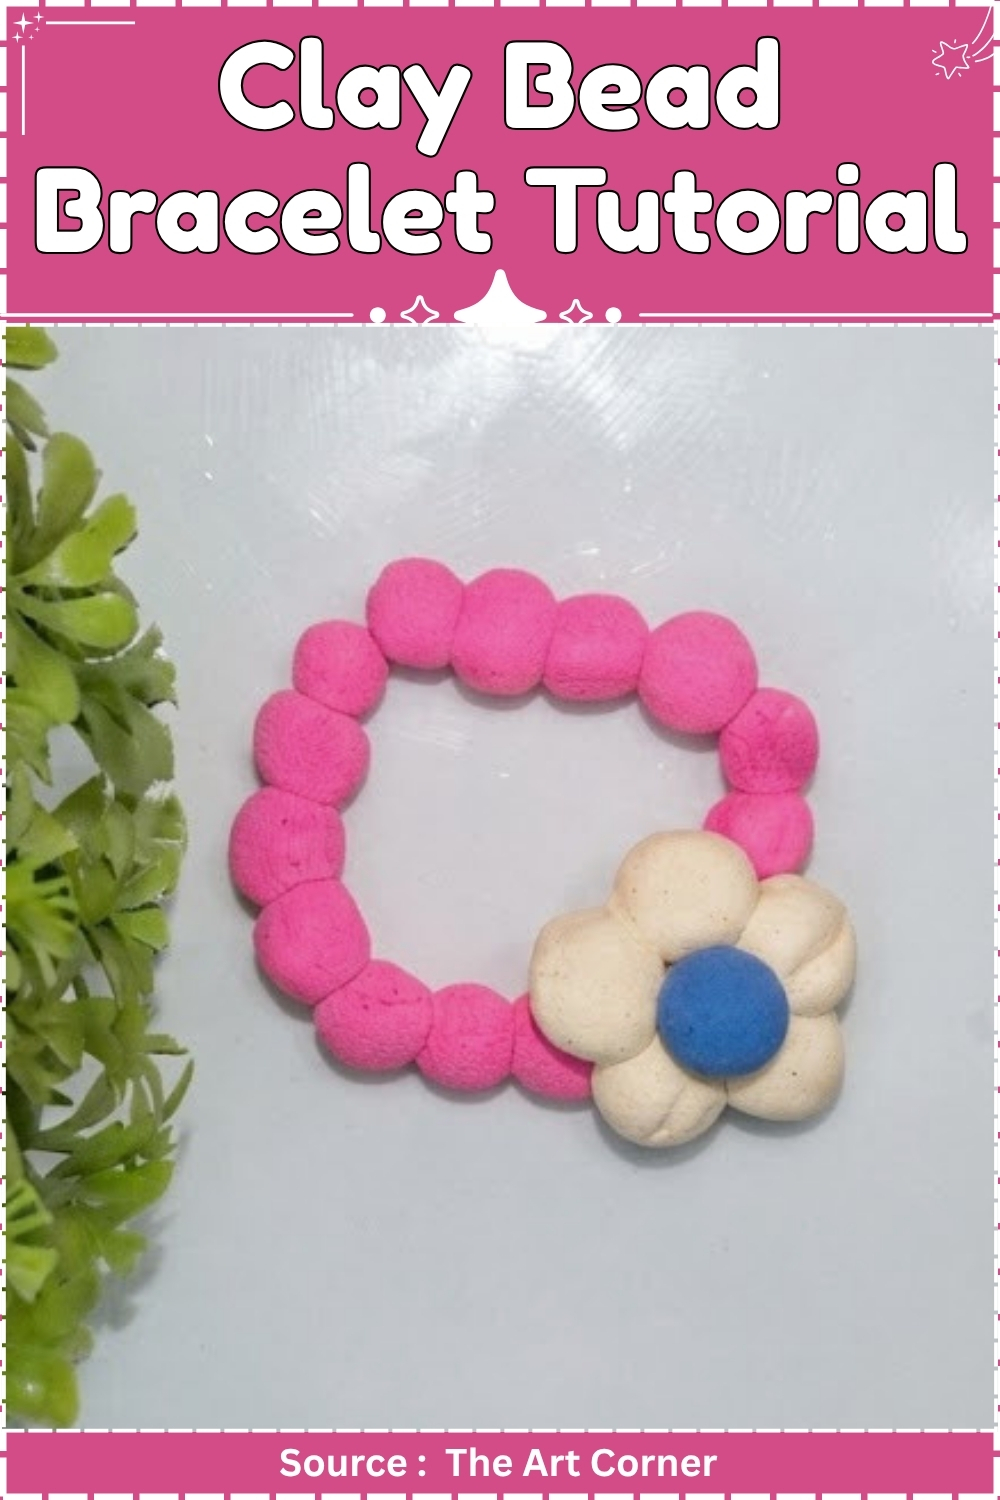
Clay bead bracelet ideas built around a single flower focal, with pink beads running either side of it. Laying out all six strands before you string anything is what keeps a batch consistent, since bead order is impossible to fix once the elastic is knotted. Line them up, string, knot, and you have a set rather than six one-offs.
Making one clay bead bracelet takes ten minutes. Making six that actually look like a set takes a bit of planning, and the planning happens before any bead goes on the elastic. Lay all six strands out first, place the flower focal on each, then build the pink beads out from there, because once a bracelet is strung and knotted there is no adjusting the order. This post covers the layout, the batching, and how to keep a set matched without making them identical.
Clay Bead Bracelet
Materials and Tools
Essential
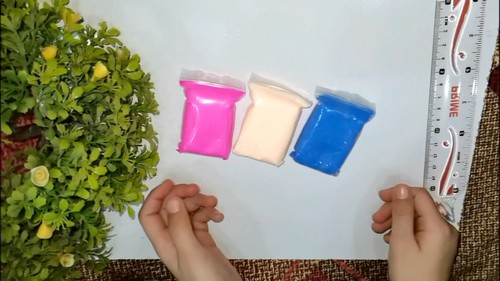
- Sculpey Premo in pink
- Sculpey Premo in cream or beige
- Sculpey Premo in blue
- Steel ruler, 150 mm
- Tissue blade
- Needle tool, 1.2 mm shaft
- Ball stylus, 2 mm head
- Ceramic tile, 150 mm square
- Oven thermometer
- Aluminium foil
- Clear stretch elastic, 0.8 mm
- GS-Hypo Cement
- Wet and dry sandpaper in 400, 600, 800, and 1000 grit
- Cornstarch
Nice to have
- Pasta machine
- Bead roller, 10 mm
- Bead reamer
- Denim scrap for buffing
- Acrylic clay roller
- Beading mat
Colour Recipes
- Mix by eye and stop when the colour looks right on the tile, not in your hand.
- Soft pink: 12 parts white to 1 part magenta. Add the magenta a pinhead at a time.
- Warm cream: 20 parts white, 1 part yellow, and a scrap of brown no larger than a grain of rice.
- Powder blue: 4 parts white to 1 part blue.
- Mix a fifth more of each colour than one bracelet needs. Leftovers become the next batch.
How to Make the Clay Bead Bracelet
The Pink Beads
- Condition the pink clay for two minutes, until a folded edge bends without cracking.
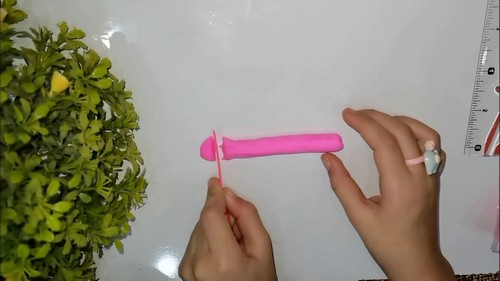
- Roll the pink into a log 10 mm in diameter and 130 mm long.
- Lay the flat of the steel ruler across the log and press down lightly along its length.
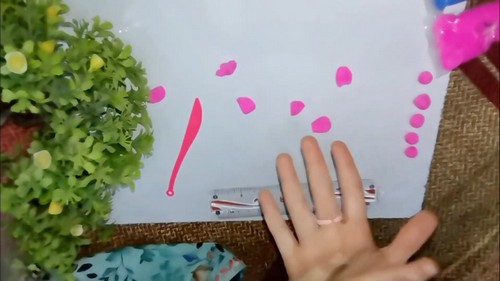
- Cut the log into 16 lengths of 7 mm each with the tissue blade.
- Roll each length between your palms into a smooth 10 mm ball.
- Set the finished balls on the ceramic tile in a single row.
The Flower Focal
- Roll a 16 mm pink ball and flatten it into a disc 5 mm thick.
- Roll five cream balls at 5 mm each.
- Flatten each cream ball into a disc 7 mm across.
- Roll one blue ball at 5 mm and flatten it to 6 mm across.
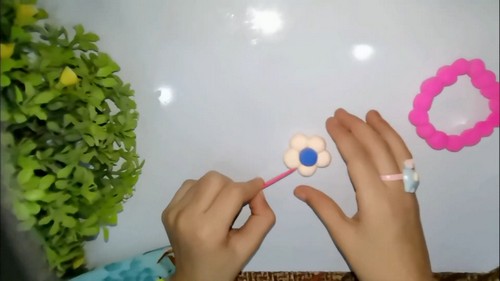
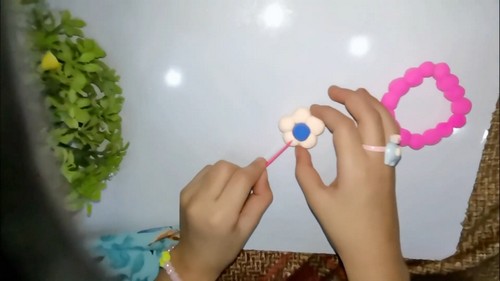
- Arrange the five cream discs in a ring on the pink disc with their edges touching.
- Press the blue disc into the centre where the five petals meet.
- Draw a shallow line down the middle of each cream petal with the tip of the ball stylus.
- Press the assembled flower down onto the pink disc with the pad of your thumb until the layers sit flush.
Piercing
- Push the needle tool into the centre of a pink bead and stop halfway through.
- Turn the bead over and pierce from the opposite face until the two channels meet.
- Pierce the focal through the pink backing disc only, below the flower, using the same two-sided method.
- Roll any bead distorted by piercing lightly between your palms to bring it back to round.
- Repeat for all 16 beads and set them back on the tile.
Batch Running Order
Work colour by colour, not bracelet by bracelet. Condition all three colours in one sitting, then roll six pink logs at 130 mm and cut all 96 segments before you roll a single ball. Rolling balls is the slowest step, so give it its own block. Cut the cream and blue for all six flowers next, since those tiny discs firm up fast and are easier to handle cold. Pierce last, in one pass, while your grip on the needle tool is consistent. Six bracelets fit on one 330 by 230 mm tray with 20 mm between beads. Bake the whole tray together and the marginal cost of bracelets two through six is about eight minutes each.
Curing the Beads
- Preheat to 275°F / 130°C and check the reading against an oven thermometer sitting on the middle shelf. Home ovens routinely run 25 degrees off the dial.
- Spread a 10 mm bed of cornstarch in a shallow metal tin and nest the beads into it so no bead rests on a flat surface. Sit the focal flower-side up in the same bed. Tent the tin loosely with aluminium foil.
- Bake for 50 minutes. That figure comes from the 10 mm beads, which are the thickest thing on the tray, and it applies to the thin flower petals too.
- Switch the oven off and leave the tin inside until it reaches room temperature. Brush the cornstarch away with a dry soft brush once cool.
Finishing
- Wet sand every bead by hand under a trickle of water. Start at 400 grit and work the whole surface, then move through 600, 800, and 1000. Keep the paper wet throughout and rinse the bead between grits.
- Pay attention to the rim of each hole. A 1000 grit corner rolled once around the opening removes the lip that piercing leaves behind.
- Buff the beads against a scrap of denim for 30 seconds each. Polymer takes a genuine shine from friction alone, and a buffed bead beats a varnished one for feel.
- Skip sealing entirely on this piece. A glaze layer on a bead that rubs against fifteen other beads will craze within weeks.
Stringing and Assembly
- Cut 300 mm of 0.8 mm clear stretch elastic. Pull it firmly between both hands three or four times along its full length before you string anything, then let it relax for a minute.
- Run a bead reamer or a folded scrap of 800 grit through each hole until the elastic passes without dragging.
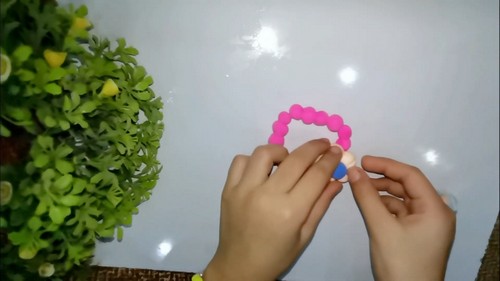
- String eight pink beads, then the flower focal, then the remaining eight. Bring the ends together with no slack and no stretch. Total strung length should sit at 180 mm for an average adult wrist.
- Tie a surgeon’s knot, which is a square knot with the first pass doubled. Pull it tight, then tug each side of the bracelet outward twice to seat it.
- Place a pinhead of GS-Hypo Cement directly on the knot and let it cure for one hour. Trim the tails to 2 mm and pull the knot into the focal bead’s channel.
Where Makers Go Wrong
- The elastic relaxes long after the knot holds. Stretch elastic keeps giving for the first two or three weeks of wear, and a bracelet strung snug on the day will sit loose by the end of the month. Pre-stretching before you string is what absorbs most of that, and it is the step people skip because the bracelet looks fine without it.
- A one-sided piercing leaves an invisible burr. Driving the needle straight through pushes a ridge of clay out the far side, and sanding removes only the part you can see. The remainder sits inside the channel and saws at the elastic from within, which is why a bracelet fails at a bead rather than at the knot.
- Petals bond by contact, not by chemistry. If the cream discs have sat out and firmed before you press them onto the pink backing, they hold well enough through the bake and then shear off months later under a sleeve. Assemble the flower and press it down within the same working session, while every surface is still tacky.
- Light clay picks up pigment from your hands. Magenta and blue transfer to cream through fingers you would swear are clean, and the marks only surface once heat sets them. Roll the cream first, or wipe down with isopropyl alcohol between colours.
Variations
| Variation | What changes | Notes |
|---|---|---|
| Three-flower spacer bracelet | Two more focals, spaced five beads apart | Drop to 12 pink beads to hold the 180 mm length |
| Graduated bead run | Beads stepped from 8 mm at the knot to 12 mm at the centre | Roll each size from its own log rather than eyeballing |
Care
- Take the bracelet off before hand cream goes on, since lotion collects in the knot and softens the elastic there first.
- Roll it over the knuckles rather than pulling it wide by gripping one bead.
- Keep it away from loose knitwear, where the raised petals catch and lever off the backing.
- Store it flat in a small box instead of hanging it, which holds the elastic under tension all week.
- Restring it as soon as gaps appear between beads at rest.

Quick Answers
- Can I make this with air-dry clay instead? Yes, with two changes. Air-dry beads must be sealed on every surface including the inside of the hole, and they cannot survive a bracelet that gets pulled over the hand, so string on a clasp rather than elastic.
- My beads came out with flat, shiny patches on one side. They rested directly on the tin. There is no fix on a cured bead beyond sanding the patch back through all four grits, which will leave that bead slightly smaller than its neighbours. Move it next to the knot where the size difference disappears.
- Can I glue beads onto a cord instead of piercing them? No adhesive holds reliably on cured polymer under the shear force a bracelet sees. Even epoxy releases within a few weeks of wear.
- How do I size this for a child? Measure the wrist and add 15 mm. A 145 mm bracelet takes 12 pink beads plus the focal, and it is worth dropping the bead diameter to 8 mm so the proportions still read right.
Leave a Reply