Clay Bracelet Ideas That Are Worth Making From Scratch
Clay bracelet ideas worth the effort of making your own beads rather than buying a tub. Marbled beads, uneven hand-rolled shapes, colors you mixed yourself. The ones that look bought are not on this list. Ideas to work through when you have an afternoon free.
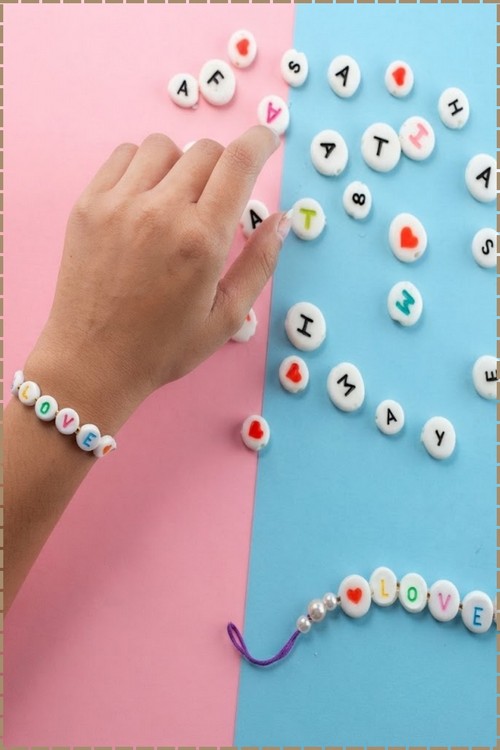
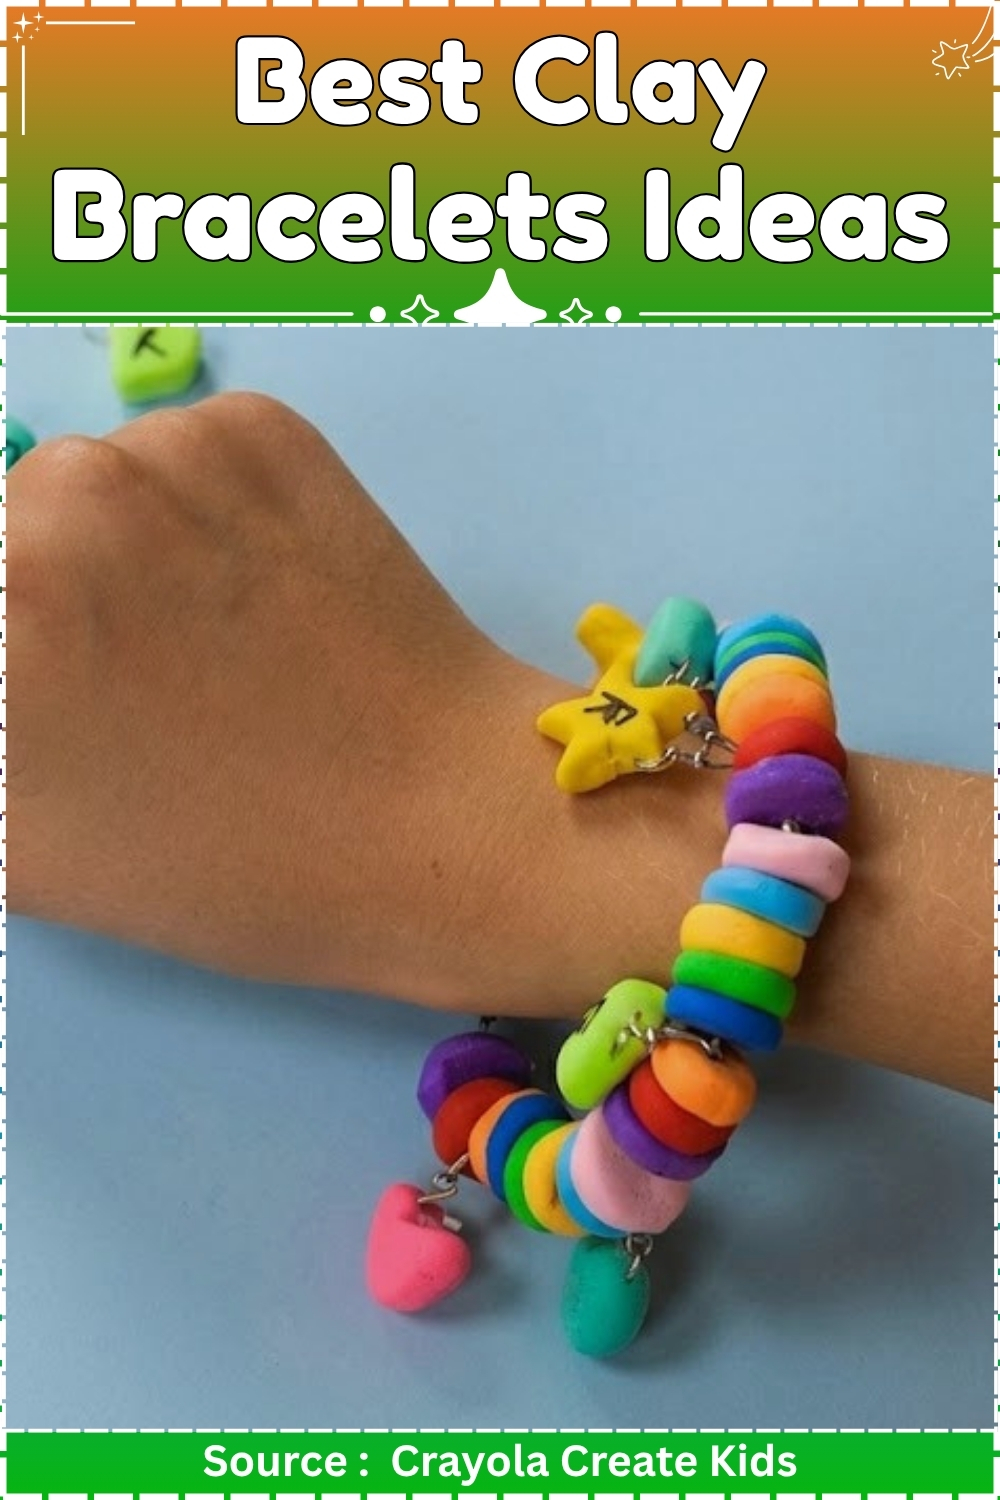
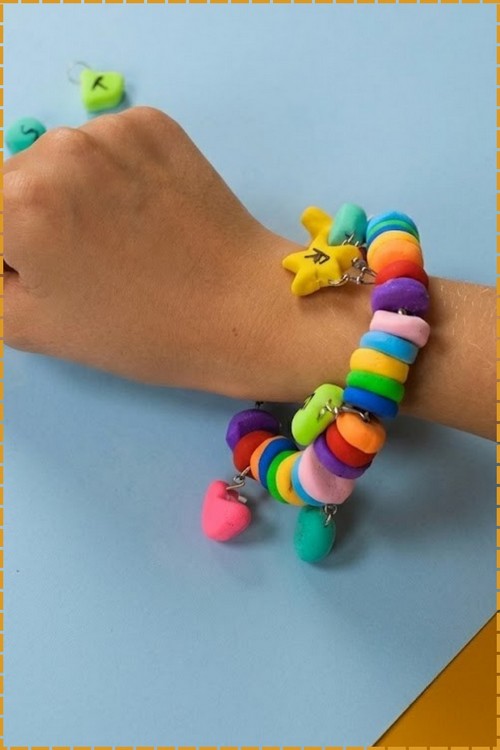
Rainbow disc beads combined with shaped clay charms make this one of the more involved clay bracelet ideas because each charm gets formed, lettered, and fitted with a jump ring before a single bead goes onto the cord. Heart and star shapes sit alongside round letter beads, and the variety of forms is what separates this from a plain heishi strand. Every color in the disc sequence is a different hue, so the bracelet reads as a full rainbow once it is strung.
Clay Bracelet
- Clay type: Polymer clay, oven-cured
- Suitable brands: Sculpey Premo, Sculpey Original, Fimo Soft
- Tools: acrylic roller, cookie cutters, bamboo skewer or needle tool, round-nose pliers, flat-nose pliers, fine paintbrush
- Cure method: 275°F / 130°C, 30 minutes
- Finished sizes: beads 10 to 12 mm disc, charms 20 to 25 mm, ring band sized to finger, flower earrings 35 to 40 mm, dangle pendants 25 to 30 mm
- Hands-on time: 20 to 30 minutes per item, 3 hours for the full set
- Total time: 5 hours including cure and cool
- Difficulty: Intermediate
Materials and Tools
Essential
- Polymer clay in multiple colours
- Acrylic roller
- Small cookie cutters in star, heart, and basic shapes
- Bamboo skewer or needle tool for piercing
- Fine-tip acrylic markers (black and coloured)
- Clear elastic cord, 0.8 mm
- Fine chain, 300 mm per pair of earrings
- Nickel-free or surgical steel earring hooks
- Nickel-free or surgical steel flat-pad earring posts, 5 mm pad
- Nickel-free jump rings, 5 mm
- Two pairs flat-nose pliers
- Cardstock for lining trays
- Aluminium foil for tenting
- Toaster oven and oven thermometer
Nice to Have
- Textured rolling pin or lace sheet
- Clay softener
- Polymer-compatible gloss varnish
- Cornstarch for anti-stick
- Small ball tool
- Fine paintbrushes, liner and round
The Build
Animal Ring
- Condition a 15 g ball of clay for 3 minutes until smooth.
- Roll the clay into a log 8 mm in diameter and 60 mm long.
- Wrap the log around a finger-sized mandrel or a dowel of the appropriate diameter and press the ends together, trimming the overlap with a blade so the join is flush.
- Smooth the join by rolling it gently between your fingers.
- Pinch off two 3 mm balls and shape them into flat teardrop ears.
- Press the flat side of each ear against the top outer edge of the band, one on each side of the centre point.
- Use a needle tool to press two dots for eyes and a curved line for a mouth on the front face of the band.
- Set on a cardstock-lined tray and bake at 275°F / 130°C for 30 minutes.
Beaded Friendship Bracelet
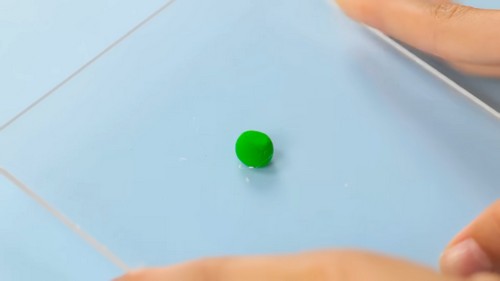
- Condition clay in each colour for 2 minutes per colour.
- Roll each colour into a log 10 mm in diameter.
- Slice the logs into 4 mm thick discs with a blade, keeping the cuts even.
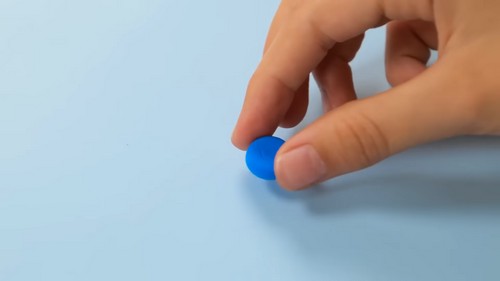
- Press each disc lightly between two fingers to smooth the cut edges and even the faces.
- Pierce each disc through the centre with a bamboo skewer, holding the disc steady and pushing straight through.
- Widen the hole with one rotation of the skewer so 0.8 mm elastic passes through with light resistance.
- Place the discs on cardstock with holes facing sideways and bake at 275°F / 130°C for 30 minutes.
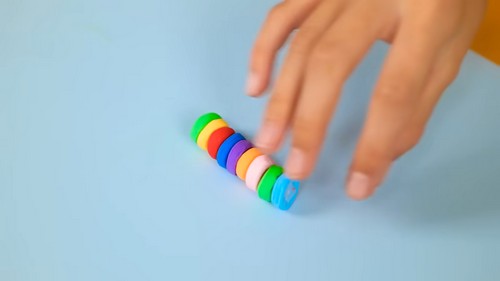
- Cool for 20 minutes, then string on 280 mm of 0.8 mm clear elastic, alternating colours.
- Tie a surgeon’s knot, add one drop of superglue to the knot, wait 3 minutes, trim the tails to 2 mm, and ease the knot inside a bead hole.
Customised Letter Charms
- Condition clay in your chosen colour for 3 minutes.
- Roll the clay to 3 mm thick.
- Press heart and star cutters into the sheet and lift each shape clean.
- Pierce a 2 mm hole near the top of each shape with the bamboo skewer.
- Set on a cardstock-lined tray and bake at 275°F / 130°C for 30 minutes.
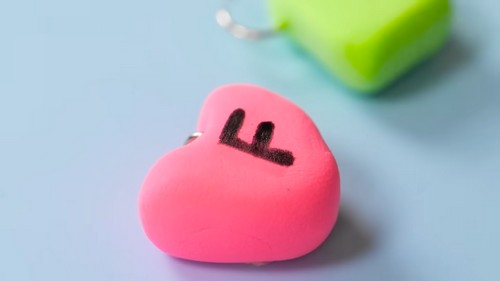
- Cool completely, then write one letter per charm in the centre using a fine-tip acrylic marker.
- Let the marker ink dry for 10 minutes before handling.
- Apply one thin coat of polymer-compatible gloss varnish over the surface and leave to cure per the product instructions.
- Open a 5 mm jump ring sideways with two pliers, thread one charm, and close the ring onto a chain length or bracelet link.
Flower Statement Earrings
- Condition a 20 g ball of clay per earring in the main petal colour for 3 minutes.
- Roll the clay to 3 mm thick.
- Pinch off five 8 mm balls and press each into a flat teardrop petal shape 15 mm long.
- Arrange the five petals in a circle on the work surface, pointed ends facing outward, so the flat ends meet at the centre.
- Press the flat ends together firmly to join the flower, pressing from the back.
- Roll a 6 mm ball in a contrasting colour and press it flat into the centre of the petals.
- Use a needle tool to add two dot eyes and a curved smile in the centre ball.
- Press a nickel-free flat-pad earring post into the back centre of each earring, embedding the pad 1 mm into the clay.
- Set face-up on a cardstock-lined tray and bake at 275°F / 130°C for 30 minutes.
Clay Pendants and Dangle Earrings
- Condition clay in your chosen colour for 3 minutes and roll to 3 mm thick.
- Press cookie cutters into the sheet and lift each shape clean.
- Pierce a 2 mm hole 3 mm from the top edge of each shape using the bamboo skewer.
- Set on a cardstock-lined tray and bake at 275°F / 130°C for 30 minutes.
- Cool completely, then paint each piece with acrylic paint using a fine liner brush, adding detail lines, dots, or fill.
- Let paint dry for 30 minutes, then apply one thin coat of polymer-compatible gloss varnish.
- Cut chain into pairs of equal lengths: 25 mm per earring dangle.
- Open a 5 mm jump ring sideways, thread the chain end and the pendant hole, and close the ring.
- Open a second 5 mm jump ring, thread the chain top and an earring hook, and close.

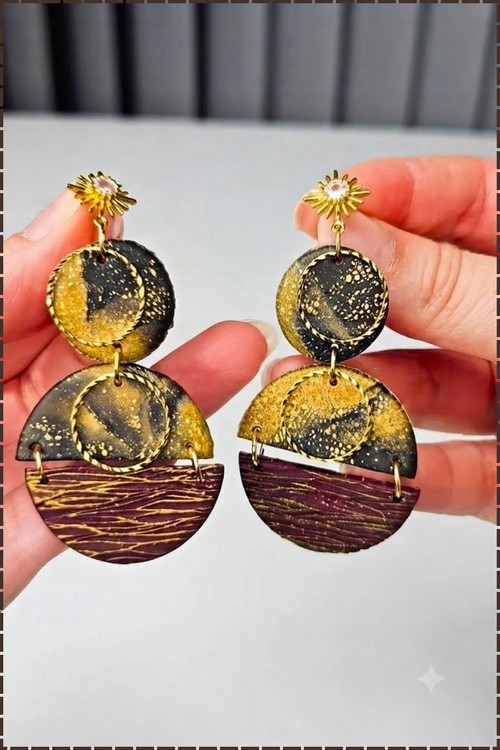
Textured and Marbled Earrings
- Condition two contrasting clay colours for 3 minutes each, keeping them separate.
- Stack the two conditioned logs together and twist them once to begin a marble.
- Fold the twisted log and roll it smooth, then twist again.
- Repeat the fold and twist three times total, stopping while distinct colour streaks are still visible.
- Roll the marbled clay to 3 mm thick.
- For texture: press a lace sheet or textured rolling pin over the surface with firm even pressure.
- Cut earring shapes with cookie cutters or a blade-cut oval 35 mm long and 20 mm wide.
- Press a nickel-free flat-pad earring post into the back centre of each piece, embedding the pad 1 mm into the clay.
- Set face-up on a cardstock-lined tray and bake at 275°F / 130°C for 30 minutes.

Phone Case Clay Panel
- Clean the back of the phone case with isopropyl alcohol and let it dry fully.
- Condition a 30 g block of clay for 4 minutes until smooth.
- Roll the clay to 4 mm thick in a shape slightly larger than the panel area of the case back.
- Lay the rolled sheet onto the case back and press it flat, working from the centre outward to remove air pockets.
- Trim the edges with a blade to follow the case outline, leaving the camera cutout and ports clear by 5 mm.
- Press small pre-shaped clay charms, 10 to 15 mm, into the surface as decoration, embedding them 1 mm into the panel.
- Lift the panel carefully from the case, keeping the clay flat.
- Set on a cardstock-lined tray and bake at 275°F / 130°C for 30 minutes.
- Cool fully, then apply a thin layer of E6000 adhesive to the back of the cured panel and press it to the phone case. Leave flat under a weight for 24 hours.
Cure Block
- Preheat the oven to 275°F / 130°C and let it settle for 20 minutes before anything goes in. Verify the temperature with a standalone oven thermometer sitting on the baking tray, not the dial. Small ovens spike on the way up and many settle 30 to 50 degrees above the dial reading, which scorches thin edges before the clay has properly cured.
- Bake all pieces at 275°F / 130°C for 30 minutes, timed from when the oven has reached temperature, not from when you closed the door. Line every tray with cardstock, never bare metal. Tent each tray loosely with aluminium foil with edges folded under so no foil surface touches the clay.
- Cool pieces on the tray for 20 minutes before handling. Earrings with embedded posts need the full cool before any pressure is applied to the post pin.

Finishing
Flat disc beads and cut-out pendants benefit from wet sanding if the surface is rough: start with 400 grit, work wet with small circular strokes, rinse the sponge, and move to 800 grit. Dry fully before painting or sealing. The animal ring and flower earrings have sculpted surfaces that are difficult to sand without losing detail; leave them as-baked unless a specific bump needs addressing. Seal any painted surface with one thin coat of polymer-compatible gloss varnish: Sculpey Gloss Glaze or a similar water-based product. Never use nail polish on polymer clay. It stays chemically reactive against the surface and goes tacky within weeks of contact.
Hardware and Assembly
Open every jump ring by twisting the ends sideways past each other with two pairs of flat-nose pliers, not pulling them apart. Close by reversing the twist until the ends click past each other and meet with no gap. For the friendship bracelet knot, use a surgeon’s knot: right over left once, then left over right twice, pull firmly, add one drop of superglue, wait 3 minutes, trim tails to 2 mm. Use nickel-free or surgical steel for all findings on any piece worn against skin, including the earring posts on the flower and marbled earrings. The phone case panel uses E6000 adhesive rather than clay bonding since baking the case itself would warp it.

Where Makers Go Wrong
- Marbling too far. The point where a two-colour marble stops looking intentional is not obvious in the hands, only in the finished piece. After four folds the colours have blended enough to read as a single muddy tone rather than two distinct streaks. Stop at three folds and hold the clay up to the light before rolling: if you cannot see colour separation, the sheet will look flat.
- Flower petals that separate after baking. Five petals pressed together at the tips look joined on the bench and come apart in the oven as the clay softens slightly before it cures. The joins need to overlap, not just touch: each petal’s flat end should sit 3 mm under the next one in a pinwheel arrangement, not alongside it. Pieces that separate cannot be re-bonded without visible repair.
- Letter charm paint that lifts at the edge of the marker line. Acrylic markers on a polished polymer surface write cleanly but the ink sits on the surface rather than penetrating it, and a single thumbnail scratch lifts it in a strip. The varnish coat is load-bearing here. A piece given to someone without sealing will come back in a week with the lettering half gone. Apply the varnish coat before the jump ring goes on, not after.
- Post pins embedded at an angle in the flower earrings. The back of a sculpted clay flower is not a flat surface: it follows the petal curves. An earring post pressed into a slightly angled point bakes at that angle and the finished earring faces downward or to one side when worn. Press the post into a small flattened area of clay first and then press that sub-assembly against the back of the flower with the post pointing straight out perpendicular to the front face.
- Phone case panel that cracks along the port cutouts. Clay that has been trimmed to within 5 mm of a rectangular cutout has a thin wall that concentrates stress at the corners. If the case is then flexed even slightly while the panel is still warm, the corner cracks before the clay has hardened fully. Let the case panel cool flat on the cardstock without picking it up for 30 minutes, and do not press the case down onto the cured panel until the E6000 has set for the full 24 hours.
Variations
- The letter charm bracelet works as a name bracelet by spelling across more charms: use 8 mm round beads as spacers between each letter charm rather than stacking charms directly together, so each letter hangs flat instead of crowding the next.
- Marbled earrings made with gold and white clay, rolled to 2 mm thin and cut into long thin rectangles 40 mm by 12 mm, produce a minimal dangle that pairs with the flower studs without competing.
- The animal ring scaled up to a 12 mm wide band with two coats of polymer-compatible gloss varnish reads as a statement ring rather than a craft piece.
Care
If a letter charm marker line chips, re-apply the marker and seal the whole face again rather than touching up the gap only. The friendship bracelet elastic degrades after 12 to 18 months of daily wear regardless of knot quality: re-string rather than repair when it starts going slack. Flower earrings with embedded posts: check the post once a month by pressing sideways gently. Resistance means the bond is intact. Phone case panels are not waterproof at the E6000 join: remove the case before water exposure. Painted pendant surfaces scratch against metal clasps when stored loose: keep each piece in a small zip bag or fabric pouch.
Quick Answers
- Can the phone case go through the oven with the clay on it? No. Plastic phone cases warp and release fumes at polymer baking temperatures. Bake the panel separately and glue it on once cured.
- My flower petals came apart in the oven. Can I rejoin them? You can press them back together and re-bake with a layer of liquid clay at the joins, but the repair seam will be visible on the front. Rebuild the flower from scratch if the piece matters.
- What elastic works for the bead bracelet? Beadalon Stretch Magic 0.8 mm clear elastic is the standard choice. Thinner elastic cuts under repeated bead friction at the knot point. Avoid ribbon elastic, which stretches unevenly and does not hold a surgeon’s knot.
- Can I use these methods on air-dry clay? Shape and hole-piercing steps transfer directly. Replace the baking cure with 24 to 48 hours drying flat on a tile, and seal every surface with two coats of polyurethane varnish before adding any findings. Air-dry clay absorbs moisture from skin and will soften at the jump ring hole without sealing.