Clay Jewelry DIY Necklace Idea
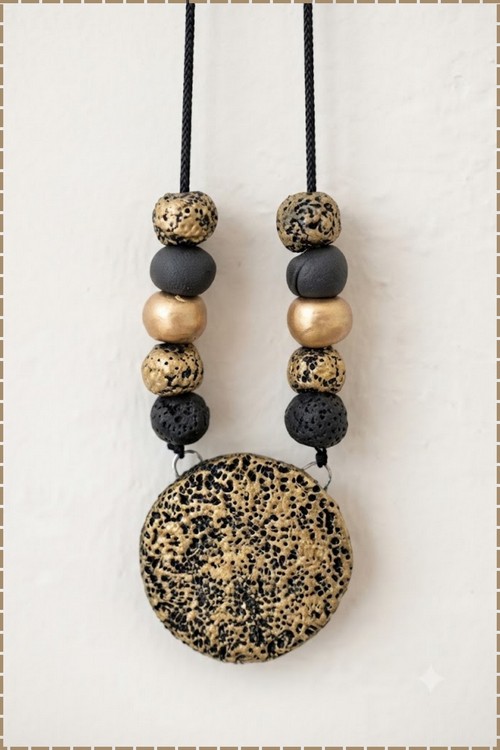
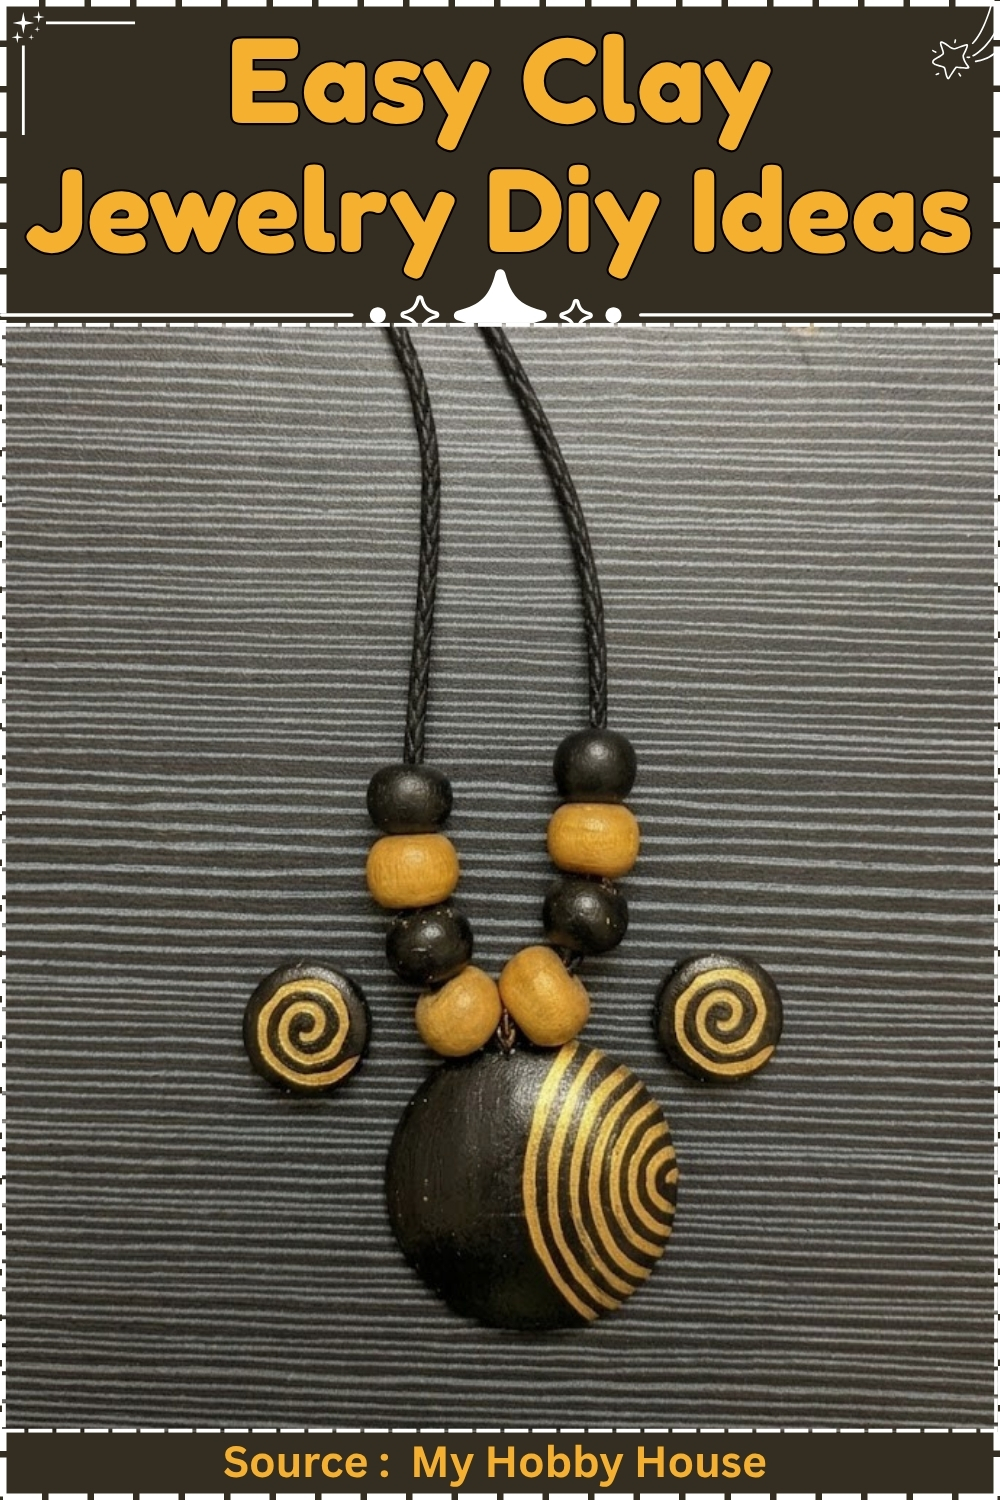
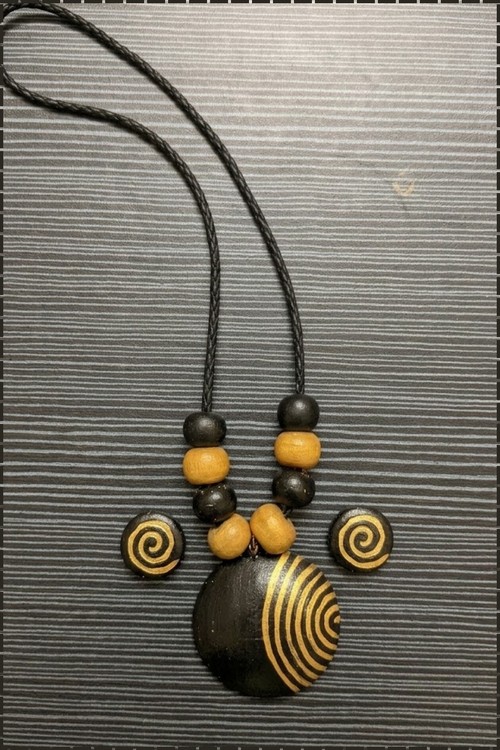
Fevicryl Mouldit hardens at room temperature, so this handmade Indian jewellery set, a 35 mm necklace pendant with 12 mm beads and matching studs, never goes near an oven. Paint the cured pieces in terracotta tones, then trace gold spirals across each one.
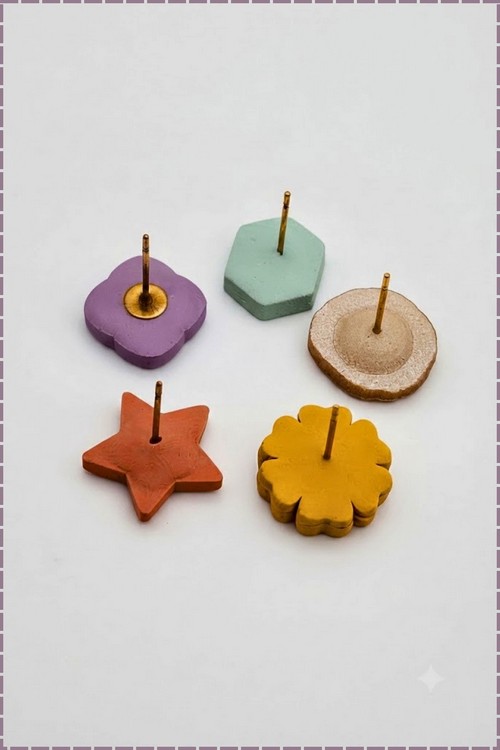
Shapes cut from raw clay, holes punched before baking, cords and findings added after. That is the basic sequence. The pieces arrive as pendants, earring blanks, and small connectors, each one flat or slightly curved depending on how you press and shape the sheet.
Clay Jewelry DIY Necklace Idea
Texture stamps and cutters do most of the visual work. The finished pieces sit firm and light at the same time, with a surface that takes paint and glaze well.
Pricing the Labour
Two sessions totalling ninety minutes of active work, plus twenty-four hours of cure time. At a modest craft hourly rate, the labour floor for the three-piece set sits at about $14 to $18 before materials. Retail floor for a pendant-and-stud set of this style is $22 to $35 depending on your market. A gift-boxed complete set with necklace cord, studs, and beaded bracelet extension commands $40 to $55.
At a Glance
- Clay type: Two-part epoxy clay, chemical cure, no heat
- Brand: Fevicryl Mouldit (resin base plus hardener)
- Working time: 30 minutes per mix from the moment base and hardener meet
- Tools: Rolling pin, circular cutters in two sizes, toothpick, needle tool, ceramic tile
- Cure: Room temperature, 24 hours to full hardness
- Finished sizes: Pendant 35 mm diameter, beads 12 mm, studs 12 mm
- Hands-on time: 45 minutes shaping, 45 minutes painting
- Total time: 26 hours including cure and paint drying
- Difficulty: Intermediate
Materials and Tools
Essential
- Fevicryl Mouldit, resin base and hardener
- Nitrile gloves
- Baby powder (mould release and anti-stick)
- Smooth rolling pin or clean glass jar
- Ceramic tile (work and drying surface)
- Circular cutters: 35 mm and 12 mm
- Toothpick
- Needle tool or pin
- Acrylic paint: mars black, metallic gold
- Flat brush, 6 mm
- Liner brush, size 0
- Water-based polyurethane varnish, satin finish
- Gold-tone jump ring, 6 mm, nickel-free
- Black waxed cotton cord, 2 mm diameter, 80 cm
- Earring posts with flat pad, 10 mm, surgical steel
- E6000 adhesive or strong two-part epoxy
Nice to have
- Digital scale reading to 0.1 g
- Bead mat
- Small silicone mat
- Fine sandpaper, 400 grit
- Dust mask, P2
Colour Recipes
Black base: Mars black straight from the tube, undiluted. Thinning it with water on an epoxy surface causes beading and patchy coverage. Two thin coats give better opacity than one thick one.
Gold spirals: Metallic gold straight from the tube, on a size 0 liner brush. Do not dilute. Thin lines over a matte black base need full pigment load to show up in any light.
How to Make the Terracotta-Style Jewelry Set
Mixing the clay
- Cut equal portions from the resin base and the hardener, 20 g of each for the full set.
- Knead the two pieces together for 3 minutes until the colour is completely uniform with no streaks.
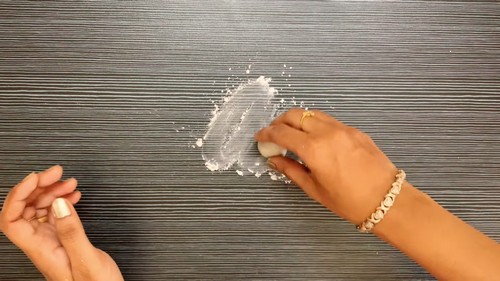
- Dust the ceramic tile and your hands lightly with baby powder.
Pendant
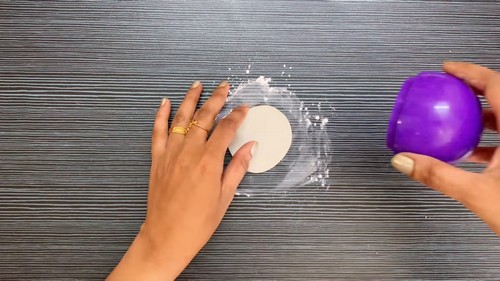
- Roll the mixed clay to 4 mm thickness on the dusted tile.
- Press the 35 mm circular cutter straight down and lift it away cleanly.
- Push the cut circle out from the cutter with a fingertip.
- Pierce a hole 4 mm in from the top edge using the needle tool, rotating the tool to widen the hole to 2 mm.
- Set the pendant on the tile and leave it undisturbed.
Beads
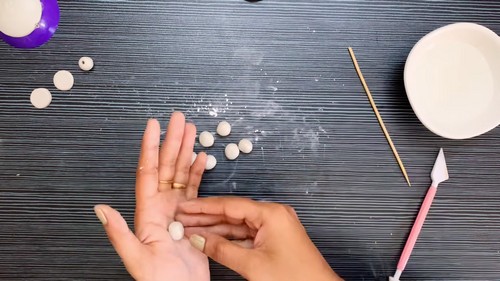
- Pinch off seven portions of the remaining clay, 3 g each, and roll each into a smooth sphere between your palms.
- Push the toothpick through the centre of each bead, wiggle it gently to open the hole to 2 mm, then withdraw.
- Rest each bead on its toothpick across the edges of a small cup or rack so it does not flatten on the tile..

Studs
- Roll the remaining clay to 4 mm thickness.
- Press the 12 mm cutter straight down twice to cut two stud faces.
- Push each disc out and set them flat on the tile.
- Do not pierce studs at this stage. The earring post will be glued after cure.
Curing
- Leave all pieces undisturbed at room temperature for 24 hours.
Painting the base coat
- Sand any rough edges lightly with 400 grit paper, dust clean, and wipe with a dry cloth.
- Brush one thin coat of mars black over the front, sides, and back of the pendant.
- Brush one thin coat of mars black over every bead, turning each on the toothpick to reach all surfaces.
- Brush one thin coat of mars black over the front and sides of both studs.
- Leave for 30 minutes, then apply a second coat to all pieces.
- Leave for 1 hour before painting the gold pattern.
Painting the gold spirals
- Load the size 0 liner brush with undiluted metallic gold.
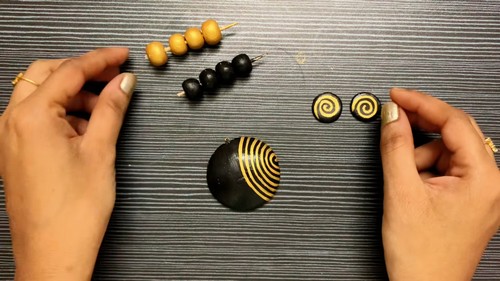
- Paint a loose spiral on the pendant face, starting at the centre and working outward in a single continuous line.
- Add three or four smaller spirals in the remaining space around the central one.
- Paint one small spiral on each bead, positioned at the front face.
- Paint one spiral on each stud face.
- Leave all pieces for 2 hours before sealing.

Sealing
- Brush one thin coat of water-based polyurethane varnish over all surfaces of every piece.
- Leave for 1 hour, then apply a second coat.
- Leave for 2 hours before assembly.
Curing
- Fevicryl Mouldit is a two-part epoxy clay. It cures by chemical reaction, not heat. Do not put it in an oven and do not apply heat to speed the process. Heat accelerates the surface while the core lags, and the resulting internal stress cracks the piece within days.
- Working time is 30 minutes from when base and hardener make contact. In a room above 28°C, that drops to roughly 20 minutes. Mix in small batches rather than one large one if your room is warm.
- Pieces feel firm on the surface at 2 hours. Full hardness, including the core of a 12 mm bead, reaches completion at 24 hours. Do not string, glue, or paint before that mark.
Finishing
- Cured Mouldit sands cleanly with dry 400 grit paper. Work only the edges and the back, not the face, since the face takes the painted pattern. Sand before painting, never after.
- The black acrylic base coat provides a slightly matte surface that the gold liner sits on well. Sealing with water-based polyurethane preserves both layers. Avoid nail varnish and solvent lacquers: both react with acrylic paint over epoxy and cause the paint to peel as a single skin within weeks.
- Two coats of varnish are the structural minimum for a piece that will be handled and worn. Seal the back of the studs and the inside of the pendant hole as well.
Hardware and Assembly
Pendant
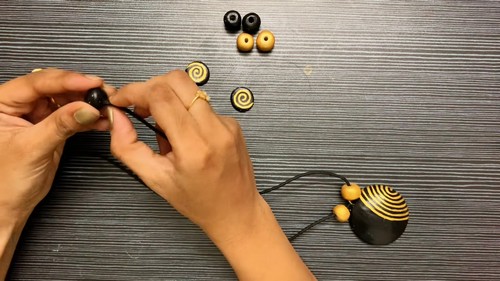
Open the jump ring by twisting the ends sideways, not by pulling them apart. Thread the open ring through the pendant hole and close it flush. Thread the waxed cotton cord through the ring and tie the cord ends with a surgeon’s knot at the desired necklace length, typically 45 to 50 cm. Trim the cord tails to 5 mm.
Studs
Apply a 3 mm dot of E6000 to the flat pad of each earring post. Press the pad against the flat back of each cured, painted, and sealed stud disc. Set face-up on the tile and leave for 24 hours before wearing.
Beads
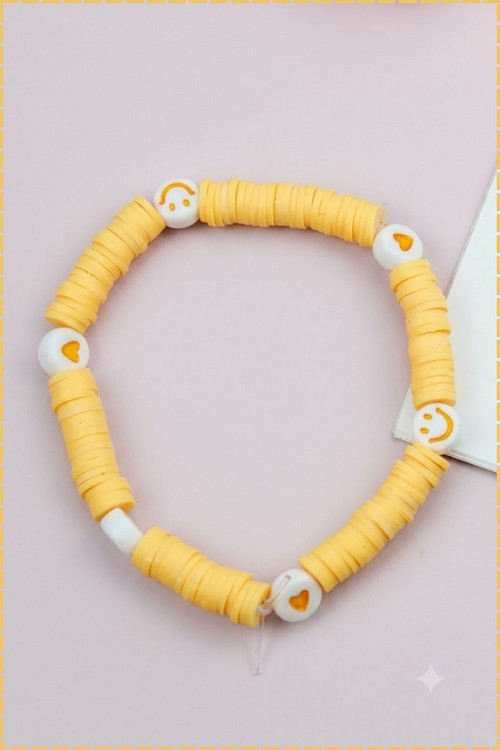
String the cured, painted, and sealed beads on a separate length of waxed cord or tiger tail wire if making a bracelet extension. Tie off with a surgeon’s knot and trim.
Presentation
Card the necklace and studs together on a 90 x 65 mm folded kraft card. Coil the necklace cord behind the pendant and fix it with a strip of double-sided tape. Attach the studs through two punched holes at the base of the card. A hanging hole at the top lets the card go straight onto a pegboard hook.
For a full gift set including a beaded bracelet, pack everything flat in a 4 x 6 inch kraft envelope with a tissue paper liner. Seal with a wax seal or a branded sticker. Hand-write the clay type on the back: buyers at craft markets who are unfamiliar with epoxy clay will ask, and the information on the packaging saves the conversation.
Where Makers Go Wrong
- The gold spiral bleeds into the black on one side of the bead but not the other. This happens when one face of a bead was handled and the skin oil broke the surface tension of the black base coat. Gloves during shaping, and no bare-hand contact with painted surfaces before sealing, are the only prevention.
- A stud pops off its post after a few days. E6000 needs a full 24-hour cure and a clean, sealed surface to bond properly. Paint and varnish applied after gluing prevent adhesion. The correct order is always: shape, cure clay, sand, paint, seal, then glue the finding last.
- The pendant cracks at the jump ring hole six weeks after finishing. The hole was pierced too close to the edge. Four millimetres is the minimum margin in a 35 mm disc. Less than that, and the narrow clay bridge between the hole and the rim fatigues under the cord’s weight and eventually fractures.
- The gold spiral looks brown rather than gold in photographs. Metallic gold acrylic loses its sheen under any satin or matte varnish. Use a gloss varnish coat over the spiral specifically, or leave the gold unsealed and seal only the black areas, using careful brush placement.
Variations
- A white base with blue spirals and a copper border cord reads as Aegean in a way the black and gold does not, and it sells to a different customer. Use titanium white for the base coat, cobalt blue for the spirals.
- Embossed texture pendant: press a rubber stamp into the clay before it firms, at around 20 minutes into the cure window, to leave a surface impression. Paint over the texture in the same black-and-gold scheme. The indented lines hold the gold particularly well.
Care
The gold spiral on the bead faces wears faster than the pendant face, since the beads roll against clothing. Remove before swimming and showering: polyurethane is water-resistant, not waterproof, and the cord degrades faster than the clay. The stud glue joint is the weakest point in the set, so do not lever the studs in or out of the ear using the disc face as a handle. Repaint and reseal the spiral detail after about eighteen months of regular wear.
Quick Answers
- Can I use a different two-part epoxy clay if I cannot find Mouldit? Apoxie Sculpt by Aves is a direct substitute with the same working time and cure properties. Mix ratios and technique are identical.
- My mixed clay went stiff before I finished cutting all the pieces. Can I re-soften it? No. Once epoxy clay stiffens past the working window it cannot be softened. Mix in smaller 10 g batches and cut fewer pieces per mix.
- Is the finished set safe for pierced ears? The clay body is inert once cured. The safety depends entirely on the earring posts. Use surgical steel posts only. Gold-plated brass and silver-plated posts cause reactions in sensitive ears within hours.