How To Make Clay Bead Bracelets
How to make clay bead bracelets, starting with the part people skip: laying the beads out in order before a single one goes on the cord. Threading first and rearranging later never works. Everything else follows from that.
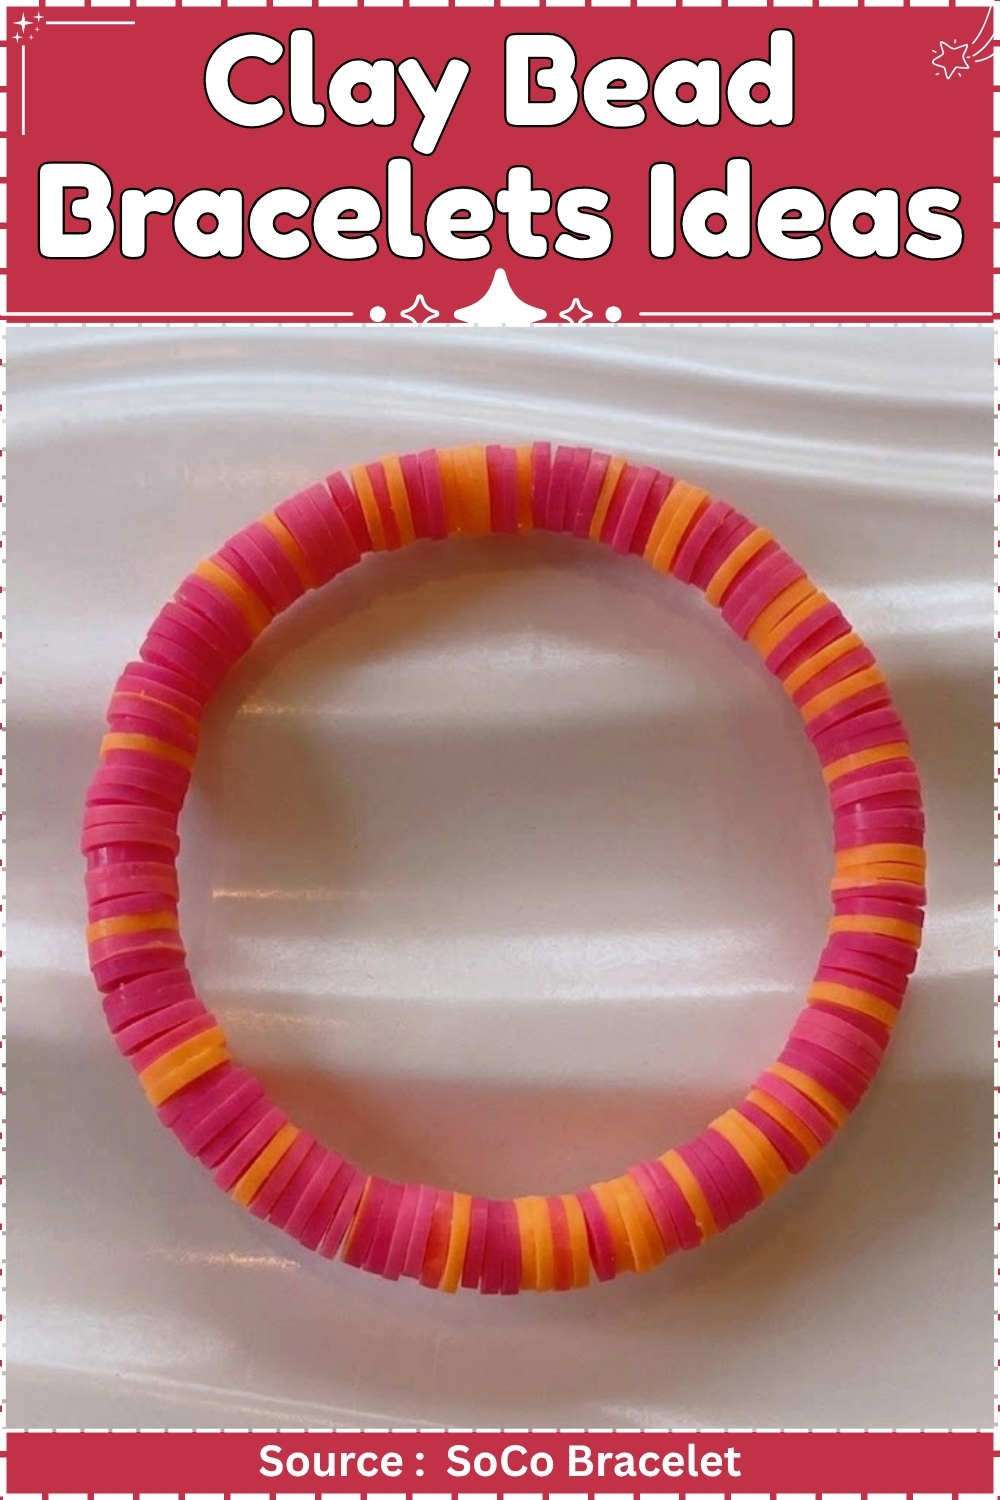
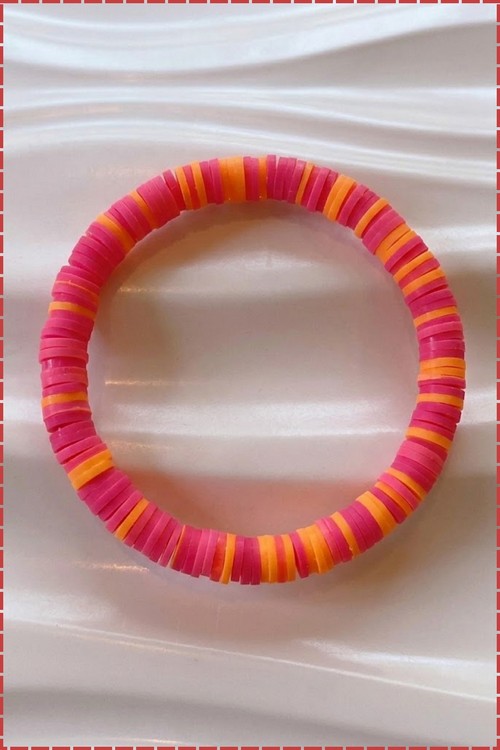
Heishi clay bead bracelets built from two colors are one of the cleaner ways to use up a mixed bead bowl because the alternating pattern handles itself once the sequence is set. Hot pink and orange disc beads sitting next to each other read as a high contrast summer palette without needing any additional accent pieces. Clear elastic keeps the finish minimal so the bead color stays the focus.
How To Make Clay Bead Bracelets
Pricing the Labour
At two minutes of stringing time per bracelet plus two minutes for knotting and trimming, a batch of ten takes roughly forty minutes of active work. Add bead-making time separately, since that varies by clay type and design. A realistic floor price for a handmade stretch bracelet at market, factoring materials and labour at a modest hourly rate, sits at $8 to $12 each, or $20 to $28 for a set of three on a single card.
At a Glance
- Clay type: Pre-made clay beads (polymer, air-dry, or purchased; see notes)
- Key tool: Wooden bead spinner with hook needle
- Cure method: Beads cured before this stage; assembly only
- Finished size: 6.5 inches (165 mm) unstretched, fits a standard adult wrist
- Bead size: 8 to 12 mm
- Hands-on time: 8 minutes per bracelet
- Total time: 8 minutes (beads pre-cured)
- Difficulty: Beginner
Materials and Tools
Essential
- Wooden bead spinner with hook needle
- Clay beads, 8 to 12 mm, approximately 22 to 26 per bracelet at 6.5 inches
- 0.7 mm clear elastic stretch cord
- Sharp scissors or flush-cut snips
Nice to have
- Bead mat or shallow tray
- Ruler or measuring tape
- Bead stopper or binder clip
- Fine-tip fabric marker
How to Make the Clay Bead Stretch Bracelet
Loading the spinner
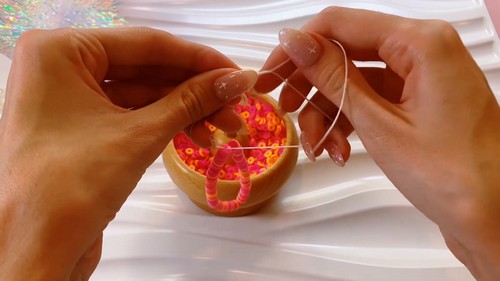
- Fill the spinner bowl to about two-thirds full with clay beads.
- Thread the stretch cord through the hook slot, leaving a 10 cm tail hanging free.
- Clip a bead stopper over the tail end so the beads cannot slide off during stringing.

Spinning the beads onto the cord
- Hold the hook so the open end of the curve faces left.
- Spin the bowl clockwise with your other hand.
- Rest the hook tip lightly against the inside wall of the bowl, angled slightly upward.
- Once 8 to 10 beads have threaded themselves onto the hook, slide them down the cord toward the stopper.
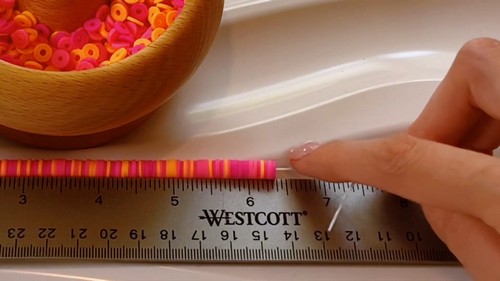
- Repeat until you have 22 to 26 beads on the cord, checking the length against a ruler after every second slide.

Measuring and adjusting
- Hold the strung section against a ruler. Target length is 6.5 inches (165 mm) between the stopper and the hook.
- Add or remove individual beads by hand until the count is exact.

Tying the knot
- Remove the bead stopper and hold both cord ends.
- Tie a single overhand knot to bring the ends together.
- Cross the ends to form an X, pass both ends through the loop, then pass them through the loop a second time before pulling tight. This is the surgeon’s knot.
- Tie a second surgeon’s knot directly on top of the first, using the same double-pass method.
- Finish with one final single overhand knot over both previous knots.
- Pull firmly on the bracelet from both sides to seat all three knots.
- Trim the cord tails to 2 mm with scissors.

Baking and Curing
- This tutorial covers assembly only. The beads are strung pre-cured.
- If you are making the beads yourself from polymer clay, cure them before stringing. Polymer beads baked on a bamboo skewer or suspended on a wire rack cure more evenly than beads sitting flat on a tile, since the cord hole stays clear and the bead does not develop a flat spot on the bottom.
- Do not string polymer beads on elastic cord before baking. The cord melts, the beads scatter, and the project is over.
- For a standard polymer bead at 10 mm diameter, cure at 275°F / 130°C for 30 minutes. Use an oven thermometer. Tent the tray with foil.
Finishing
- Pre-cured polymer beads need no sanding or sealing for a bracelet, since handled surfaces scuff sealer off quickly and most clay beads look better uncoated. The exception is any surface treatment like mica powder or metallic paint applied after cure, which needs two thin coats of water-based polyurethane to stay on through wear.
- Do not sand or seal air-dry clay beads after stringing. Handle both before assembly.
Presentation
- Card the finished bracelets on kraft jewellery cards, one bracelet per card. A rectangle of folded card at 80 x 55 mm, with a single punch for the hook, lets you display four to six bracelets on a standard pegboard hook.
- For sets of three in coordinating colourways, bag them flat in a 3 x 4 inch resealable cello bag with a single backing card. Tie the bag with a short loop of twine knotted around the punch hole.
- Price tags on a string rather than a sticker protect the beads. Stickers leave residue on clay surfaces that looks dirty under market lighting.
Where Makers Go Wrong
- The knot pops during the first stretch. A single surgeon’s knot is not enough on 0.7 mm elastic. The double surgeon’s plus the final lock knot are all three necessary, and they all need to seat properly by pulling the bracelet lengthwise after tying.
- Bead count varies bracelet to bracelet. The spinner does not count for you. Two bracelets can both measure 6.5 inches but differ by two or three beads depending on bead diameter, and the difference is visible when three bracelets hang on the same card together.
- The cord tail works loose over weeks of wear. A 2 mm trim leaves almost nothing for the knot to grip. Some makers add a small drop of G-S Hypo Cement to the finished knot before trimming, which prevents the slip without making the knot rigid.

Variations
The build below applies to all three. Only the bead selection changes.
| Version | Bead mix | Card note |
|---|---|---|
| Tonal gradient | Five or six shades of one colour from light to dark, arranged in order | Note the colourway name on the card so buyers can ask for repeats |
| Mixed size | Alternating 12 mm and 8 mm beads in two colours | Count by pairs, not singles, so the pattern stays symmetrical |
| Charm accent | One flat disc bead at 15 mm centred between standard beads | The disc adds weight on one side; check the hang before carding |
Care
Elastic cord degrades with repeated contact with hand lotion and perfume, so put bracelets on after moisturising. Remove before washing hands or swimming. Store flat rather than hanging, since sustained stretch shortens the cord’s lifespan. If a knot slips, re-tie with new cord rather than knotting over the old.
Quick Answers
- Can I use regular thread instead of elastic cord? No, not on a bracelet with no clasp. Regular thread has no give and will snap at the knot the first time someone pulls it on.
- My beads are slightly different sizes. Will the spinner still work? Yes, but load only one size per session. Mixed sizes in the bowl tangle around each other and the hook catches the wrong ones.
- The cord keeps slipping out of the hook slot. What am I doing wrong? The tail is probably too short. Leave at least 10 cm free, and clip it so it has tension against the stopper. A slack tail falls off the hook on the first spin.