Boho Clay Earrings Tutorial – Peach And Pink Petal Studs Earrings
Boho Clay Earrings
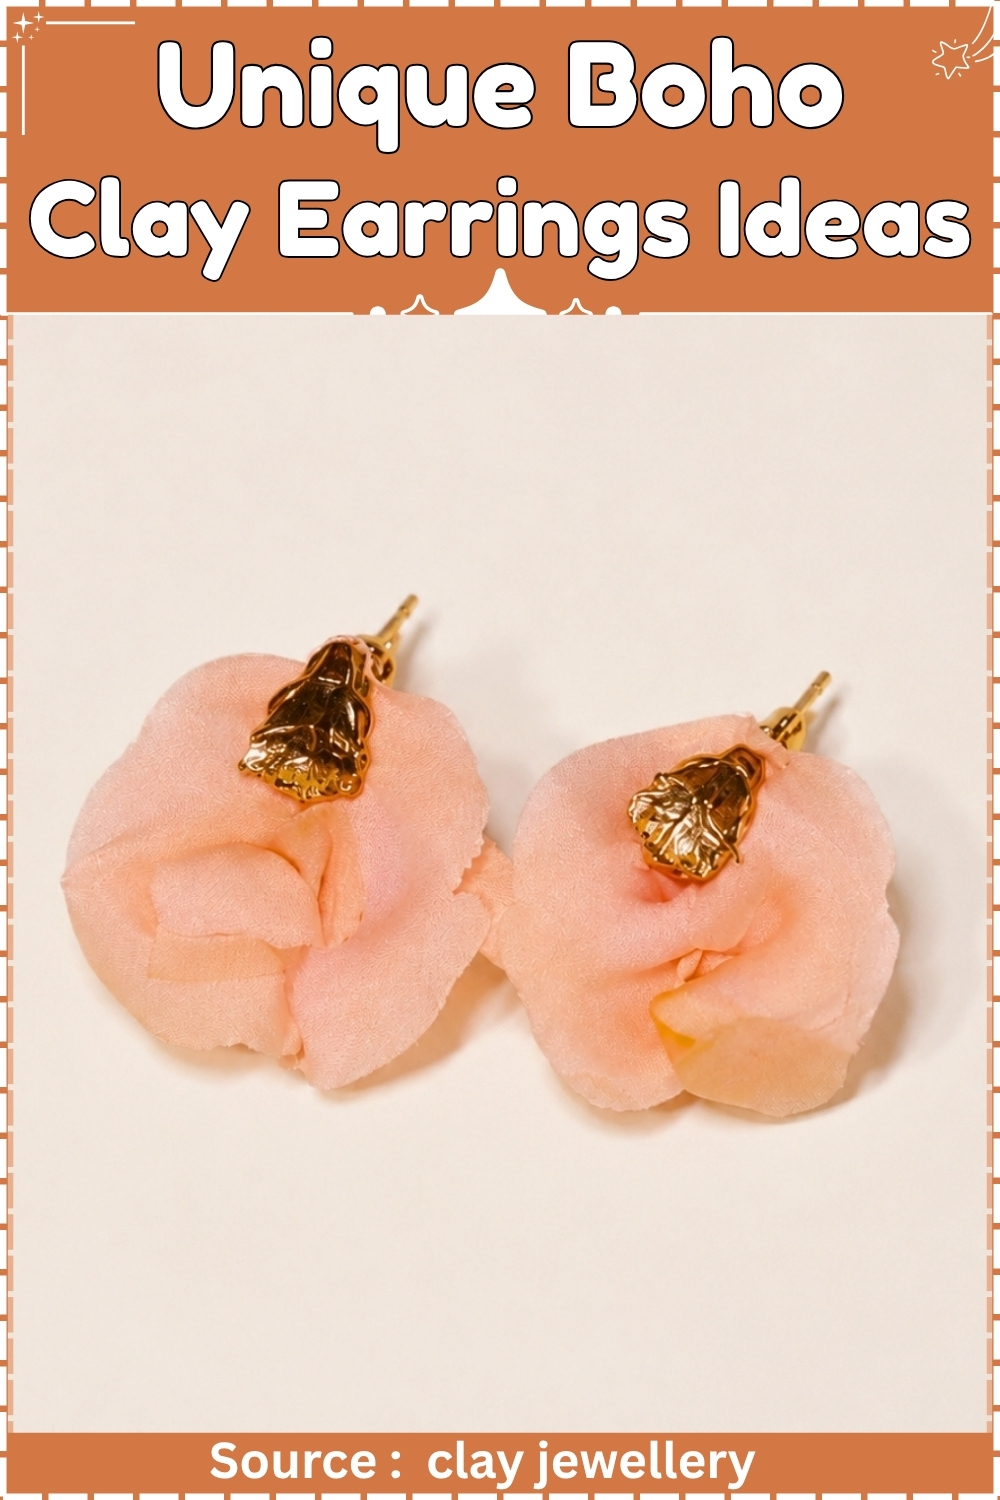
The ruffle is a hand technique. No cutters, no pasta machine, no rolling to a measured thickness. You start with a ball of clay, flatten it, then work the edge with your fingertips until the disc develops a layered petal texture that no tool can replicate exactly, which means no two pairs from the same maker look identical. That is the appeal. It is also the challenge: consistency across a pair requires the same pressure, the same number of pinches, the same clay temperature in both hands. Get that right and you have an earring that reads handmade in the best sense, the kind people ask about.
Styling and Wearing
Ruffled petal studs are a close-to-the-ear shape, sitting flat against the lobe with no swing or dangle. They pair well with a low bun or short hair where the texture reads clearly, and they disappear under longer hair when the occasion calls for it. The peach and pink palette works across bare skin and linen tones, and the crystal centre catches light without competing with other jewellery. These are not a statement earring in terms of scale, but the texture gives them enough presence to wear alone without looking underdressed.
Video By: Clay Jewellery
At a Glance
- Clay type: Air-dry clay
- Suitable brands: Das, Crayola Air Dry, cold porcelain
- Tools: hands only, dotting tool for crystal placement
- Cure method: air dry 24 to 48 hours
- Finished size: 25 to 30 mm across
- Hands-on time: 30 minutes
- Total time: 48 hours including drying and sealing
- Difficulty: Beginner
Materials and Tools
Essential
- Air-dry clay in light pink or peach
- Nickel-free or surgical steel flat-pad stud posts with crystal or rhinestone centre, 5 to 6 mm
- Water in a small dish for smoothing
- Flat work surface lined with parchment or non-stick mat
- Polyurethane varnish or water-based clay sealer
Nice to Have
- Dotting tool for centring the crystal stud
- Small foam pad for drying to prevent flat spots
- Fine soft brush for sealing
Colour Recipes
Peach blush: Mix two parts white air-dry clay to one part light pink until a uniform blush tone forms. Knead thoroughly until no streaks remain. The final colour lightens by 10 to 15 percent as it dries, so mix slightly richer than your target shade.
Deeper rose: Two parts light pink to one part terracotta. Start with a small test ball and let it surface-dry for 20 minutes to check the dried tone before mixing the full batch.
The Build
Condition and Form the Base Disc
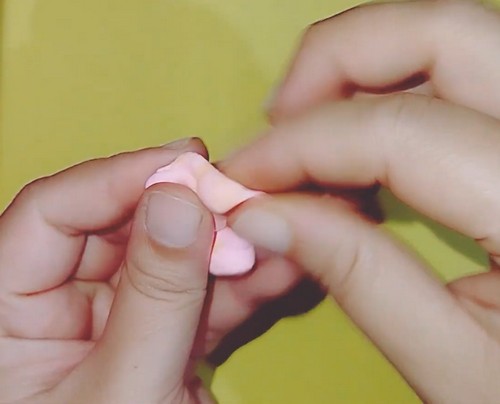
- Pinch off a 6 g portion of air-dry clay per earring.
- Roll the portion between your palms in a circular motion for 2 minutes until it forms a smooth ball with no cracks on the surface.
- Place the ball on the parchment mat and press it flat with the heel of your hand, applying even pressure across the whole surface.
- Continue pressing and rotating the disc until it reaches 25 to 30 mm across and 4 mm thick at the centre, thinning to 2 mm at the edge.
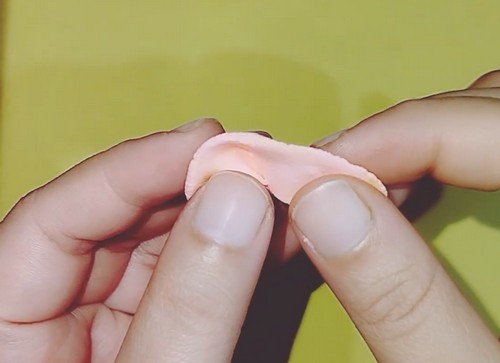
- Dip a fingertip lightly in water and smooth the top surface of the disc in circular strokes to close any surface cracks.
Ruffle the Edge
- Hold the disc between your thumb and two forefingers at the edge, with the thumb on top and forefingers beneath.
- Pinch the edge between thumb and forefinger, pressing the clay inward and upward to form a small raised fold approximately 5 mm wide.
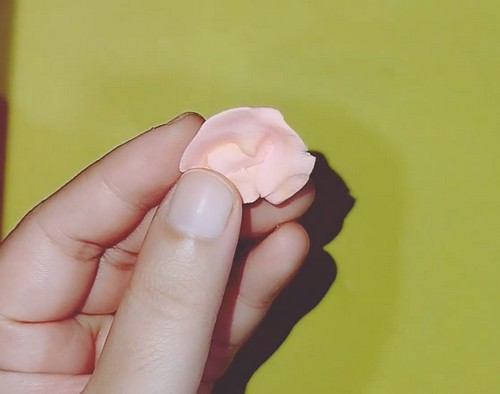
- Release and move 5 mm along the circumference, then pinch again in the same motion.
- Work all the way around the disc in one pass, producing 10 to 12 folds of even width.
- Go around a second time, pinching each existing fold at its midpoint to double the ruffle density and tighten the texture.
- Check that the disc is still roughly circular after ruffling. Ease any section that has pulled out of round by pressing gently from the outside edge inward.
Set the Crystal Stud
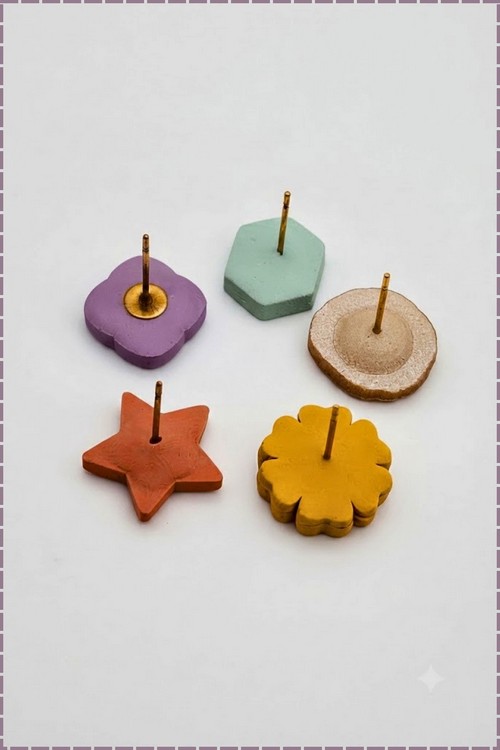
- Hold the crystal stud post with the crystal face between your fingertips and the pin pointing upward.
- Press the pin straight down into the centre of the ruffled disc, pushing until the flat pad of the post makes contact with the clay surface.
- Use a dotting tool to press the clay up around the edge of the flat pad on all sides, raising a small collar of clay that grips the pad perimeter.
- Check that the crystal faces forward and the post pin points straight back perpendicular to the disc face.
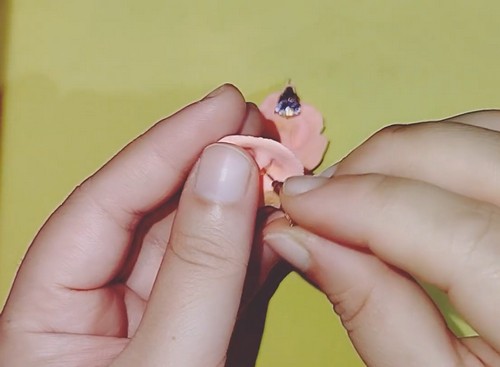
- Set the earring face-up on a small foam pad or a folded cloth so the ruffled edges do not press flat against a hard surface.
- Repeat for the second earring, matching the ruffle count and crystal placement.
Drying and Sealing
- Air-dry clay must be bone dry before sealing. At 4 mm centre thickness, allow 48 hours at room temperature away from direct heat and airflow.
- Forced drying with a hairdryer or placing near a radiator dries the surface before the centre, causing the inner clay to crack as it shrinks.
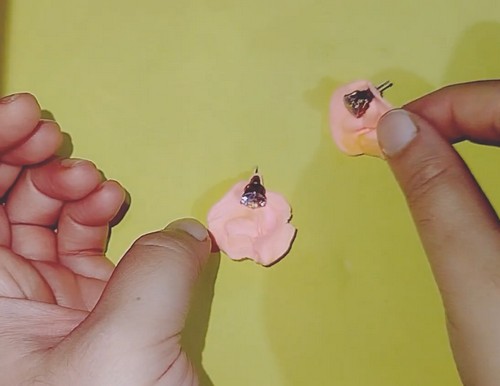
- Turn each earring at the 24-hour mark so the back surface dries evenly.
- If the disc has curled slightly, press it gently flat with a fingertip while the clay is still slightly pliable; once fully dry, warping is permanent.
- Sealing is structural, not decorative. Air-dry clay absorbs moisture from skin and air, which softens the clay and eventually causes the disc to crumble at the edge and around the stud post.
- Apply two thin coats of polyurethane varnish or water-based clay sealer to every surface: the ruffled front face, the flat back, and all edges.
- Let each coat dry fully before applying the next.
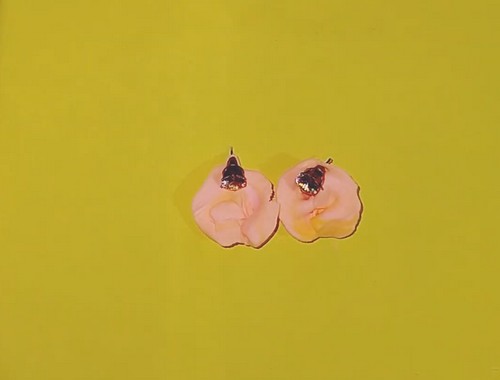
- Sealed air-dry clay is water-resistant, not waterproof, and will still soften with prolonged water contact.

Where Makers Go Wrong
- Ruffles that flatten back out before drying. Air-dry clay stays workable and slightly soft for 30 to 60 minutes after shaping, and a ruffle formed with light pinches will slowly relax back toward flat as the clay sits. Press each fold firmly, with the clay compressed between your fingertips rather than just creased. A well-formed ruffle holds its shape; a lightly creased one does not.
- Crystal post that tilts after the clay dries. The clay shrinks slightly as it dries, and if the post collar was not pressed firmly against the pad perimeter before drying, the shrinkage pulls the clay away from the pad and the post tips to one side. By the time you notice, the clay is rigid and the tilt is permanent. Pressing the collar firmly at the time of setting takes 20 seconds and is not recoverable later.
- Disc that cracks across the centre during drying. A crack through the centre rather than at the edge points to a disc that was too thick at the centre relative to the edge: the thick core tries to shrink at a different rate than the thin rim and the tension splits the clay. Thin the centre to match the edge more closely, aiming for a gentle convex curve rather than a flat disc with raised edges.
Variations
- A terracotta and cream version of the same shape replaces the peach blush with an earthier palette. Use the deeper rose colour recipe as the base and replace the crystal centre stud with a small hammered gold flat-pad post for a warmer overall look.
- Scale the disc up to 40 mm for a statement version by starting with a 10 g portion and running three full passes of ruffling instead of two. At 40 mm, the weight is still comfortable as a stud if the centre thickness is kept at 4 mm.
Care
The stud post collar is the most fragile point: avoid pressing the earring face-down on a hard surface, as the crystal and post can shift if the dried collar cracks. Re-seal with a thin coat of polyurethane every six months if the earrings are worn regularly, since skin oils gradually break down the sealer at the disc edge. If the disc edge begins to feel soft or tacky, the sealer has been compromised by moisture: re-dry the earring for 24 hours and re-seal before wearing again. Take the earrings off before any water contact since the stud post join is the first place water penetrates the seal. If a ruffle tip chips, it cannot be reattached cleanly; trim the loose piece with a blade and re-seal the exposed clay face.
Quick Answers
Can I use polymer clay for this technique? Yes, but the ruffling window is shorter. Polymer clay does not dry out, which sounds like an advantage, but the ruffle folds also do not stiffen between pinches the way air-dry does, so the texture tends to slump slightly before baking. Work quickly and chill the disc in the refrigerator for 5 minutes before the final ruffle pass to firm it up.
My two earrings look noticeably different. How do I get them to match? Count the pinches per pass before you start and stick to that number for both. The biggest source of mismatch is an unequal ruffle count rather than technique variation. Twelve pinches per earring, two passes, produces a consistent visual density across the pair.
Can I add colour to the clay after drying? Yes. A thin wash of acrylic paint diluted 1 part paint to 4 parts water brushed over the dried disc and wiped back with a damp cloth stains the recesses of the ruffle darker and leaves the raised folds paler, which reads as natural depth. Re-seal after painting.
What if the crystal falls out of the stud post before or after baking? The crystal is typically set in the post at the manufacturer stage and should not fall out under normal use. If it does, press a replacement rhinestone of the same diameter into the post cup with a dot of jewellery-grade epoxy and allow 24 hours to cure before wearing.