Vintage jewellery boxes are where this shape belongs, except you can make it yourself in an afternoon. These 70s polymer clay earrings pull Victorian gothic scrollwork into a rounded retro shape, resin poured into the pattern so it holds the light. Groovy earrings with a darker edge.
The impression sits pressed into the clay like an old cameo, all curling Victorian scrollwork with resin filling the recesses so the pattern catches light. The shapes lean warm and rounded, that curved 70s silhouette, and the resin gives them a glassy finish over a matte clay base. You work the impression first, then pour, then cure and finish the edges. Slow rather than difficult. Most of the time goes into waiting.
70s Polymer Clay Earrings
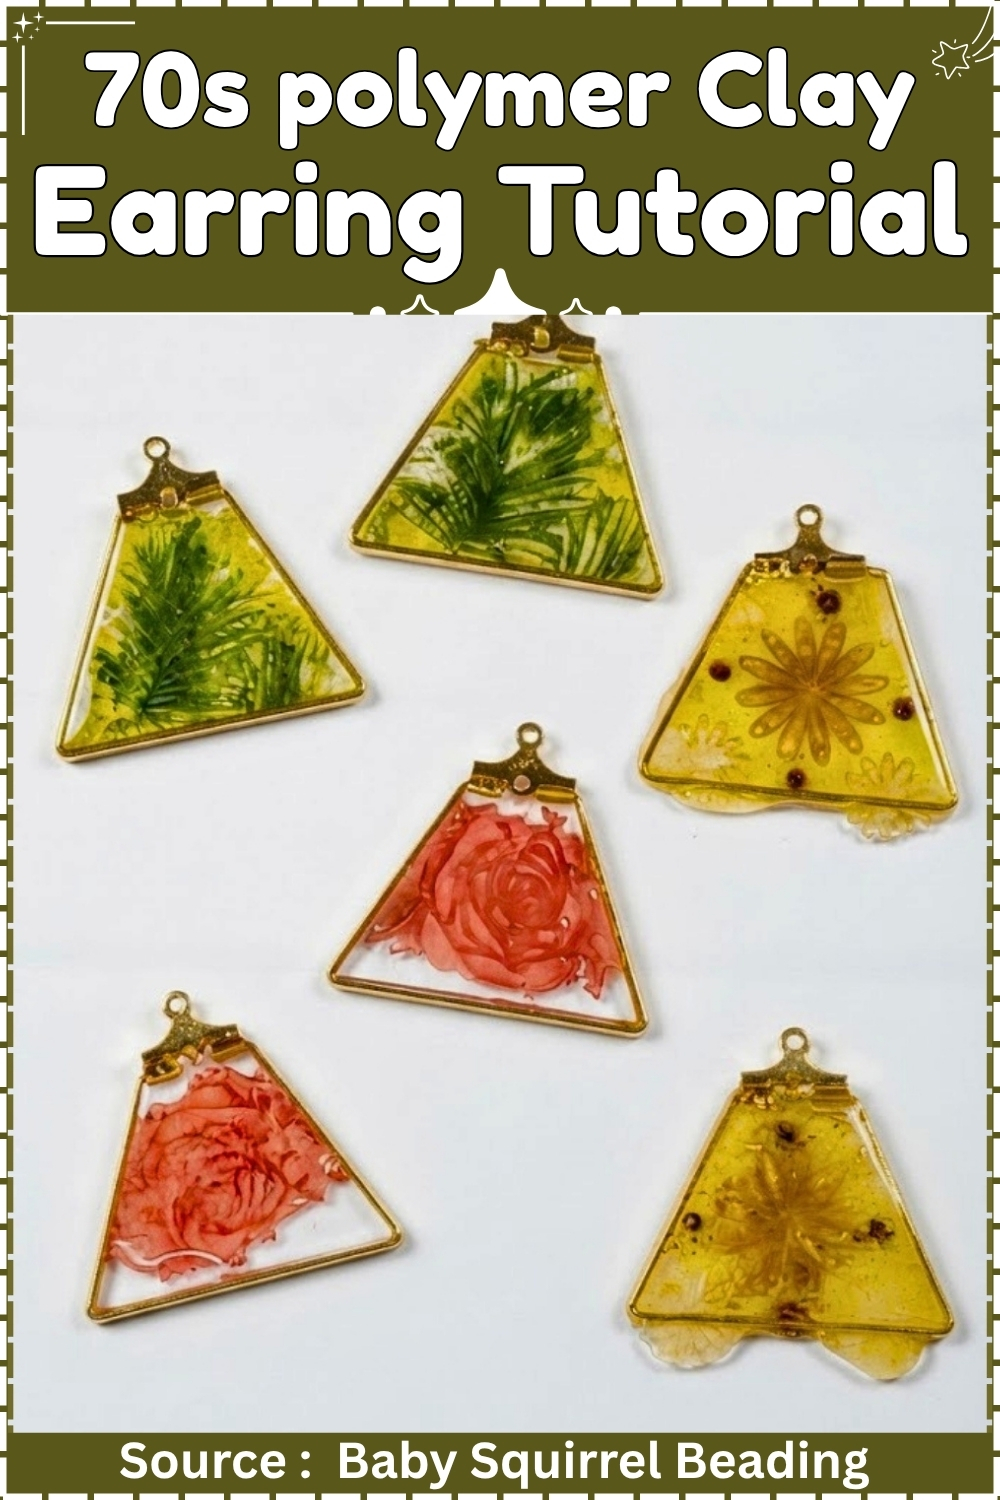
Silicone impression plates and UV resin have a production logic that suits batch work well. Dust one pass of pastels across all molds before touching the resin. Pour all molds before curing any of them. Pull and trim the whole run together. Doing it that way keeps your lamp running hot, your pastel brush charged consistently, and your trim work grouped so flying flash goes one direction at one time.
At a Glance
- Primary material: UV-curing craft resin (not polymer clay)
- Colourant: Pan pastels or chalk pastel powder
- Mold type: Food-grade silicone impression plate, botanical or floral design
- Tools: UV lamp, pipette, flush cutters, fine makeup brush, toothpick
- Cure method: UV lamp, 60 seconds per pour plus 30 seconds backing coat
- Finished size: 35 to 40 mm per earring component (statement size)
- Hands-on time: 45 minutes per batch of 8 components
- Total time: 1 hour 15 minutes including cure passes and trim
- Difficulty: Intermediate
Materials and Tools
Essential
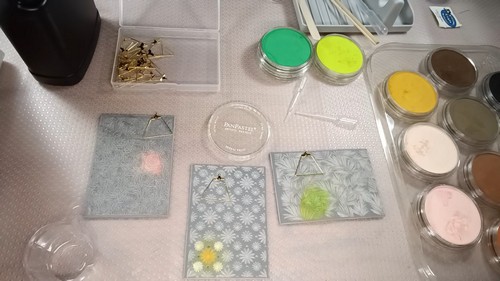
- UV-curing crystal-clear craft resin (Limino, Solarez, or equivalent hard-cure formula), 30 ml minimum per batch
- Food-grade silicone impression plate with botanical or floral relief, recesses at least 3 mm deep
- Pan pastels or chalk pastel powder in white, light green, army green, and one accent colour
- 36 W UV curing lamp
- Plastic pipettes, 3 ml capacity
- Fine makeup brush, size 0 or 1
- Flush cutters with a fine tip
- Toothpick or popsicle sticks
- Baby wipes for cleanup
- Victorian Gothic earring frames from John Bead or equivalent, one pair per earring
- Nickel-free jump rings, 5 mm, 8 per batch
- Chain-nose pliers, two pairs
- Cutting mat
Nice to Have
- Silicone work mat to catch resin drips
- Alcohol ink for deeper tint beneath the pastel
- Magnifying lamp for flash trimming
- Small self-closing bags for batch storage before assembly
- Beading needle, size 11, and seed beads for optional brick stitch edging
Batch Running Order (Mode C)
- Complete the build in this sequence to minimise downtime between UV cure passes and avoid recharging your pastel brush mid-pour.
- Pass 1: Dust all molds. Charge the brush once and dust every cavity before opening the resin. A charged brush used across all molds produces more consistent ghost intensity than recharging per piece.
- Pass 2: Pour all molds. Dispense and spread resin across all cavities before curing anything. Resin self-levels in the mold, so the brief wait while the last molds are filled actually helps the first ones settle.
- Pass 3: Cure all molds together. Run the full lamp cycle on all molds in one pass rather than curing individually.
- Pass 4: Demold and trim the whole run. Group all flash trimming into one session so tool setup and cleanup happen once.
- Pass 5: Second pastel and backing coats, all pieces. Dust all pieces, then apply and cure backing coats across the full batch.
- Mold yield: One 150 x 100 mm impression plate with 6 cavities gives 12 earring components per pour, covering 6 pairs. Two passes of this sequence produces a full production run of 12 pairs in under 3 hours.
The Build
Preparing the Molds
- Lay the silicone impression plate flat on the cutting mat.
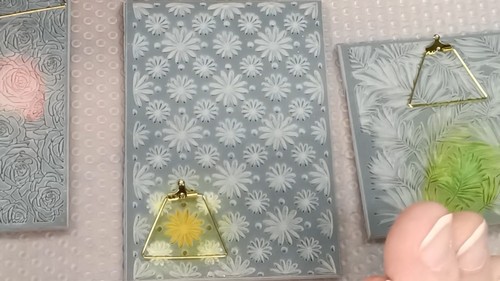
- Charge a size 0 makeup brush with white pan pastel by pressing it gently into the surface.
- Tap the brush twice on the mat to drop excess powder.
- Dust the powder lightly across the botanical relief in each mold cavity, working with short strokes perpendicular to the detail lines.
- Repeat with light green across the leaf and stem areas only, leaving the floral centres white.
- Set the charged brush aside without cleaning it.
Pouring the Resin
- Open the resin and draw 2 ml into a pipette.
- Drop resin directly into the centre of the first mold cavity.
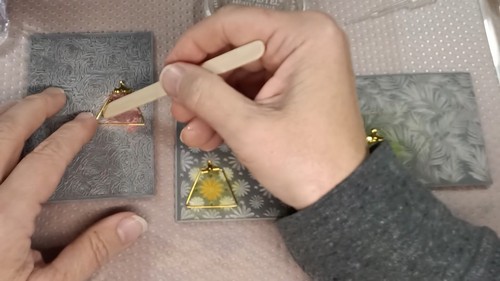
- Use a toothpick to spread the resin from the centre outward, pushing it into the detail lines. Stop 2 mm short of the mold’s outer edge.
- Tap the silicone plate gently on the mat twice to settle air out of the detail.
- Repeat steps 7 to 10 for every remaining cavity before moving to the lamp.
Curing the Face
- Place the filled mold plate under the UV lamp with the mold surface facing the lamp.
- Cure 60 seconds at 36 W.
- Remove the plate and check each cavity for tackiness. If any surface stays soft, cure a further 20 seconds.
Demolding and Trimming
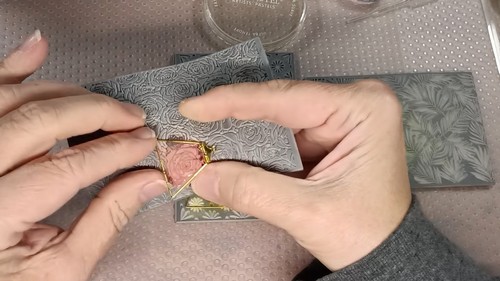
- Flex the silicone plate gently from the back to release the first piece.
- Peel the piece out of the cavity with fingertips, working from one corner inward.
- Repeat for all pieces and lay them face-up on the cutting mat.
- Hold the flush cutters parallel to the piece face and trim any flash from the edge, working in short cuts rather than one long pass.
- Wipe each trimmed piece with a dry baby wipe to clear pastel dust from the surface.
Surface Detailing
- Charge the brush with army green pastel.
- Dust the raised areas of each piece lightly, letting the colour settle into the recesses differently from the highlights.
- Add a touch of accent colour (a rose or copper tone) to the floral centres only.
- Brush any excess powder from the flat field areas with a clean dry brush.
Backing Coat
- Flip each piece face-down on the cutting mat.
- Draw 0.5 ml of fresh resin into a clean pipette.
- Apply a thin coat across the back of one piece, spreading to the edges with a toothpick.
- Repeat for all pieces.
- Cure all pieces back-side up under the lamp for 30 seconds.
Curing
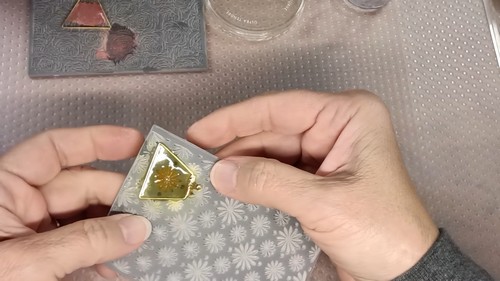
UV resin requires no oven and no heating. Cure time is 60 seconds at 36 W for each face coat, and 30 seconds for the backing coat. These figures apply to a layer depth of 2 to 3 mm. Resin poured deeper than 3 mm needs a second cure pass of equal length to reach the bottom of the pour. Working in a room with strong natural sunlight can partially cure resin before you finish pouring it, which forces premature thickening in the mold. Work under artificial light if sunlight is direct and strong.
All resin should be stored at room temperature between sessions. Cold resin thickens and traps air bubbles. Warm it by standing the bottle in a cup of warm water for 10 minutes if the room is under 18°C.
Finishing
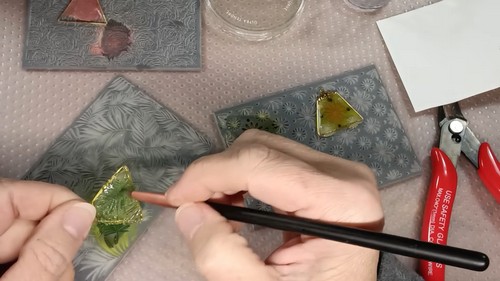
Flush-cut edges are smooth enough for the frame assembly and need no sanding. If a piece shows a ridged seam from the mold parting line, scrape it flat with the X-Acto knife held almost horizontal rather than sanding, since wet sanding opens the resin surface and dulls the gloss. Do not apply any topcoat over UV resin. The cured surface is already non-porous and the resin acts as its own seal.
Assembly and Hardware
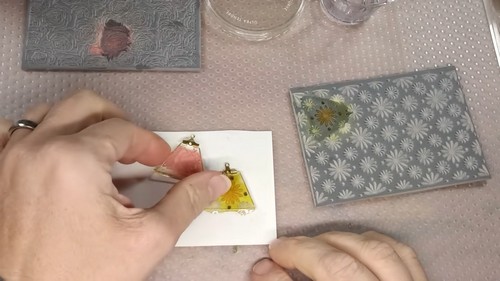
- Open each jump ring sideways, never by pulling the ends apart. Thread one jump ring through the loop at the base of a Victorian Gothic frame and through the corresponding attachment point on the resin component. Close the ring until the ends meet with no gap.
- Repeat for the second earring, checking that both components hang at the same angle. The frame’s internal geometry controls the hang, so asymmetry at this point usually means the resin piece is seated off-centre in the loop. Reseat before closing the ring.
- For the optional brick stitch border, use a size 11 needle and Miyuki Delica beads in a complementary colour, stitching along the bottom edge of the frame after the resin component is seated. All frames and findings should be nickel-free or surgical steel.
Where Makers Go Wrong
- Pastel shifts position during the pour and reads as a smear rather than a ghost image. The powder floats on contact with liquid resin before the resin thickens, so a thick pastel application will drift. Dust a genuinely light layer and let it sit 30 seconds before pouring.
- Flash on the trimmed edge turns white at cut points and reads as damage. Flush cutters work by compression, not a clean shear, and that compression whitens resin. Cut in 2 mm increments and the white marks stay at the very tip of each cut and can be removed with the next pass.
- The second piece of a pair reads noticeably darker or lighter than the first. Pan pastels release differently depending on how much powder remains on the brush. Charge the brush once for the full run rather than recharging per piece, and start with your lightest cavities first while the brush is most loaded.
Variations
- A single consistent colourway across a full production run is the natural batch choice. Two others worth running as their own colour stories:
- Sepia and terracotta: Replace white with raw umber and army green with brick red. The botanical detail reads as pressed-plant herbarium rather than Gothic garden.
- Deep teal with gold: Dust teal heavily into the base, then dust gold metallic pastel across the high relief only. Use a darker frame or blackened brass rather than the standard silver.
Care
Store the earrings flat. The resin component seated in the frame can lever the frame loop if stacked under weight. UV resin yellows with prolonged outdoor UV exposure over six to twelve months. These are indoor earrings. Do not submerge. The pastel layer is sealed under cured resin but the frame hardware is not waterproof. Clean the resin surface with a barely damp cloth. Dry immediately.

Quick Answers
- Can I use epoxy resin instead of UV resin for a batch run? Yes, but the working time changes everything: epoxy gives you 20 to 30 minutes to pour all molds before it starts gelling, and cure time is 12 to 24 hours rather than 60 seconds. Batch logic stays the same but the session length does not.
- My pieces pulled a white haze after demolding. What is it? Amine blush, a surface reaction between uncured resin chemistry and humidity during cure. Wipe with isopropyl alcohol on a cotton pad. If it persists, the resin was undercut, meaning the lamp output is weaker than rated, and you need a longer cure pass.
- Can I substitute eyeshadow powder for pan pastels? Yes. Eyeshadow is compressed with binders that slow how the pigment releases into resin, so the ghost effect is subtler. For a faint tone that looks barely-there, it works. For visible colour depth, pan pastels are stronger.
- The resin shrunk slightly and pulled away from the mold edge, leaving a thin gap. Is the piece ruined? No. Fill the gap with a single drop of fresh resin and cure 30 seconds. The new resin bonds to the existing cured surface without any preparation needed.
Leave a Reply