Clay Jewelry Ideas Necklace
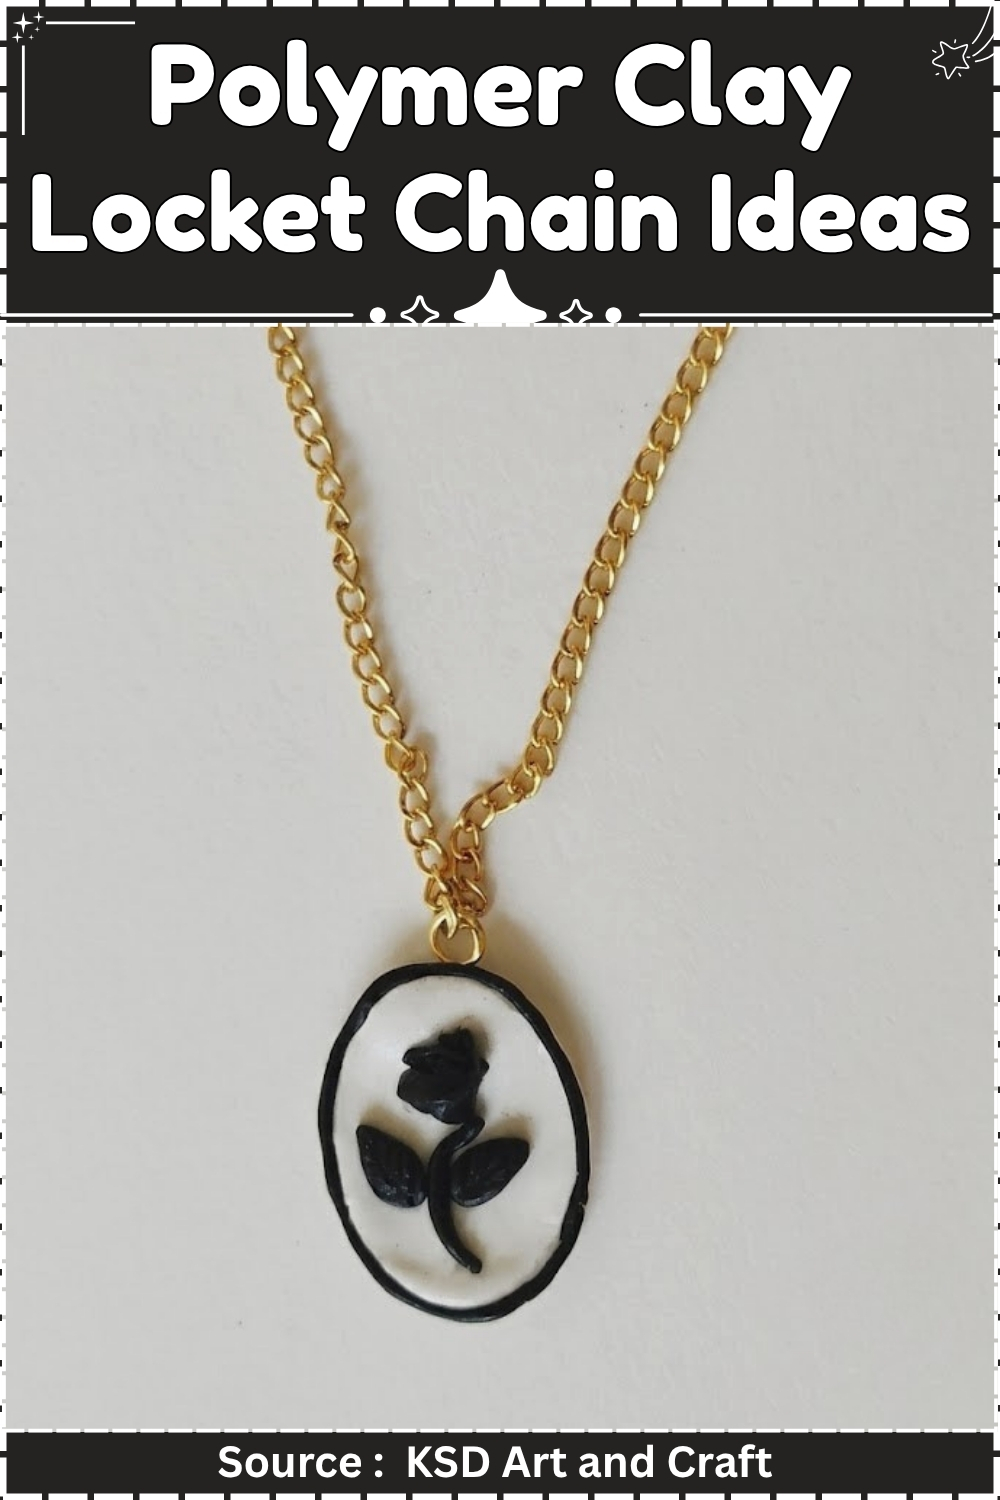
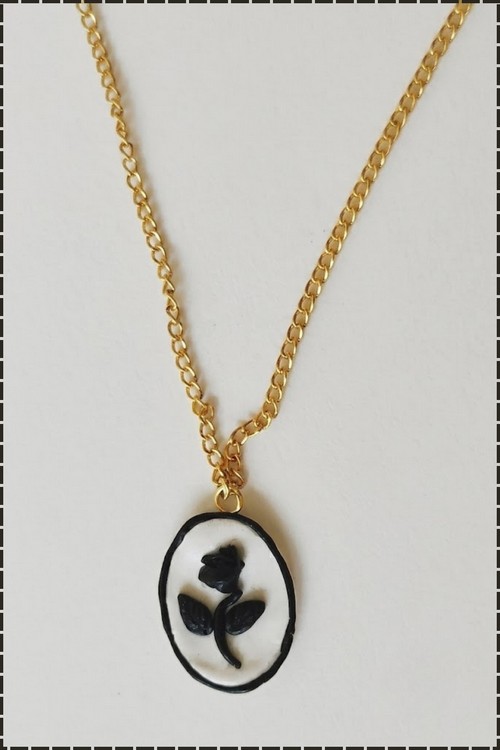
Black clay rose and leaves sit on a white 30 x 22 mm oval, framed by a thin black border and hung from a 45 cm gold chain. Beginners can finish this homemade clay jewelry pendant in about 35 minutes of hands-on work, plus one 30 minute bake.
Front and back close over a hollow center, and the design sits on the outer face. Chain threads through a bail at the top. The build arrives in parts, a shaped locket body, a lid, a closure, and the chain itself, so you can finish one piece before starting the next.
Clay Jewelry Ideas Necklace
Assembly asks for patience more than skill. Nothing here moves quickly, and nothing here is complicated either.
Techniques
Read this before the build. The steps reference these methods by name, so knowing them first keeps the numbered list clean.
Rolling a flat sheet by hand
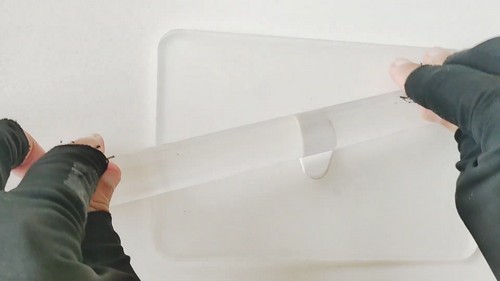
Set the clay on a smooth ceramic tile. Place two wooden kebab skewers on either side of the clay as thickness guides, one skewer on each side, parallel to each other. Roll a smooth cylindrical roller across the clay, resting the roller on the two skewers. The clay cannot go thinner than the skewer diameter, which keeps the sheet even across the whole surface. Standard kebab skewers measure 3 mm across, which is the correct thickness for this pendant base.
Cutting a clean oval
Press an oval cutter straight down in one push. Do not rock it or drag it. Lift the cutter away, then push the clay out from the back with a fingertip. If you do not have an oval cutter, cut a rectangle and round the corners by pinching each one gently toward the centre, then smoothing the curve with a fingertip.
Rolling a thin clay strand
Roll a small log of clay between your palm and the tile, using light, even pressure and working from the centre outward. The strand should reach about 2 mm in diameter for the rose stem and border. Going thinner than 1.5 mm makes the strand fragile and difficult to place. If it tears, re-roll it rather than pressing the broken ends together.
Shaping a clay rose bud
Roll a small ball of black clay about 5 mm across. Flatten one side slightly so it sits against the pendant surface. Pinch two or three small petals up from the top edge of the ball using thumb and forefinger, pulling each one outward and curling the tip back slightly. The bud does not need symmetry, only enough visual suggestion of petals to read as a flower.
Attaching clay to clay
Press pieces together with light, sustained pressure rather than quick pushes. Polymer clay bonds to itself in the raw state by contact alone. Pressing too hard distorts thin pieces. Once placed, run a fingertip along the join to smooth any visible seam.
At a Glance
- Clay type: Polymer clay, any brand
- Recommended brand: Sculpey Premo or Fimo Soft (both condition easily without a machine)
- Tools: Smooth roller, ceramic tile, oval cutter or craft knife, two wooden skewers, cocktail stick, chain-nose pliers
- Cure: 275°F / 130°C, 30 minutes
- Finished size: 30 mm x 22 mm pendant, 45 cm chain
- Hands-on time: 35 minutes
- Total time: 1 hour 20 minutes including baking and cooling
- Difficulty: Beginner
Materials and Tools
Essential
- White polymer clay, half a 57 g block
- Black polymer clay, quarter of a 57 g block
- Smooth cylindrical roller or clean glass jar
- Ceramic tile (work surface and baking tray)
- Two wooden kebab skewers
- Oval cutter, 30 x 22 mm, or craft knife
- Cocktail stick
- Gold-tone jump ring, 6 mm, nickel-free
- Gold-tone cable chain, 45 cm, with clasp, nickel-free
- Chain-nose pliers, one pair
Nice to have
- Tissue blade or thin craft knife for clean cuts
- Small silicone-tipped tool for smoothing joins
- Foil for tenting
- Oven thermometer
How to Make the Rose Pendant Necklace
Conditioning the clay
- Knead the white clay in your hands for 2 minutes until it is soft and pliable with no cracks when bent.
- Knead the black clay separately for 2 minutes.
- Set both aside on the ceramic tile, covered with a sheet of paper to keep dust off.
Rolling and cutting the oval base
- Place the white clay between two skewers on the tile.
- Roll the clay flat using the roller resting across both skewers.
- Press the oval cutter straight down in one motion and lift it away cleanly.
- Push the cut oval out from the back with a fingertip and set it on the tile.
Building the rose
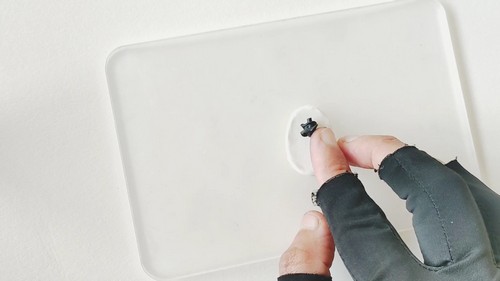
- Pinch off a 5 mm ball of black clay and shape the rose bud as described in Techniques above.
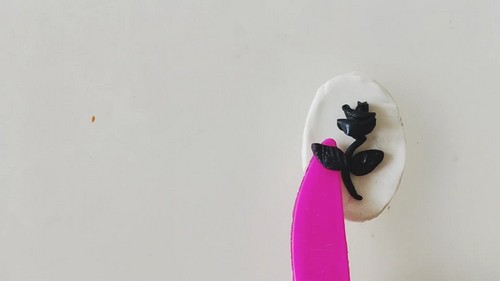
- Press the flat side of the bud against the top centre of the oval, 6 mm down from the top edge.
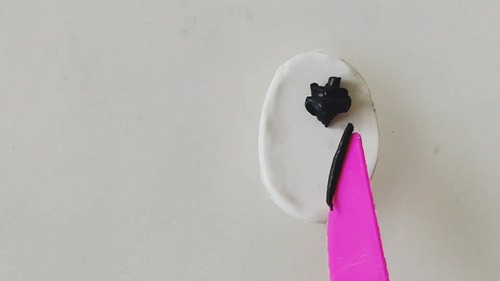
- Roll a 2 mm strand of black clay about 20 mm long for the stem.
- Press the stem against the oval surface running straight down from the base of the bud to the centre of the pendant.
- Pinch four leaf shapes from small amounts of black clay, each roughly 8 mm long and pointed at both ends.
- Press two leaves against the stem, 6 mm below the bud, angled outward at 45 degrees.
- Press the remaining two leaves 5 mm below the first pair, angled outward at a shallower angle.
- Run a fingertip along every join to smooth the seams.
Adding the border
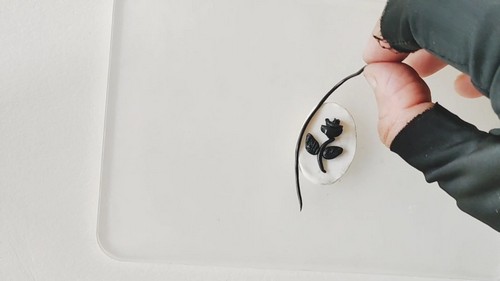
- Roll a 2 mm strand of black clay long enough to wrap the full oval perimeter, approximately 90 mm.
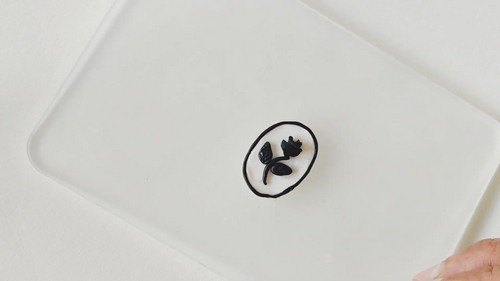
- Starting at the top centre, press the strand against the outer edge of the oval, working around the curve in one direction.
- Where the two ends meet at the top, trim the overlap with a craft knife and press the cut ends together.
- Smooth the join with a fingertip.
Placing the jump ring hole
- Push a cocktail stick straight down through the top centre of the pendant, 3 mm in from the top edge, until it exits the back.
- Withdraw the stick and reshape the hole to a clean circle by rotating the stick once.
Baking
- Polymer clay needs oven heat to cure fully. Underbaked clay stays flexible and the jump ring will work loose. An oven thermometer is the only reliable way to confirm the actual temperature inside a domestic oven, since many run 10 to 20 degrees off the dial.
- Preheat the oven to 275°F / 130°C. Place the pendant on the ceramic tile, which you used as your work surface, so it goes straight into the oven without being moved. Tent a piece of foil loosely over the tile to prevent any surface darkening. Bake for 30 minutes. Do not reduce the time for a small piece.
- Leave the pendant on the tile inside the closed oven for 15 minutes after switching off. Pulling polymer from a hot oven into cold air can cause surface cracking. Once cool to the touch, the piece is fully cured.
Finishing
- Wet sand the pendant after baking if you want a smooth surface. Start with 400 grit wet and dry paper, used wet, working in small circular movements across the front face. Move to 600 grit, then 800 grit. The black border and rose details will retain their lines since the sanding only catches the surface.
- Do not sand the rose bud or the leaf tips: the small raised edges are too fragile.
- Buff the sanded surface on a piece of denim or a soft cloth to bring up a low sheen.
- Sealing is optional on a fully cured polymer pendant with no surface treatments. If you have applied any mica powder or metallic paint to the surface, seal with two thin coats of Sculpey Gloss or a water-based polyurethane varnish, letting each coat dry for an hour.
Hardware and Assembly
- Open the jump ring by twisting the two ends past each other sideways, not by pulling them apart. Pulling flattens the ring and it will never close cleanly again.
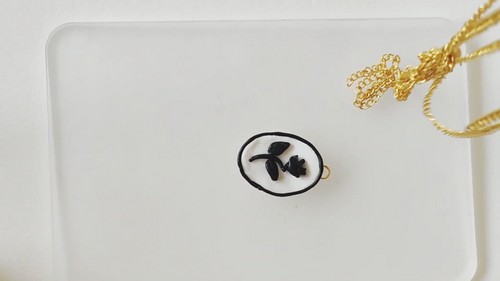
- Thread the open ring through the hole in the pendant top. Close the ring by twisting the ends back until they meet flush, then press them together with the pliers. Run a fingernail across the join to feel whether there is a gap: a gap means the ring will snag on clothing.
- Thread the chain through the closed jump ring. The chain clasp closes at the back of the neck.
- The finished pendant weighs under 5 g, which sits comfortably on a standard cable chain without pulling the necklace forward.
Where Makers Go Wrong
- The border creases at one point and will not lie flat. This happens when the strand cools and firms slightly on the way around a tight curve. Roll a fresh strand and work faster, keeping it in contact with your palm between placements to maintain warmth and flexibility.
- The rose bud lifts away from the pendant face after baking. A bud pressed on without smoothing the join at the base has only a surface contact point, and the heat causes it to contract slightly away from the oval. Running a fingertip firmly around the base of the bud before baking closes the gap.
- The cocktail stick hole collapses inward and the jump ring will not fit. The hole needs to be marginally wider than the ring wire gauge. Re-drill the cooled pendant with a 1.5 mm hand drill bit rather than forcing the ring through: forcing it cracks the clay at the top edge.
Variations
- Ivory oval with terracotta rose. Replace the white clay with an ivory or off-white mix, and swap the black for a terracotta or rust-toned clay. The warm palette works as a set with the bracelet and earring projects on this site.
- Stamped texture base. Before cutting the oval, press a rubber stamp or a piece of lace into the rolled white clay to leave a surface impression, then cut the oval from the textured sheet. The black border and rose read clearly against almost any texture.
- Miniature version as a charm. Cut the oval at 18 x 13 mm, reduce the rose bud to 3 mm, and use a 4 mm jump ring. The piece becomes a bracelet charm rather than a pendant, and the same steps apply in full.
Care
Store the necklace flat rather than coiled, since the jump ring opening can catch on chain links under tension. The black border on the pendant edge chips before the flat face does, so keep it away from hard surfaces in a bag. Polymer clay resists moisture well once fully cured, but avoid soaking the piece. If the jump ring works open, close it with pliers rather than trying to bend it back by hand, since hand pressure rarely closes it flush.
Quick Answers
- I do not have an oval cutter. Can I cut the shape freehand? Yes. Draw an oval on a piece of paper, cut it out, lay it on the clay, and trace around it with a craft knife. Hold the knife at 90 degrees to the tile so the edge stays vertical.
- My clay is very stiff and cracking during conditioning. What do I do? Work it in small pieces and warm each piece between your palms for a minute before kneading. Cold polymer is stiff by nature. If it stays crumbly after five minutes of warming, add a tiny amount of liquid polymer clay (one drop) and knead it in.
- Can I use air-dry clay instead of polymer? The steps work, but the thin border strand is much more fragile in air-dry clay and will crack as it dries. Air-dry clay also needs sealing before the jump ring is attached, since drilling a dry air-dry pendant chips the hole edges.
- The pendant came out of the oven slightly bent. Can I fix it? Place it face-down on a flat tile immediately out of the oven while still warm, and press it flat with a second tile on top. Hold for two minutes until it cools in that position.