Cute Clay Bag Charms DIY Easy – Fruit, Food & Pearl Sets
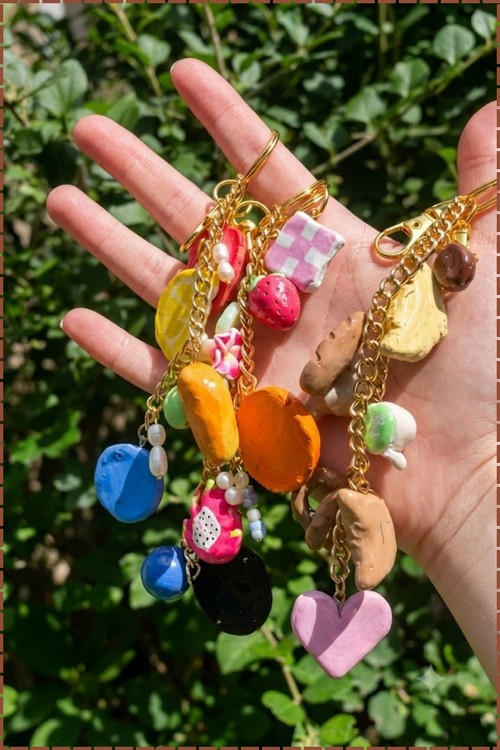
Two clays split the work in this bag charm set, with DAS air-dry clay shaping the strawberry and citrus while baked polymer forms the blueberries, coffee beans and tiny baguette. Clip the finished cluster, about 40 to 60 mm long, onto any zipper pull.
Each charm is a sculpted shape on a ring, sized to hang from a zipper pull without weighing the bag down. The shapes are formed by hand, then baked hard and sealed so the surface stays smooth.
Clay Bag Charms DIY
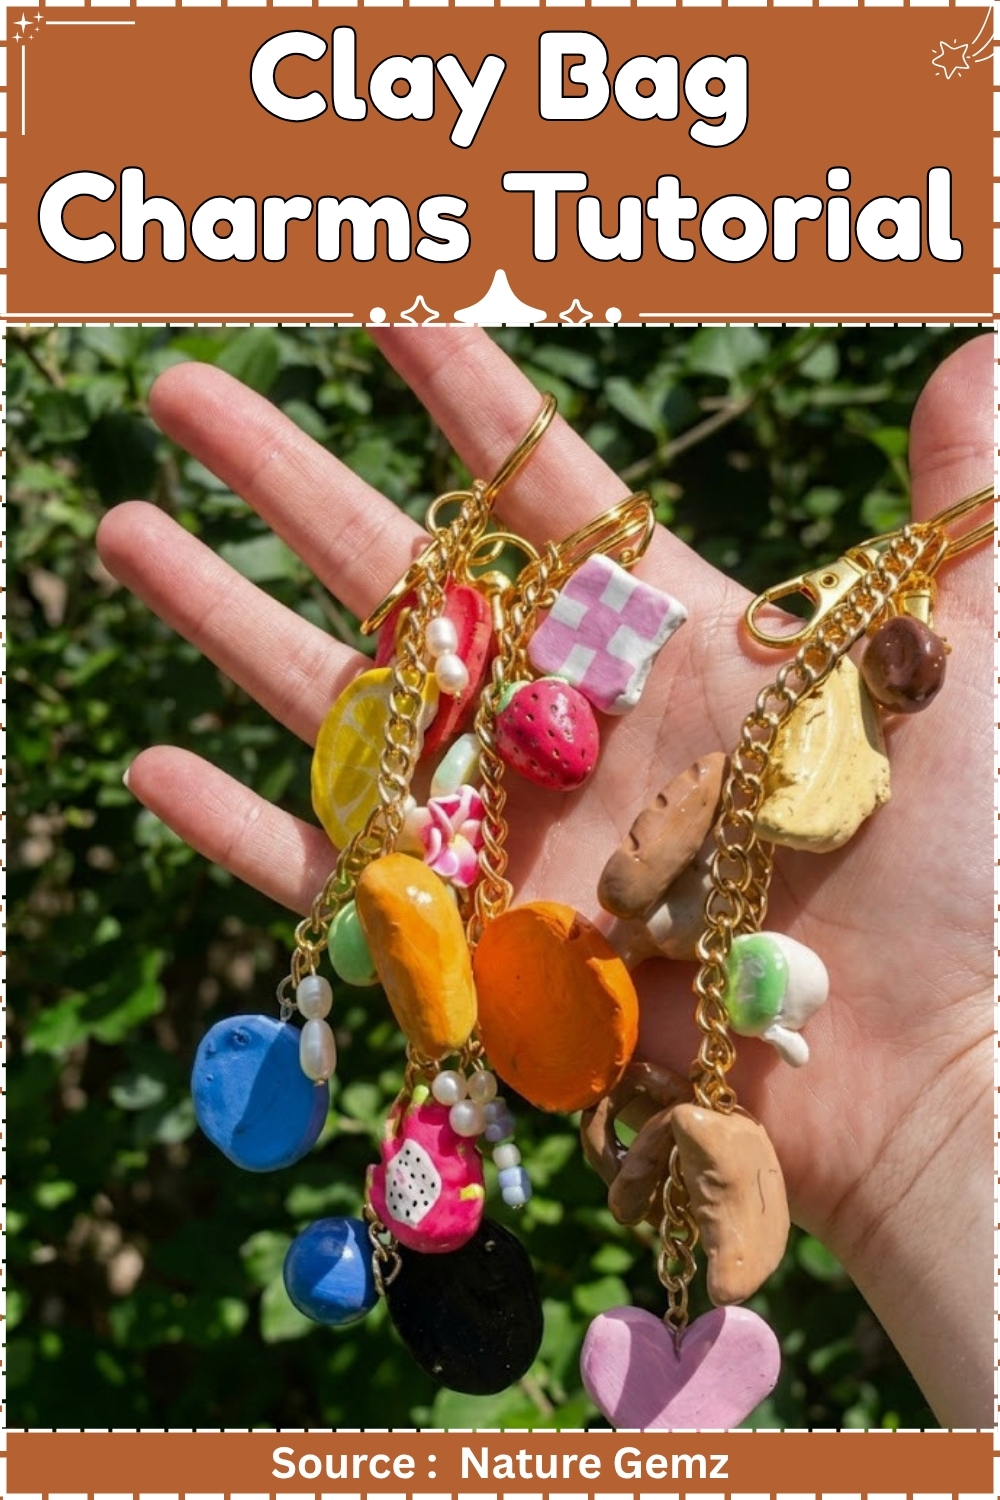
Pieces come as separate parts, the body, any add on details, and the ring or clasp that clips it on. Assembly is simple. Shaping the details takes the most patience.
At a Glance
| Field | Detail |
|---|---|
| Clay type | DAS air-dry clay (larger charms); polymer clay, brand unspecified (smaller charms) |
| Tools | Rolling pin, damp sponge, pliers, wire cutters, paintbrushes |
| Cure method | Air-dry: 24–48 hours flat. Polymer: 275°F / 130°C, 30 minutes minimum |
| Finished size | Individual charms 20–30 mm; assembled bag charm 40–60 mm total drop |
| Hands-on time | Approx. 90 minutes across all charms |
| Total time | 3 days (drying, baking, painting, glazing, assembly) |
| Difficulty | Beginner–intermediate |
Materials and Tools
Essential
- DAS air-dry clay
- Polymer clay (any brand, in relevant colours)
- Rolling pin or cylindrical substitute
- Damp sponge and jar of water
- Eye pins
- Flathead pins
- Jump rings (at least 8–10)
- Chain, approx. 4 inches (100 mm) per charm set
- Key ring
- Pliers (flat-nose and round-nose)
- Wire cutters
- Acrylic paints in required colours
- Rubbing alcohol and cotton swabs
- UV resin or acrylic glaze (glossy)
- Freshwater pearls or glass beads
Nice to Have
- UV lamp (for faster resin cure)
- Craft tile or ceramic tile for baking polymer pieces
- Foil tent for oven
- Oven thermometer
Colour Recipes
No colour mixing is required for this project. Use pre-coloured polymer clay matched to your chosen charms (blueberry purple, warm wheat for baguette, dark brown for coffee beans). Air-dry clay pieces are painted after drying, so raw clay colour does not matter.
Build
Part 1: Air-Dry Clay Charms (Strawberry, Citrus)
- Pinch off a piece of DAS air-dry clay roughly the size of a large grape for each charm.
- Roll out to approximately 5 mm thickness on a clean surface.
- Cut the charm shape: a rounded triangle for strawberry, a wedge for citrus slice.
- Dampen a sponge lightly and smooth all surfaces and cut edges of each piece.
- Trim an eye pin to 15 mm using wire cutters.
- Push the trimmed eye pin into the top center of the charm while the clay is still soft, leaving the loop proud of the surface. Press the clay gently around the pin shaft to grip it.
- Set pieces flat on a non-stick surface. Do not stack.
- Leave to dry 24–48 hours, turning once at the halfway point.
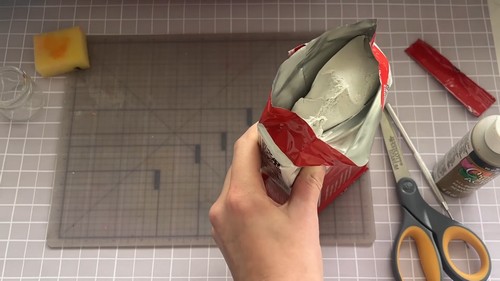
Part 2: Polymer Clay Charms (Blueberries, Coffee Beans, Baguette)
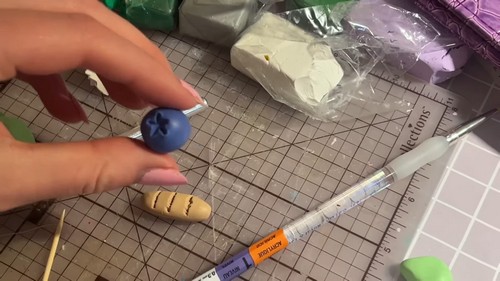
- Roll three small balls of purple polymer clay, each approximately 10 mm across, for blueberries.
- Pinch a tiny crown indent into the top of each ball using a fingernail or pin tool.
- Roll two small ovals of dark brown clay, each 12 mm long, and press a shallow center groove along each with a pin tool for coffee beans.
- Roll a log of wheat-coloured clay 25 mm long and 8 mm in diameter. Taper both ends slightly for the baguette.
- Push an eye pin into the top of each polymer piece, leaving the loop clear.
- Arrange all polymer pieces on a ceramic tile lined with cardstock or parchment.
- Tent loosely with foil to prevent colour shift.
- Bake at 275°F / 130°C for 30 minutes.
- Remove from oven and cool completely on the tile before handling.
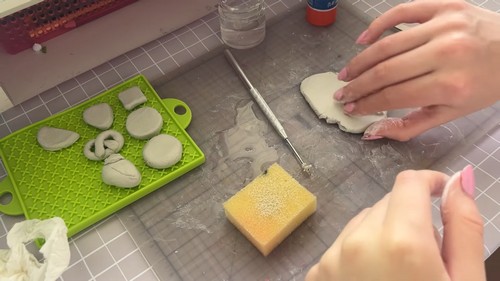
Part 3: Painting and Glazing
- Wipe all polymer pieces with rubbing alcohol on a cotton swab and allow to dry for two minutes.
- Paint air-dry pieces with a white base coat first. Let it dry fully before the next coat.
- Paint all charms with detail colours: red with small seed dots for strawberry, yellow and white segments for citrus, a pale scored pattern on the baguette.
- Let paint dry completely, at least one hour.
- Apply UV resin or glossy acrylic glaze over each charm with a clean brush in one smooth coat.
- Cure under a UV lamp for the resin manufacturer’s stated time, or allow glaze to air-dry fully (at least two hours).

Cure Block: Air-Dry and Polymer Combined
Air-dry pieces (DAS)
- Dry flat on a non-stick tile or parchment. Allow 24–48 hours minimum depending on charm thickness. Turn pieces once midway through to prevent warping. Keep away from direct sunlight and heat sources during drying. Do not attempt to speed-dry in an oven: DAS cracks under heat.
- Sealing is structural for air-dry clay, not decorative. Unprotected DAS absorbs moisture from skin and air over time, which softens and eventually cracks the piece. Apply two thin coats of acrylic varnish or a dedicated water-based clay sealer, covering all surfaces including back and edges. Sealed DAS is water-resistant. It is not waterproof.
Polymer pieces
Bake at 275°F / 130°C for 30 minutes minimum on a parchment-lined ceramic tile. Use an oven thermometer: domestic ovens run up to 25°F hotter than the dial reads. Tent with foil to prevent colour darkening. Cool completely on the tile before removing. Fully cured polymer will flex slightly rather than snap when thin. If it snaps, it was underbaked: bake again for a further 15 minutes.
Finishing
- Polymer charms do not require sanding for this project, as the glaze coat provides the finished surface. If any polymer piece has a rough spot, wet-sand with 400-grit, then 800-grit, then 1500-grit before glazing.
- Air-dry pieces can be lightly dry-sanded with 220-grit after fully drying if surface is uneven. Work gently: air-dry clay removes faster than polymer and a piece can be sanded too thin quickly.
- Apply the glaze or UV resin as the final finishing step on both clay types, after painting.

Hardware and Assembly
- Cut one piece of chain to 100 mm (4 inches) using wire cutters.
- Open a chain link at one end using flat-nose pliers, turning the link sideways rather than pulling it apart. Attach the key ring and close.
- Open a jump ring the same way: sideways, not outward. Hook it through a charm’s eye pin loop and onto a chain link at the desired position.
- Space charms at even intervals of roughly 15 mm along the chain. Alternate heavier and lighter charms to balance the drop.
- Thread a pearl or bead onto a flathead pin. Bend the wire 90 degrees just above the bead.
- Trim the wire to 10 mm above the bend. Using round-nose pliers, roll the trimmed end into a small closed loop.
- Open a jump ring and hook the bead dangle and the chain link together, then close.
- Repeat for each bead dangle position.
Use nickel-free jump rings and findings wherever the charm will contact skin.

Mode C: Batch Running Order
Build in this sequence when making multiple charm sets in one session.
Session 1 (Day 1, approx. 45 minutes active)
- Roll and cut all air-dry shapes for the full batch.
- Insert all eye pins into air-dry pieces.
- Set all air-dry pieces to dry. Do not touch again until Session 2.
- Sculpt all polymer charms for the full batch.
- Insert eye pins into all polymer pieces.
- Bake all polymer pieces in one tray load.
- Cool polymer pieces on the tile.

Session 2 (Day 2–3, after air-dry pieces are bone dry, approx. 45 minutes active)
- Paint all pieces, air-dry first (base coat, dry, detail), then polymer.
- Let all paint dry fully.
- Glaze all pieces in one pass.
- Cure all resin at once under UV lamp, or leave all glaze pieces to air-dry together.
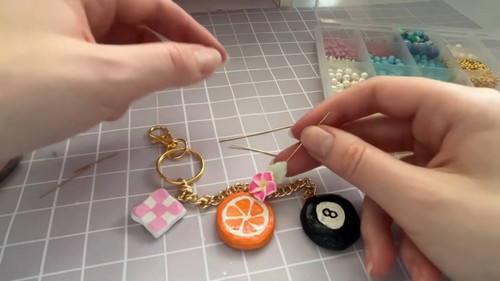
Session 3 (Assembly, approx. 30 minutes for a set of four)
- Cut all chains.
- Attach all key rings.
- Attach charms across all chains before closing any jump rings, so spacing can be adjusted.
- Make all bead dangles.
- Attach all dangles and close all jump rings.
Tray and chain economy: Eight polymer charms fit on a standard 30 cm tile with clearance. Two to three charm sets can be assembled from one chain spool cut of 400 mm before waste becomes an issue.
Where Makers Go Wrong
- Eye pins pull out of air-dry charms after drying. The clay shrinks as it dries and can release a pin that was not pushed deep enough. Push the pin at least 12 mm into the raw clay, and press the clay firmly against the shaft on all sides before setting the piece to dry. A pin that wiggles when you press it is already lost.
- Glaze applied over damp paint stays tacky. Acrylic paint feels dry to the touch in minutes but holds moisture inside for much longer, especially on a thick coat. Glazing too early traps that moisture. Wait a full hour before glazing, and work in a room where the air is moving.
- Jump rings that twist open rather than turn sideways. A ring pulled open at the gap loses its round shape and never closes cleanly again. All rings in this assembly are under constant lateral stress from the charms. A deformed ring is the first point to fail on a finished bag charm.
- Freshwater pearl holes too small for standard flathead pins. Pearl bore diameter varies. Test a pin through your pearls before the assembly session. If it binds, use a 0.6 mm bead reamer to widen the hole slightly. Do not force the pin: the pearl cracks.
Variations
| Variation | Change |
|---|---|
| Seasonal fruit set | Swap strawberry and citrus for a small pumpkin (orange polymer, brown stem) and an apple (red air-dry, painted white highlight). Same hardware and assembly throughout. |
| Monochrome charm set | Make all charms from white air-dry clay, paint in a single neutral tone (dusty sage or warm taupe), and use gold-tone chain and findings for a less literal result. |
| Earring conversion | Skip the chain. Attach one charm per ear wire using a single jump ring. Keep total charm weight under 3 g per side. |
Care
Store away from humidity: a bathroom hook is the worst location for DAS charms. Wipe with a barely damp cloth if soiled; do not soak or run under water. Avoid leaving in a hot car: sustained heat above 60°C will soften the glaze coat. If a jump ring opens, close it immediately before the charm slides off. Re-glaze air-dry charms once a year if they see heavy use.
Quick Answers
- Can I make all the charms from one clay type? Yes. Use polymer throughout for more durable charms with sharper detail. Roll it to 5 mm for the larger fruit shapes, cut and bake with the smaller pieces on the same tray, and skip the air-dry drying wait entirely.
- What if I don’t have a UV lamp? Use a glossy acrylic glaze instead of UV resin. Brush on two thin coats, allowing two hours between coats. The finish is slightly less glassy but fully functional and more widely available.
- The eye pin is flush with the clay surface after drying. Can I still use the charm? If the loop is still accessible, yes. Open a jump ring and hook directly through the exposed loop. If the pin sank completely flush, it will need to be drilled out and re-inserted, which risks cracking air-dry clay. Work-harden the replacement pin by bending and straightening it once before inserting, and use a pin at least 15 mm long.
- Can I sell these at a market? Sealed DAS is not robust enough for heavy daily use, so represent air-dry charms honestly: decorative bag use, gentle handling, not suitable for frequent wet conditions. Polymer-only versions are more suitable for sale and hold up to regular handling far better.