This clay earrings DIY tutorial takes you through polymer clay flower chains from shaping each bloom to linking the dangles, and the length is yours to decide. Add one more flower and they go from everyday to evening.
These polymer clay flower chain earrings link small blooms one under the next, with a pearl swinging off the bottom of each chain. Every flower gets shaped and pierced before it cures, then the pieces join with jump rings once they are hard, and the pearls go on last. None of it is difficult on its own. The assembly is what makes them read bought rather than homemade, and the full tutorial takes you through it step by step.
Clay Earrings DIY
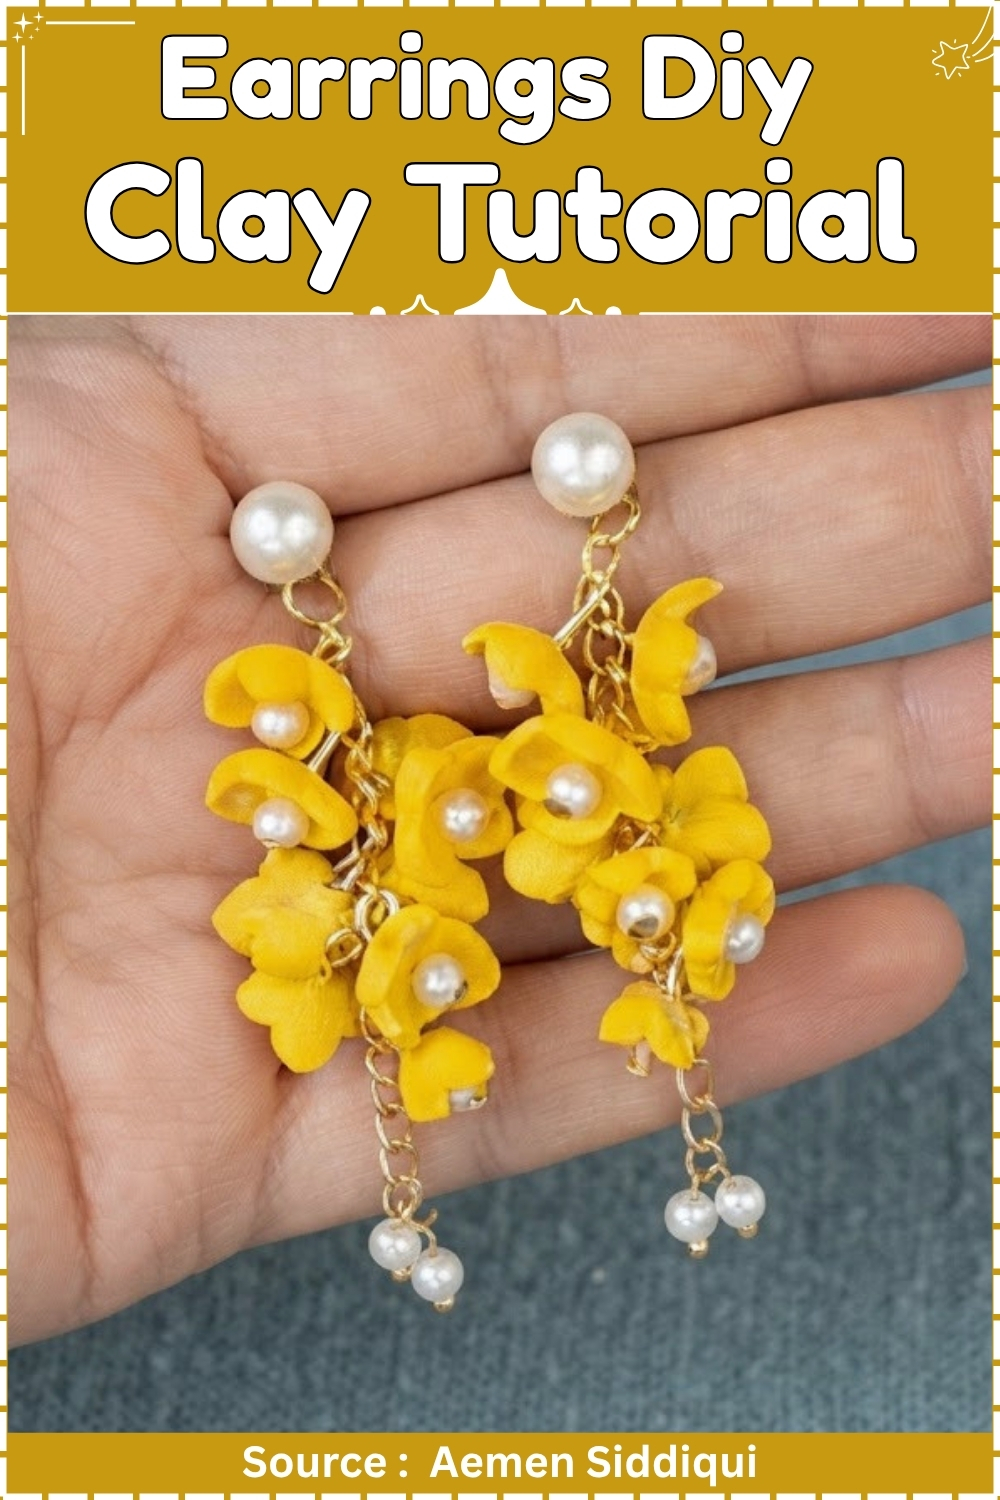
Yellow clay flower earrings sit in a different category from most DIY jewelry projects because the volume of small components is what creates the finished look rather than a single focal piece. Each flower is cut, pierced, and wired individually before being gathered onto a shared finding, which gives the cluster its layered and full appearance.
The practical note is that consistency matters more here than in most clay earring builds. With ten flowers per earring, a single outlier in size or curve reads immediately when the piece hangs.
Pricing and Presentation
At a market or online shop, position this as a chain earring rather than a flower earring. The flower is the material; the chain drop is the design. Price per pair to account for 45 minutes of hands-on time plus materials: clay, 20 headpins, 20 pearls, 2 chains, and findings. A reasonable minimum for handmade clay chain earrings at craft market rates is $18 to $24 per pair, higher for sterling silver findings.
For packaging, a standard earring card with two pierced holes accommodates the hook tops. Cellophane bags keep the chains from tangling before the customer handles them. A small sticker on the back noting nickel-free findings is worth adding for allergy-sensitive buyers.
At a Glance
- Clay type and brand: Polymer clay, Sculpey Premo or Fimo Soft in any colour
- Technique: Cutter flowers, curved centre shaping, headpin assembly on chain
- Tools: Flower cutter, scraper tool, pin, round-nose pliers
- Cure method: Oven, 275°F / 130°C, 30 minutes
- Finished size: 55 to 60 mm total drop per earring
- Hands-on time: 1 hour 15 minutes per pair
- Total time: 2 hours including cure and cooling
- Difficulty: Beginner to intermediate
Materials and Tools
Essential
- Polymer clay in your chosen colour, one 57 g block per pair
- Cornstarch in a small dish
- Flower-shaped clay cutter, 12 mm
- Flexible scraper tool or palette knife
- Steel pin or needle tool
- Ceramic tile for baking
- Aluminium foil for tenting
- Oven thermometer
- Gold or silver headpins, 25 mm, 20 per pair (nickel-free)
- Freshwater or faux pearls, 2 mm, 20 per pair
- Cable chain, 2 mm link, gold or silver tone, two 50 mm lengths
- Jump rings, 2 mm, nickel-free, 20 per pair
- Fishhook earwires, nickel-free or surgical steel, one pair
- Round-nose pliers
- Flat-nose pliers
Nice to Have
- Acrylic roller for sheeting the clay evenly before cutting
- Soft brush for removing excess cornstarch from cut flowers
- Flush cutters for trimming headpin tails
- Self-closing bags for storing finished pairs before packaging
- Earring cards and cellophane bags for presentation
The Build
Conditioning and Sheeting
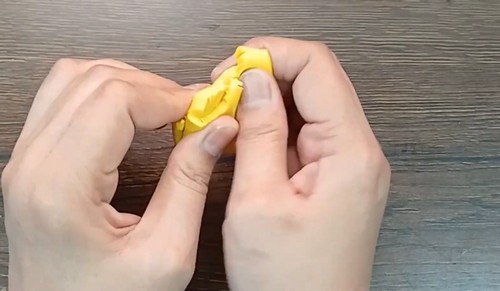
- Knead the clay between your palms for 2 minutes until it is fully soft with no crumbling at the edges.
- Roll it by hand or with an acrylic roller to a 3 mm even sheet on the tile.
- Dust the flower cutter lightly with cornstarch and tap off the excess.
Cutting and Shaping the Flowers
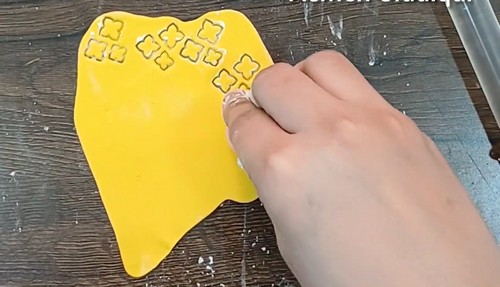
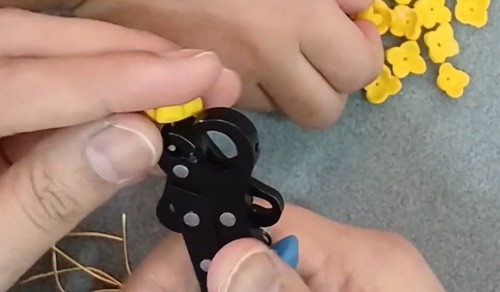
- Press the flower cutter firmly into the sheet and lift it straight up. Cut 20 flowers for one pair, all from one session of clay so the colour and thickness match.
- Slide the scraper tool under each flower at a low angle and lift it cleanly off the tile.
- Place each flower face-up on a clean area of the tile.
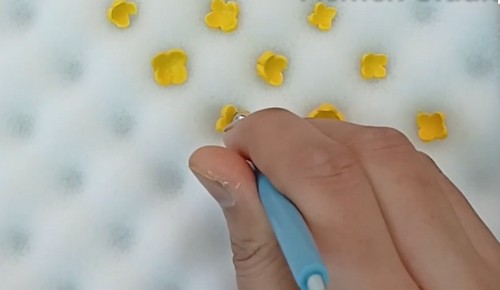
- Press the centre of each flower lightly with one fingertip to dome it upward slightly, curving the petals downward.
- Pierce a 1 mm hole through the centre of each flower with the pin, pushing straight through rather than at an angle.
Baking
See the full cure block below. Bake all 20 flowers on the ceramic tile in one pass.
Curing
Bake on the ceramic tile, never on bare metal. Set an oven thermometer on the shelf and preheat to 275°F / 130°C, waiting for the thermometer rather than the oven’s own signal. Tent with aluminium foil, edges pressed against the tile. Bake 30 minutes. The flowers are 3 mm at the thickest point, but the full brand minimum applies regardless of thickness. Cool on the tile 20 minutes before handling.
The transcript states 120°C for 10 minutes. That combination is below the manufacturer minimum for any polymer clay brand and produces brittle flowers that snap at the headpin hole under normal wear. 275°F / 130°C for 30 minutes is the correct figure and is used here.
Finishing
Do not sand these pieces. The cut edges from the flower cutter are clean enough for assembly. If any flower shows a rough edge from the cutter lifting unevenly, scrape it flush with the scraper tool held at 90 degrees to the edge. No sealer or glaze is needed: the baked surface is durable enough for this scale and weight.
Hardware and Assembly
Building the Flower Dangles
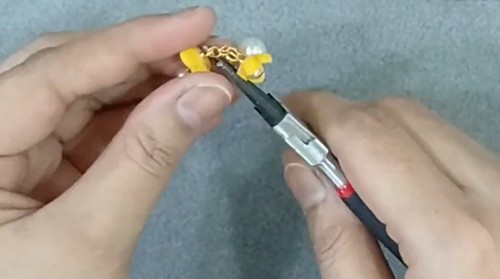
Open a round-nose pliers loop at the tip of a headpin by gripping 4 mm from the end and bending it to 90 degrees. Thread one 2 mm pearl onto the headpin, then thread one baked flower through its centre hole. Grip the wire 3 mm above the flower with the round-nose pliers and roll a closed loop. Trim the tail with flush cutters. Repeat for all 20 flowers.
Attaching to Chain
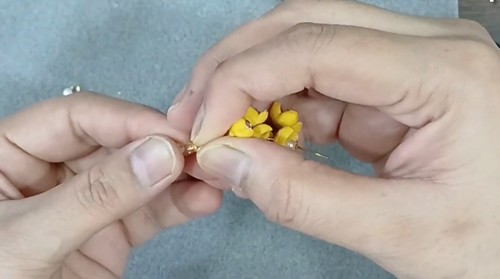
- Count the links in the 50 mm chain and divide them into 10 equal sections, one flower per section. Open a 2 mm jump ring sideways. Thread it through the loop of one flower dangle and through the chain link at its assigned position, then close the ring until the ends meet with no gap. Work from one end of the chain to the other, attaching flowers in order. Attach the fishhook earwire to the top link of the chain with the final jump ring.
- Repeat for the second earring, attaching flowers at the same link positions so both earrings hang at identical lengths. All findings are nickel-free or surgical steel.
Where Makers Go Wrong
- Flower holes crack outward after the headpin is threaded through, even though the pierce looked clean before baking. The pin compresses the clay around the hole during piercing, and underbaked clay has no tensile strength at that compressed edge. Baking to the full temperature and time prevents this: the cure block above explains why the video’s 10-minute figure cannot be used.
- Jump rings on the chain twist open under the weight of the flower over time. A 2 mm jump ring closed with a gap rather than a flush butt joint acts as a spring and gradually works itself open. Close every ring until you feel the two ends grate against each other, and check all 20 before packaging.
- Both earrings hang at different lengths because the flowers were not attached at matching link positions. Count links from the top on both chains before attaching any flower, and mark the attachment positions with a temporary twist of thread rather than estimating by eye.
Variations
- Leaf and berry: replace the flower cutter with a leaf cutter at the same 12 mm size, and swap the pearls for red seed beads on the headpins. Same chain and assembly method, different botanical reading.
- Graduated drop: use three different flower cutter sizes, 8 mm, 12 mm, and 16 mm, placing the smallest at the top of the chain and the largest at the bottom. Reduce to 6 flowers per earring total to keep the weight manageable.
Care
The centre hole on each flower is the weakest point: pulling the earring off by the flower rather than the hook will eventually stress-crack the clay around it. Store pairs with the chains laid flat rather than coiled, since repeated tight coiling can work the jump rings open at the most-stressed link. Keep away from acetone nail polish remover, which softens cured polymer at the surface. The 2 mm pearls on the headpins are not glued, so do not pull them upward along the wire or they will separate from the flower.

Quick Answers
Can I use air-dry clay for this build instead of polymer? Technically yes, but the centre hole must be pierced before drying and the piece must dry completely before threading onto a headpin. The hole edges on air-dry clay are more fragile under the lever force of a chain, so increase the wall of clay around the hole to at least 4 mm in all directions.
My flowers warped during baking and no longer sit flat on the headpin. What went wrong? Warping happens when the flowers are placed on a cold tile that then heats unevenly, or when the clay sheet was not an even 3 mm before cutting. Re-roll a fresh sheet with an acrylic roller, check thickness with a ruler, and place the tile in a cold oven and preheat together rather than loading a cold tile into a hot oven.
Can I use a longer chain for a bigger drop? Yes. Add one flower per extra 5 mm of chain to maintain the spacing. At 80 mm with 16 flowers the earring starts to approach statement length; check total weight before committing to a full run.
Leave a Reply