Cute Clay Charm Ideas Easy Cute Animal
Bag clips, bracelets and key rings each carry one of four kawaii clay trinkets here: a 25 mm strawberry, a spotted mushroom, a cloud with raindrops and a tiny bear face. Homemade cold porcelain or any air-dry clay works. Beginners finish all four in about 70 minutes.
Punched through before baking and finished with a jump ring after, each piece in a clay charm ideas project is self-contained. Shapes range from simple cuts to layered builds with texture pressed into the surface.
Clay Charm Ideas
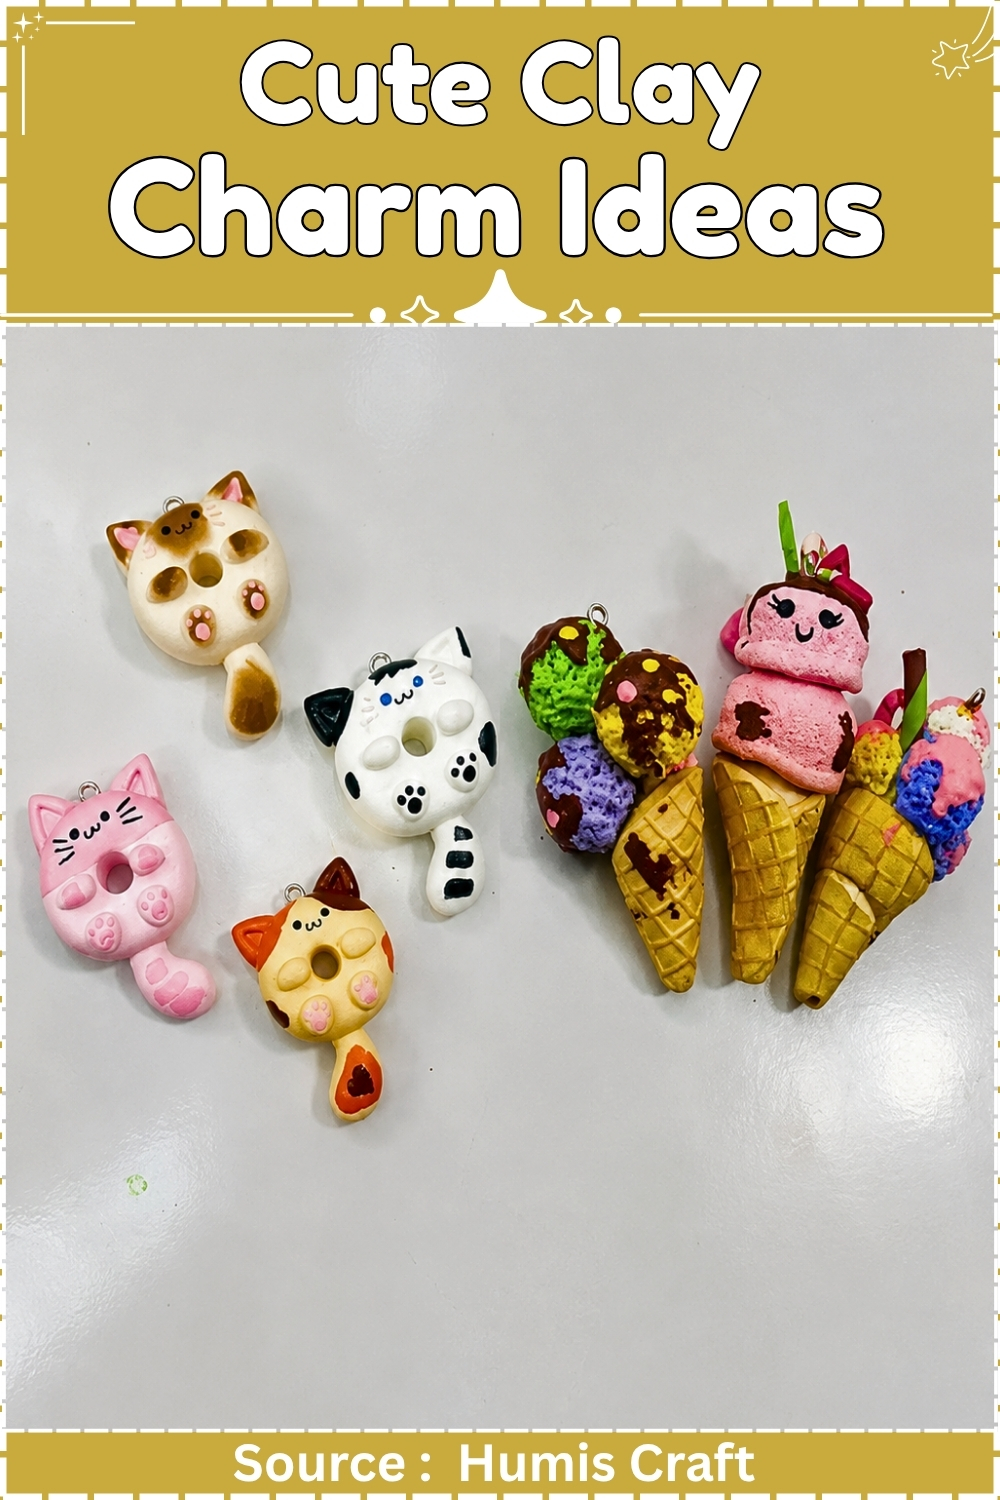
The set comes apart into individual units, one per design, sized to hang from a bracelet, bag clip, or keyring. Cured clay sits rigid and holds its edges cleanly.
At a Glance
Clay type: Air dry. Homemade cold porcelain or starch based clay. DAS or Crayola Air Dry work as direct swaps. Tools: Small rolling pin, craft blade, toothpick, ball stylus, mini circle cutters, round nose and flat nose pliers, soft flat brush. Cure method: Air drying, no oven, no heat. 24 to 48 hours flat, turned at the halfway mark. Sealing follows once bone dry. Finished size: Strawberry 25 mm, mushroom 22 mm, cloud 28 mm wide, bear 20 mm. Hands on time: 70 minutes for all four, plus 20 minutes for sealing and assembly. Total time: 3 days. Difficulty: Beginner.
Materials and Tools
Essential
- Homemade cold porcelain or starch based air dry clay, 60 g
- Acrylic craft paint in crimson, leaf green, orange, cyan, raw sienna, white, black
- Cornstarch for dusting
- Small rolling pin or a smooth glass jar
- Craft blade or scalpel
- Toothpick
- Ball stylus
- Circle cutters, 10 mm and 15 mm
- Eye pins, 20 mm, nickel free or surgical steel
- Jump rings, 6 mm, nickel free or surgical steel
- Round nose pliers
- Flat nose pliers
- Small dish of water
- Parchment paper or a silicone mat
- Sandpaper, 400 and 800 grit
- Water based clay sealer or acrylic varnish
- Soft flat brush, 10 mm
- Fine detail brush, size 000
- Cling film
- E6000 or two part epoxy
Nice to have
- Kitchen scale
- Ceramic tile as a work surface
- Silicone clay shaper
- Dotting tool
- Gloss polyurethane for pieces that will be handled daily
- Wire drying rack
- Lidded plastic tub for stock storage
Consistency Across the Set
Buyers judge a set of four by its weakest member, so weigh every ball rather than eyeballing it. A 6 g strawberry next to a 4 g strawberry looks like a second. Keep a written note of each colour recipe and each weight before you start, then work all four of one design before moving to the next. One thing worth knowing: a rolled sheet that has sat ten minutes cuts far cleaner than fresh clay, which drags under the blade and rolls its own edge over. Roll every sheet first, let them rest together, then cut.
Pricing the Labour
Four charms take 90 minutes of your time end to end. Material cost sits under 40 rupees for the batch. Price from the time, not the clay: divide your hourly rate across the four, add hardware and card, then add the sealing pass you would rather skip. Charms priced from material alone always lose money at volume.
Colour Recipes
Work in 15 g balls. Add paint one drop at a time and knead until no streaks show.
- Strawberry red: 4 drops crimson per 15 g
- Leaf green: 3 drops leaf green plus 1 drop white
- Mushroom red: 4 drops crimson plus 1 drop orange
- Cloud blue: 1 drop cyan per 15 g, kept pale
- Bear tan: 1 drop raw sienna plus 1 drop white
- White stays uncoloured
Preparing the Clay
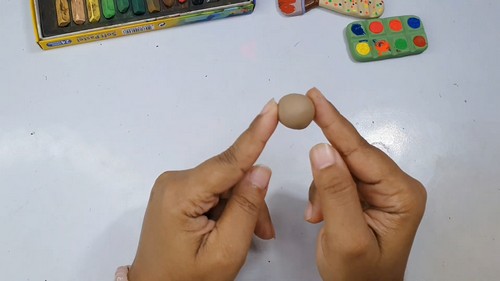
- Knead the full 60 g for two minutes until it is smooth and no longer sticks to your palm.
- Divide into 15 g balls, one per colour.
- Knead the paint into each ball until the colour is even throughout.
- Wrap every ball you are not working with in cling film.
- Dust the work surface and rolling pin with cornstarch.
The Builds
Strawberry Charm
- Roll 6 g of strawberry red into a smooth ball.
- Pinch one end into a blunt cone 25 mm tall.
- Flatten the base so the charm sits square.
- Press seed marks with the tip of a toothpick in staggered rows across the body.
- Roll leaf green to 1 mm.
- Cut a five point star 14 mm across.
- Brush the top of the cone with water.
- Press the star on and lift each leaf tip with the blade.
- Push a 20 mm eye pin through the centre of the star to a depth of 12 mm.
- Pinch the clay closed around the pin shank.
Spotted Mushroom Charm
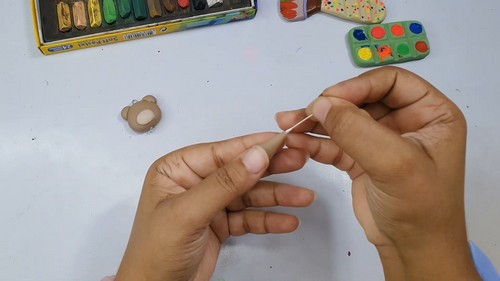
- Roll 5 g of mushroom red into a ball.
- Press it into a dome 18 mm across and 9 mm tall.
- Roll 3 g of white into a stem 12 mm tall and 8 mm wide, flared at the base.
- Score the top of the stem and the underside of the cap with a toothpick.
- Brush both scored faces with water.
- Press the two parts together and hold for five seconds.
- Roll white to 1 mm and cut six circles between 3 mm and 5 mm.
- Brush each circle with water and press onto the cap.
- Push a 20 mm eye pin down through the cap centre into the stem, 10 mm deep.

Cloud and Raindrop Charm
- Roll white to a 3 mm sheet and let it rest for ten minutes.
- Cut three overlapping circles, 15 mm, 12 mm, and 10 mm, into one cloud 28 mm wide.
- Trim the base flat with the blade.
- Smooth every cut edge with a damp fingertip.
- Set one eye pin into the top of the cloud, 8 mm deep.
- Set a second eye pin into the bottom edge, 8 mm deep, loop facing down.
- Roll cloud blue to 3 mm and cut a raindrop 10 mm long.
- Set a 20 mm eye pin into the top of the raindrop, 6 mm deep.
- Pinch the clay closed around all three shanks.
Bear Face Charm
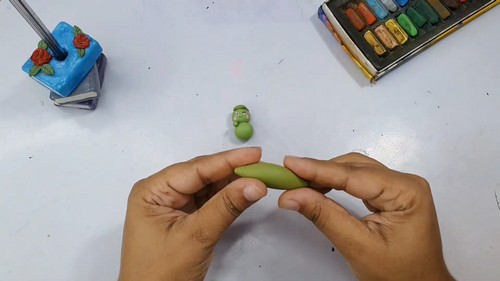
- Roll bear tan to a 3 mm sheet and rest it for ten minutes.
- Cut a 20 mm circle.
- Roll two 6 mm balls and flatten each to a 4 mm disc.
- Brush the discs with water and press them on as ears.
- Roll white to 1 mm and cut a 7 mm oval for the muzzle.
- Wet and press the muzzle onto the lower third of the face.
- Press two eye indents with the ball stylus, 8 mm apart.
- Press a shallow vertical line under the muzzle for the mouth.
- Set a 20 mm eye pin into the top centre between the ears, 8 mm deep.
Drying and Sealing
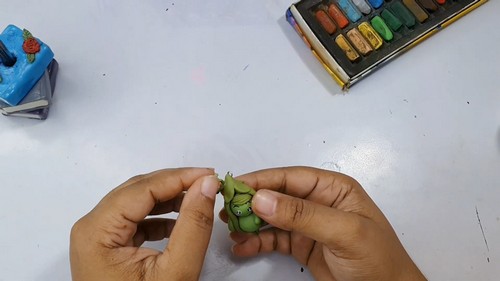
- Lay all four flat on parchment and leave them 24 to 48 hours. The cloud and bear sit at the short end, the strawberry and mushroom at the long end. Turn everything at the halfway point so both faces lose moisture at the same rate, otherwise a flat piece curls at its edges. Keep the tray away from sun and heaters. Anything bulkier than these four should be hollowed before drying, since thick clay cracks as it shrinks.
- Sealing is structural, not decorative. Air dry clay pulls moisture from humid air and from skin, softens, and eventually splits. Use a water based clay sealer or acrylic varnish for general stock, polyurethane for charms that hang on keys, epoxy resin where real waterproofing matters. Skip PVA, which yellows within a year, and skip nail polish and solvent lacquers, which react with the surface. Sealed air dry clay is water resistant, never waterproof.
Finishing
Sand dry, never wet. Water reopens the surface you just spent two days closing. Start at 400 grit on cut edges and seam lines, then 800 for the faces. Air dry clay sands away far faster than polymer, so two passes usually finishes it and a heavy hand will thin a 3 mm cloud into a 2 mm one. Brush the dust off with a dry soft brush.
Paint the bear’s eyes, nose, and mouth with the 000 brush now, plus any detail you skipped. Let the paint dry two hours. Then seal in two thin coats, backs and edges included, two hours between them. Skip sanding entirely on the mushroom spots, which lift.
Hardware and Assembly
- Every eye pin went in before drying for a reason worth stating once: drilling cured air dry clay chips it out around the hole, and there is no repair that hides it. If a pin has worked loose after drying, wick a drop of E6000 down the shank and leave it 24 hours before hanging anything from it.
- Open jump rings by twisting sideways, one plier in each hand, never by pulling the ends apart. A pulled ring never closes round again and will gape under weight. Use 6 mm rings in nickel free or surgical steel, since these charms end up on bags, wrists, and keys.
- For the cloud, link the raindrop to the lower loop with one jump ring, then hang the whole piece from the upper loop. Check the cloud hangs level before you close that ring. Total weight for any single charm here stays under 4 g, so lobster clasps and thin bag chains both hold fine.
Presentation and Packaging
Card each charm on 300 gsm kraft, cut to 55 by 85 mm, with a single punched hole. Hang the charm through the hole on its own clasp so the buyer can lift it off without tools. Print your shop name across the top and the clay type across the bottom, because “air dry clay, sealed” answers the question every market buyer asks before they ask it. Slide the carded charm into a 60 by 90 mm cello bag with a silica sachet. Sell the four as a set on one wider card at a small discount, and keep singles in a shallow tray at the front of the table where hands reach first.
Where Makers Go Wrong
- Storing sealed stock in sealed bags. A charm that felt bone dry at sealing can still hold moisture in its core, and a closed cello bag traps it against the sealed surface for weeks. Add a silica sachet to every bag and give finished stock a week in open air before it goes into inventory.
- Assuming batch two matches batch one. Homemade starch clay shrinks by a different percentage depending on how much water went into that particular cook, so a restock made three weeks later can finish 2 mm smaller than the originals. Mix a full season of clay in one batch, or accept that sets must be built within a single batch.
- Trusting the wet colour. Acrylic tinted clay dries two to three shades deeper and slightly duller than it looks in the ball, so a restock mixed to match your finished charms will come out too dark. Match against a dried chip of the original colour, not against the finished piece.
- Straight eye pin shanks. A plain straight shank has nothing to grip, and months of small tugs walk it out of the hole even though it felt solid on day one. Bend the buried end into a 3 mm hook with pliers before you push it in.
Variations
| Variation | What changes | Notes |
|---|---|---|
| Translucent fruit | Swap the strawberry body for cold porcelain left uncoloured, tinted with 1 drop crimson only | Reads glassy once sealed with gloss |
| Textured mushroom cap | Press coarse linen into the dome before attaching the stem | Holds a paint wash in the weave |
| Stacked cloud pair | Build two clouds at 28 mm and 18 mm and link them vertically | Sells at a higher price point than a single |
Care
Keep charms off wet hands and out of shower steam, since moisture creeps in at the pin hole first. Do not leave them clipped to a car key that lives in direct sun, which softens the sealer. Re-seal the back of any charm that starts to feel chalky. A dropped charm chips at the strawberry tip and the bear ears before anywhere else.
Quick Answers
- Can I use store bought air dry clay instead of a homemade batch? Yes. DAS and Crayola Air Dry both take the same builds without changes. Store bought clay shrinks less than starch based homemade clay, so your charms will finish closer to the stated sizes.
- A charm cracked while drying. Can I save it? Fill the crack with a paste of the same clay thinned with water, smooth it flush, and let it dry another 12 hours. Sand at 400 grit once dry. A crack that runs through the pin hole is not worth saving.
- Does this method transfer to polymer clay? The shaping does. The pin work does not, because polymer stays soft until baked and will not grip a pin set before curing. Bake polymer first, then drill.
https://youtu.be/SzdQ2yprxSo