How To Make Clay Bead Bracelets – Complete Beginner’s Guide
How to make clay bead bracelets from the first step, covering which elastic cord actually holds, how much slack to leave, and the knot that stops the whole thing scattering across the floor a week later. Everything a beginner gets wrong the first time.
Almost everyone’s first clay bead bracelet breaks, and it is nearly always the knot or the cord rather than the beads. Elastic that is too thin snaps under a full string of clay. A surgeon’s knot holds where a double knot slips. Leave too little slack and it strains every time it goes over a hand. Get those three right and the bracelet lasts, which is where this guide starts before it touches colour or pattern.
Clay Bead Bracelets
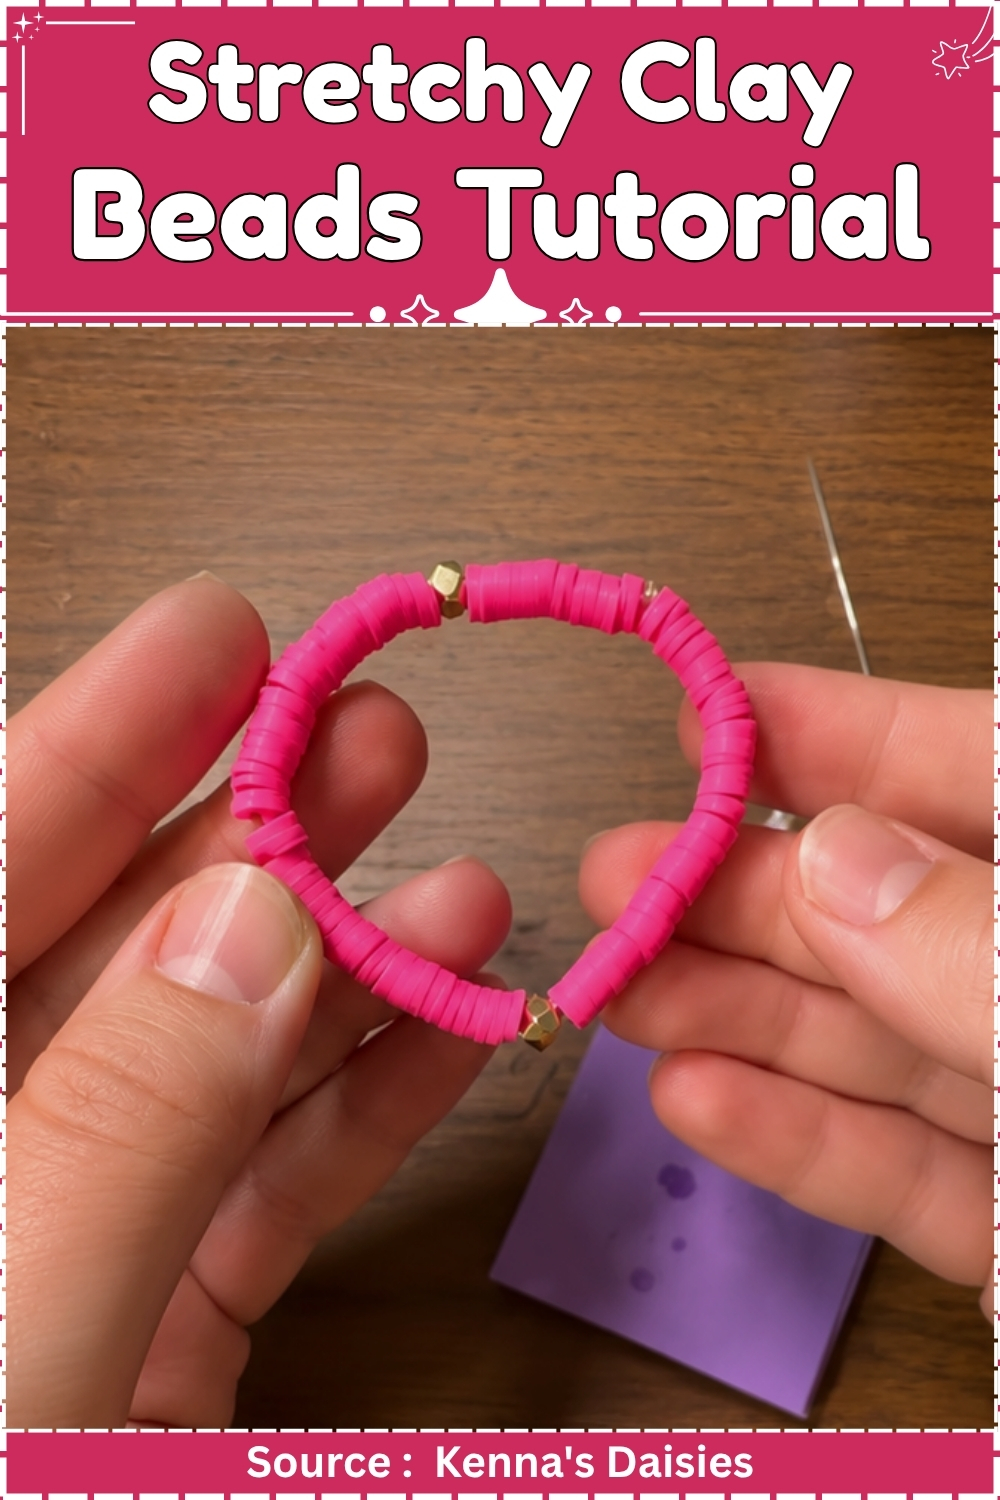
Materials and Tools
Essential
- Sculpey Premo in your chosen colours
- 0.5 mm to 0.7 mm Stretch Magic clear elastic cord
- 1.5 mm piercing needle or a thick bamboo skewer point
- Acrylic roller
- Tissue blade or craft knife
- Glazed ceramic tile
- Aluminium foil
- Oven thermometer
- Scissors
- Loctite Super Glue Gel
- Ruler
Nice to Have
- Big-eye beading needle
- Craft clips or stitching clips
- Wet/dry sandpaper in 400, 600, and 800 grit
- Denim scrap for buffing
Techniques
These three things appear in the build steps below. Read each one now so you are not stopping mid-project to figure out what the step means.
Rolling a Round Bead by Hand
Pinch off a piece of conditioned clay slightly larger than you want the finished bead. Press it into a rough ball between your palms. Then roll it in a small, tight circular motion using the heel of one palm against a flat surface. Keep the pressure very light. Heavy pressure flattens the ball into a disc. Rotate the bead a quarter turn every few seconds so it rounds evenly. A 10 to 12 mm bead takes about 20 seconds of rolling.
Piercing a Bead
Lay the bead flat on the ceramic tile. Hold the 1.5 mm needle or skewer point vertical above the centre of the bead and push it straight down through the bead onto the tile in one controlled motion. Do not angle the needle: an angled hole means the bead will tilt on the cord. Twist the needle a half turn as you withdraw it. Flip the bead over and press the raised lip around the bottom hole flat with a fingertip.
Tying a Surgeon’s Knot
A surgeon’s knot is the same as a standard overhand knot, with one extra pass in the first loop. Cross the right tail over the left, push it under and through the loop twice, then pull both ends in opposite directions until the knot seats. That double pass is what keeps the knot from slipping while you form the second half. Complete the knot by crossing the left tail over the right and passing it through once, then pulling tight. It looks like a square knot but holds elastic under tension where a square knot does not.
The Build
Conditioning the Clay
- Cut the Premo block into eight equal pieces using the tissue blade.
- Warm each piece between your palms for 30 seconds, pressing it flat and folding it back on itself until it bends without cracking at the fold.
- Roll each piece back and forth on the tile ten times, pressing firmly, folding in half, and rolling ten more times.
- Repeat until the surface of the clay is smooth and no cracks appear at the fold. Fully conditioned clay takes around five minutes per colour.
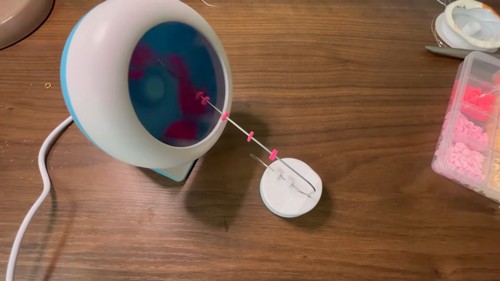
Rolling the Beads
- Pinch off a piece of conditioned clay the size of a large grape, around 14 mm across.
- Roll it to a round ball using the heel technique from the Techniques section until the bead is 10 to 12 mm across.
- Set the finished bead on the tile and move on to the next.
- Roll all beads before piercing any of them.
Piercing the Beads
- Lay the first bead on the tile.
- Pierce straight through the centre using the 1.5 mm needle, following the technique in the Techniques section.
- Flip the bead and press the bottom lip flat.
- Set the bead aside on the tile with 5 mm clearance around it.
- Pierce every bead before baking.
Baking
- Bake at 275°F / 130°C for 30 minutes. That time is for a 10 to 12 mm bead. It applies to every bead on the tray, no matter how many there are.
- Lay the beads on the glazed ceramic tile with 5 mm clearance between each one. Do not use a bare metal tray: it conducts heat unevenly and can scorch the underside of the beads.
- Tent the tile with a sheet of aluminium foil, pressing the edges down. Place the oven thermometer on the tile beside the beads and read the actual temperature when the oven has been on for 15 minutes. Only then put the tile in. Home ovens commonly read 20 to 30 degrees different from what the dial shows.
- Cool the beads completely on the tile before handling. Polymer is still soft at baking temperature and hardens fully only when cold.
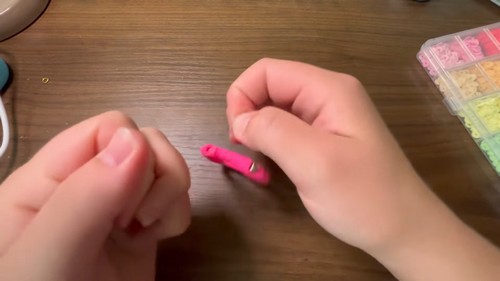
Finishing
- Baked polymer beads do not need sealing or glazing. Skip both.
- Sanding is optional for beads going onto elastic, but it removes the slight drag mark the piercing leaves around the hole rim. Thread the cooled beads onto a bamboo skewer, twenty at a time. Hold the skewer over wet 400 grit sandpaper and roll it back and forth, then move through 600 and 800 grit in the same way. Fold a small square of 800 grit and press it against each hole opening to take off the sharp lip.
- Buff the dry beads against a denim scrap for five seconds each. The surface picks up a low sheen without any product applied.
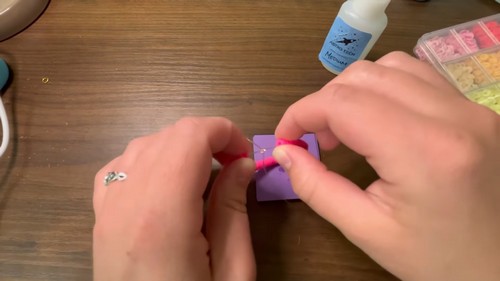
Stringing and Knotting
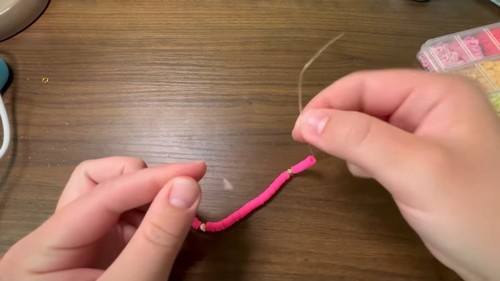
- Cut 30 cm of Stretch Magic.
- Pull the cord along its full length firmly, then release it.
- Thread one end through the big-eye needle if using one, leaving a 10 cm tail.
- Clip a craft clip or fold a small piece of tape around the far end so beads cannot slide off.
- Slide the beads onto the cord in your chosen order until the strung length reaches 19 cm.
- Remove the needle and the clip.
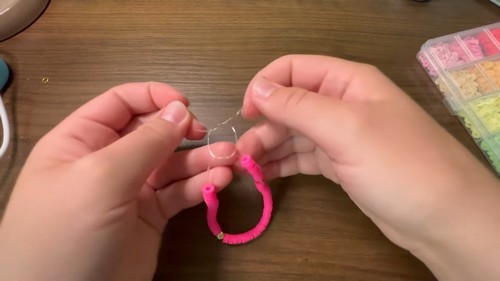
- Hold one tail in each hand and tie the first half of the surgeon’s knot as described in the Techniques section: right over left, through the loop twice, pull snug.
- Complete the second half: left over right, through the loop once, pull tight.
- Touch the tip of the super glue gel tube to the knot, leaving a dot of glue no larger than the knot itself.
- Pull the two neighbouring beads slightly apart and hold the gap open for 60 seconds while the glue sets on the knot surface only.
- Release the beads and leave the bracelet flat for 24 hours.
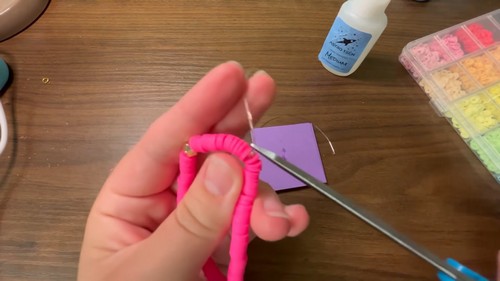
- Trim both tails to 1 mm with scissors.
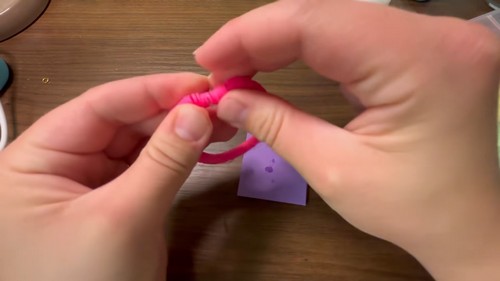
- Draw the nearest bead over the knot so it seats inside the hole.
Where Makers Go Wrong
- Using 0.8 mm cord when 0.5 mm is readily available. Thicker cord sounds sturdier, but the important factor is cord quality, not diameter. A high-quality 0.5 mm Stretch Magic lasts years in daily wear. A low-quality 0.8 mm cord from an unknown brand can snap within months because the elastic core is inconsistent. Stick to a named brand at 0.5 mm and you know what you are getting.
- Gluing before the knot is fully tightened. Super glue locks whatever position it finds. A knot that is 90 percent tight when the glue goes on will be permanently 90 percent tight. Pull both tails in opposite directions until you feel the knot seat against the bead on each side, only then apply the glue.
- Trimming the tails before the glue is dry. The tails are what you grip when the glue needs to be repositioned if it spreads onto the cord. Cut before the 24-hour cure and you lose that option. One tail that gets glued to a bead before you can separate it means cutting the bracelet open.
Variations
- White clay beads with a single contrasting accent bead at the centre keep the palette neutral enough to wear with anything. The contrast bead does not need to be a different size: the same 10 mm bead in a deep terracotta or forest green against six white beads on each side reads clearly without competing for attention.
- Mix two bead sizes: roll half the batch to 10 mm and half to 6 mm, then alternate small, large, small on the cord. The size variation creates rhythm without any additional colour or pattern work.
- A single colour per bracelet, made in four or five different tones from the same base, stacks well as a set. All the bracelets share one colour family, so any three look like they belong together on the same wrist.
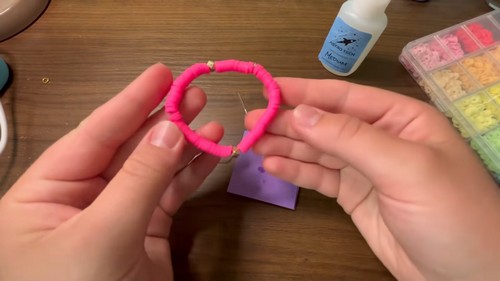
Care
Take the bracelet off before swimming or showering: water does not damage the clay, but it shortens the elastic cord’s lifespan noticeably. Pull the bracelet over your hand by rolling it, not by stretching it open. If a bead chips at the hole, replace it: the hole rim is the thinnest point and a chip there will catch on the cord. The glued knot lasts the life of the cord. When the elastic stretches out and the bracelet feels loose, cut it open, replace the cord, and re-knot.

Quick Answers
- What if I do not have Sculpey Premo? Any polymer clay works for hand-rolled beads: Fimo, Cernit, or Craft Smart are all suitable. The bake temperature changes: use 230°F / 110°C for Fimo and Cernit. Craft Smart follows the same 275°F as Premo.
- My beads came out brittle and one cracked. What went wrong? Underbaking. A bead that looks done at 15 minutes is still chemically soft inside. Pull a bead from the batch and try to bend it while it is still warm: a properly baked bead flexes, an underbaked one snaps. Re-bake the batch at 275°F for a full 30 minutes.
- Can I skip the glue on the knot? You can, for a bracelet worn occasionally. For one worn daily, the knot will loosen over two to three months as the elastic relaxes through repeated stretching, and it will eventually slip open. The glue is not optional for a bracelet that sees regular use.
- The knot will not hide inside the bead hole. What am I doing wrong? The hole needs to be at least 1.5 mm for a surgeon’s knot in 0.5 mm cord to seat inside it. Check your piercing needle: a bamboo skewer tapers and may have left a hole smaller than 1.5 mm at the exit. Re-pierce the bead with a dedicated 1.5 mm needle after baking using a pin vice and drill bit at slow speed.