How to Condition Polymer Clay By Hand – Color & Firm Clay Fast
That block that will not budge is not ruined, it is cold. Learn how to condition polymer clay by hand, soften firm clay fast, and know when it is actually ready to work. No pasta machine, no softener, no waiting around for it to warm up on its own.
Conditioning polymer clay by hand is the step that decides whether your next project cracks or holds, and firm clay is the reason most people give up on it. This covers how to warm and work a stubborn block without a pasta machine, how to tell when it is properly conditioned rather than just soft, and how to speed the process up when the clay has been sitting in a cold drawer. It also covers colour, since conditioning and blending are the same motion. Everything below is hands only.
How To Condition Polymer Clay
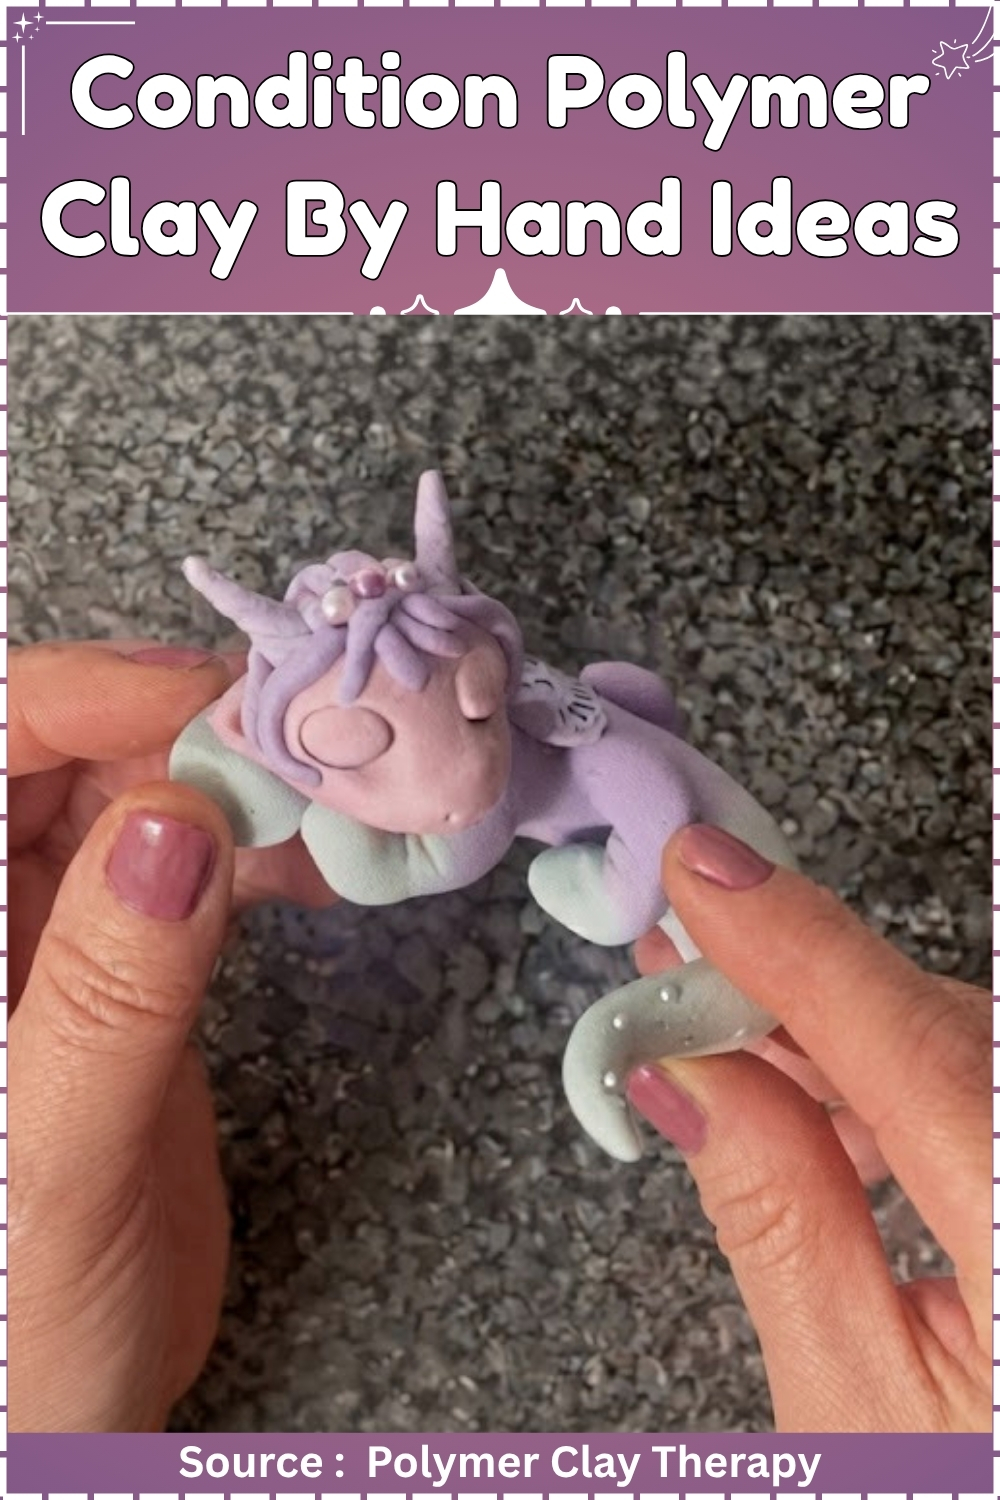
Hand conditioning is the most accessible way to start working with polymer clay, requiring no pasta machine or dedicated tools. Warming the clay between your palms and working it through repeated folding and pressing gradually shifts it from a stiff, crumbly block into a smooth and pliable material that holds detail cleanly.
What Makes This Worth the Effort
Original Sculpey White is unusually soft for a polymer clay, which makes it fast to condition and forgiving to sculpt, but that softness also means fingerprints, sagging detail, and a sculpted surface that picks up every bit of dust it touches. The firming powder changes the working behaviour enough that it is effectively a different material by the end of the process. The clay holds crisp edges after firming in a way that raw Original Sculpey will not, and the surface resists fingerprints through the sculpting session rather than just at the start. The technique transfers to almost any polymer clay that runs too soft for detail work, which makes it worth understanding as a method, not just following as a recipe.
At a Glance
- Clay type and brand: Polymer. Original Sculpey White
- Coloring agents: Soft chalk pastels or pre-coloured polymer clay scraps
- Firming agent: Polyform Clay Softener and Conditioner used in reverse (or dedicated Sculpey Clay Firming Powder)
- Tools: Rolling pin, flat non-porous work surface, zip-lock bag, gloves, dust mask, safety glasses
- Cure method: Oven, 275°F / 130°C, 15 min per 1/4 inch (6 mm) at thickest point
- Finished size: N/A — technique post. Resulting clay ready for any project.
- Hands-on time: 5 minutes per 60 g portion
- Total time: 5 minutes per portion plus sculpting and bake time
- Difficulty: Beginner
Materials and Tools
Essential
- Original Sculpey White polymer clay
- Sculpey Clay Firming Powder (or equivalent polymer clay firming powder)
- Soft chalk pastels in desired colours, or pre-coloured polymer clay scraps
- Fine cheese grater or sandpaper (100 grit) for shaving pastels
- Zip-lock bag or folded sheet of baking parchment
- Nitrile gloves
- Dust mask (minimum FFP1 / N95 for fine powder use)
- Safety glasses
- Rolling pin or acrylic roller
- Flat tile or glass work surface
Nice to Have
- Pasta machine for large batches
- Digital scale
- Fine-mesh sieve for grading pastel powder
- Dedicated spatula for powder measuring
Colour Recipes
Ratios below are by weight of shaved pastel dust against 60 g of white clay. Pastel pigments vary in intensity by brand, so treat these as starting points and adjust under daylight, not lamplight.
- Pale pastel: 0.2 g pastel dust : 60 g white
- Mid tone: 0.5 g pastel dust : 60 g white
- Deep saturated: 1 g pastel dust : 60 g white, mixed through in two additions
- Black-from-scrap: equal parts black scrap clay : white, kneaded until fully uniform
Pre-coloured scrap clay added at up to 30% of the total weight will shift the base without muddying the white.
The Technique
Safety First
- Put on nitrile gloves before handling any clay.
- Put on a dust mask and safety glasses before opening the firming powder.
- Keep the powder container capped except when measuring. Fine polymer powder becomes airborne easily and must not be inhaled.
Conditioning the Base Clay
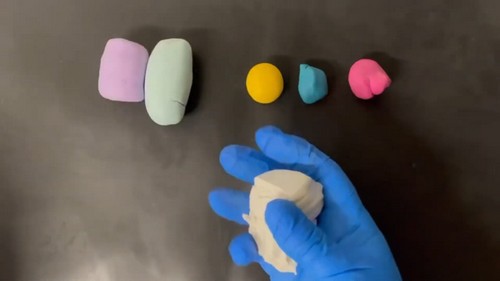
- Tear off a 60 g portion of Original Sculpey White.
- Press the block flat with the heel of your hand three times, rotating 90 degrees between each press.
- Fold the flattened block in half, press flat again, and repeat for two minutes until the clay takes a fold without cracking at the edges.
- Roll the conditioned block into a log 20 mm in diameter.
Adding Colour
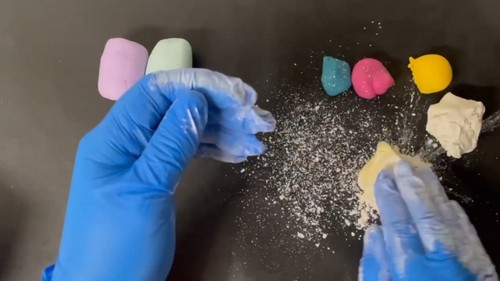
- Shave the chosen pastel over a sheet of baking parchment using 100-grit sandpaper with short downward strokes until you have the measured amount of fine dust.
- Sift the dust through a fine-mesh sieve to remove any coarse fragments.
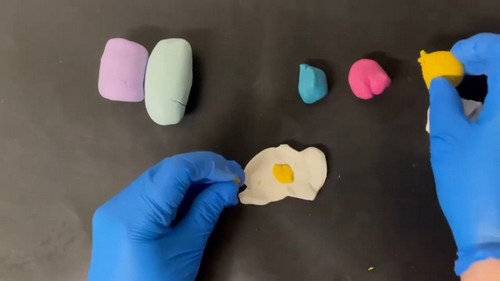
- Fold the log in half over the dust, trapping the powder inside the fold.
- Press the folded log flat and fold again, working the dust inward through five folds.
- Roll the clay into a log and fold again, repeating until the colour is fully uniform with no streaks visible at the cut face.
First Powder Addition
- Place the coloured clay inside a zip-lock bag and seal it.
- Open a small corner of the bag just wide enough to insert a measuring spoon, add one level quarter-teaspoon of firming powder, and re-seal.
- Knead the clay inside the sealed bag for 30 seconds, pressing and folding through the plastic.
- Remove the clay from the bag and knead it directly in gloved hands for a further 30 seconds until the powder is fully incorporated with no white streaks.
Second Powder Addition
- Return the clay to the bag.
- Add a second level quarter-teaspoon of firming powder and re-seal.
- Knead inside the bag for 30 seconds, then remove and knead directly for 30 seconds.
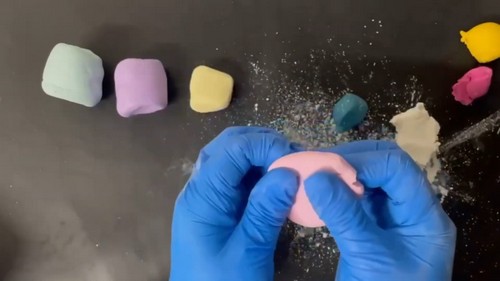
- Press the clay into a 10 mm slab and check the surface: it should hold a fingernail impression cleanly without the sides of the impression slumping back.
Third Powder Addition (If Needed)
- If the clay still feels tacky or the impression edges slump, return the clay to the bag.
- Add a final level quarter-teaspoon of powder, re-seal, and knead inside the bag for 30 seconds.
- Remove and knead directly for 30 seconds.
- The clay is ready when it holds sharp tool impressions, no longer sticks to a glass surface, and the surface does not pick up fingerprints on contact.
Resting the Clay
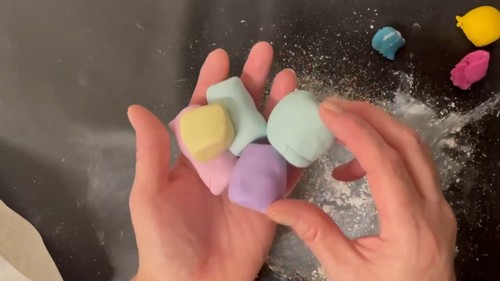
- Roll the finished clay into a smooth log.
- Wrap it in a single sheet of baking parchment and leave it on a tile at room temperature for ten minutes before sculpting.
Baking
When the conditioned clay is ready for use in a project, bake on a ceramic tile or cardstock, never bare metal, tented with a loose foil dome. Preheat the oven to 275°F / 130°C and confirm the reading with an oven thermometer before placing the tray inside. Original Sculpey bakes at 15 minutes per 1/4 inch of thickness, measured at the thickest point of the finished piece. If the piece is 10 mm thick, bake for 30 minutes minimum. Polymer does not break down until around 350°F, so err on the side of longer rather than shorter. Cool completely on the tile before handling.
Finishing
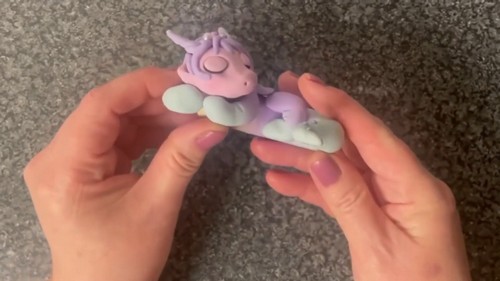
Polymer clay conditioned with firming powder sands cleanly. Wet sand the cured piece with 400-grit wet/dry paper under a running tap, working in short strokes with light pressure. Move to 800 grit, then 1000 grit. Buff on a scrap of denim until the surface shows a soft sheen. Seal with a water-based polyurethane, two thin coats, one hour apart. Avoid acetone-based nail polish: it reacts with polymer clay and stays tacky. The firming powder does not change the sanding or sealing behaviour, only the pre-cure surface.
Where Makers Go Wrong
- The powder goes in too fast and the clay crumbles. Two dustings is the ceiling for most starting weights, and the clay needs full incorporation between each one, not a partial knead followed by the next addition. Crumbled clay that has taken too much powder cannot be rescued by warmth or additional plain clay: the plasticiser-to-filler ratio is already off. Start a fresh portion.
- The pastel colour is uneven at the cut face. Five folds are rarely enough for a full saturation colour. The streaks visible in the cross-section will still be there after baking, and the cured piece will show colour variation under a glaze or varnish. Fold until the cut face shows a completely uniform shade before adding the powder.
- The clay firms up unevenly across the session. Polymer clay warms under the hands and softens as it does, so a portion that was perfect at the start of a sculpting session becomes tacky again after twenty minutes of handling. This is not a powder failure: it is heat transfer from the hands. Work in smaller portions, keep the spare clay wrapped in parchment on a cool tile, and add a half-dusting if the working portion softens past the usable point.
- Chalk pastel dust migrates to the surface after baking. This happens when the pastel has not been fully incorporated before the powder is added. The powder fixes the clay’s surface behaviour early, which traps any remaining unmixed pigment at the outer layer. Mix colour to full uniformity before any powder goes in.
- The clay becomes too firm to sculpt fine detail. Three dustings is already at the maximum for Original Sculpey at 60 g. Firming powder absorbs plasticiser, and past a certain point it removes too much: the clay stops being plastic and starts being brittle before cure. One or two dustings is the correct endpoint for most sculpting work. Three is for a clay that must hold large unsupported forms, not for surface detail.
Variations
- Replacing all or part of the pastel with pre-coloured clay scrap gives a different result. Scrap clay introduced at 50% of the total weight shifts the base colour further and also changes the firmness slightly, since older, partially cured scrap runs stiffer than fresh clay. Adjust the powder down to one dusting rather than two when using heavy scrap additions.
- Chalk pastel dust can also be applied to the outside of the cured piece as a dry-brush effect before sealing. This is a surface treatment rather than a colour mix, and the powder sits on top of the varnish layer rather than inside the clay.
- For a marbled result, stop the colour-incorporation stage at three folds rather than five. The streaks become the design. The firming powder goes in afterward as normal, which locks the marbled pattern in place before sculpting.
Care
Polymer clay firmed with this powder is slightly more brittle at thin points than a straight Premo or Soufflé piece, so avoid curing pieces with unsupported projections under 3 mm. Store unused conditioned clay wrapped in baking parchment inside a zip-lock bag. Cling film and some plastics leach plasticiser from polymer clay over weeks. Firming powder has a shelf life: if a batch of clay feels gritty rather than smooth after incorporation, the powder has absorbed ambient moisture and should be replaced. Pre-coloured chalk pastel clay fades under prolonged UV exposure, more so than factory-pigmented clay. Seal with a UV-resistant varnish if the piece will be near a window.
Quick Answers
- Can I use this method with Premo, Soufflé, or Fimo? Yes, but Premo and Soufflé are already firmer than Original Sculpey, so one dusting of powder is usually enough. Fimo Professional is the firmest of the major brands out of the packet and rarely needs firming powder at all. Use it for Fimo Soft, which runs close to Original Sculpey in softness.
- I added too much powder and the clay is crumbly. Can I save it? Add a small amount of liquid polymer clay, kneaded in drop by drop, to reintroduce plasticiser. This works up to a point: clay that crumbles outright rather than just feeling stiff has gone past recovery. A few drops of Sculpey Clay Softener on a new portion, mixed in, can also rebalance a mildly over-firmed batch.
- Can I use eyeshadow instead of chalk pastels for the colour? Eyeshadow pigments work the same way as chalk pastel dust, but the binder in pressed eyeshadow can leave a slight sheen in the clay body. Loose cosmetic-grade mica is a cleaner substitute if shimmer is the goal. Do not use pigments sold for resin: some are not heat-stable at 275°F and will shift colour in the oven.
- Does the firming powder affect bake time or temperature? No. Bake at the clay brand’s standard temperature and time regardless of how much powder was added. The powder changes the pre-cure consistency, not the cure chemistry.