Clay Bead Bracelet Ideas Aesthetic
Clay bead bracelet ideas that come down to colour order more than anything else. Where the letter beads sit, how many neutrals you run between the brights, whether the pattern repeats or drifts. Small choices, completely different bracelet. Ideas to copy or start from.
Two people can sit at the same table with the same tub of clay beads and finish with bracelets that look nothing alike. It comes down to sequence. Three brights then a neutral reads playful, a long run of one tone with a single contrast bead reads considered, and a repeating pattern reads finished rather than random. These are the combinations worth stealing before you start threading.
Clay Bead Bracelet Ideas
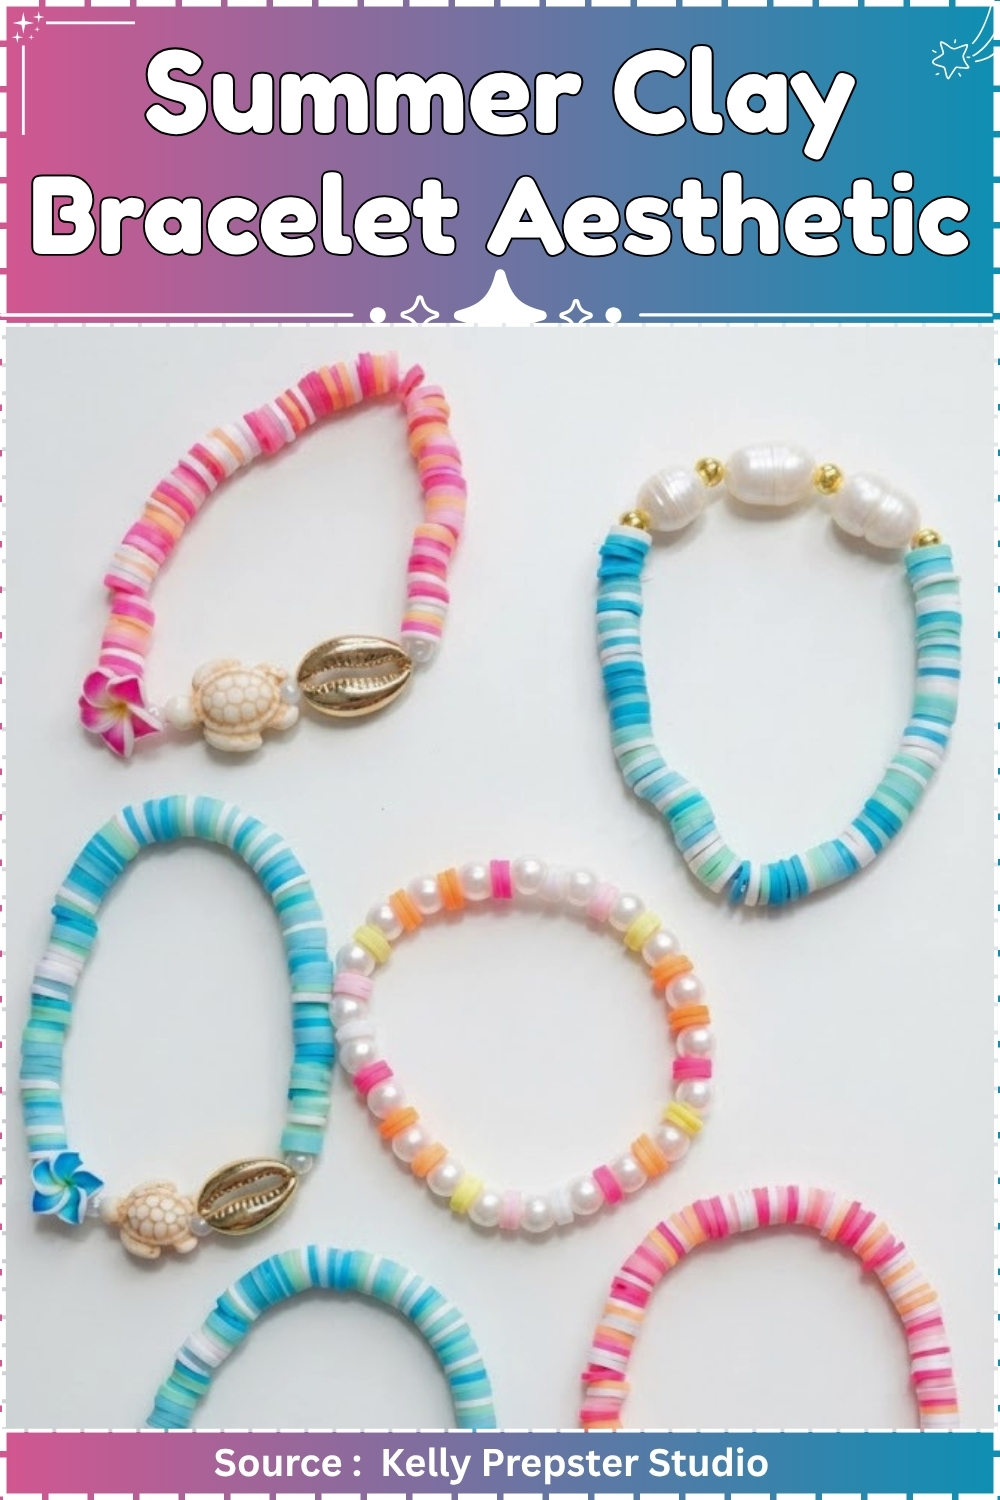
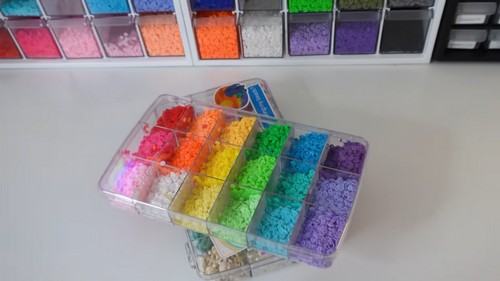
Heishi beads have taken over summer jewelry for a reason, and the flat disc shape is what makes these bracelets stack so well without feeling bulky. The color choices do most of the work here, from soft ocean fades to hot pink and coral blends. Charms like turtles, cowrie shells and tiny plumeria flowers finish the look. Freshwater pearls paired with gold spacers give a completely different feel from the candy bright rainbow versions, so it is worth making a few of each. Everything strings onto clear elastic cord, which means no clasps, no findings and no jewelry making experience needed. Sorting your beads by color before you start is the one step that makes the whole process faster.
- Clay type and brand: Polymer, Sculpey Premo
- Tools: Pasta machine, tissue blade, 6 mm round cutter, 1.5 mm needle tool, bead spinner, big eye beading needle, acrylic bead board
- Cure method: Oven bake at 275°F, 130°C, for 30 minutes
- Finished size: Heishi beads 6 mm across and 2 mm thick, bracelets strung to 178 mm
- Hands on time: 90 minutes for the beads, 20 minutes per bracelet
- Total time: 3 hours 30 minutes including bake, cooling and glue cure
- Difficulty: Intermediate
Why This Design Earns the Effort
A stretch bracelet is the simplest jewellery there is, so everything rides on precision you cannot fake. Ninety identical discs in five colours give you a repeat that closes cleanly at the knot, and that closure is the whole difference between a finished piece and a handful of beads on a string. The charm stack pushes it further. One focal piece flanked by gold spacers only works if the beads either side are the same thickness to a fraction of a millimetre, because the eye reads the charm as centred or it does not. Cutting your own beads is the only way to get there.
Materials and Tools
Essential
- Sculpey Premo in White, Fuchsia, Cadmium Red Hue, Cadmium Yellow Hue and Zinc Yellow Hue
- Stretch Magic elastic cord, 0.7 mm
- Glass pearls, 4 mm
- Gold plated spacer beads, 4 mm
- Focal charms: shell, sea turtle, tropical flower
- Smiley face beads
- Jump rings, 5 mm, surgical steel
- Tissue blade
- Pasta machine
- Round cutter, 6 mm
- Needle tool, 1.5 mm
- Ceramic tile
- Aluminium foil
- Oven thermometer
- Big eye beading needle
- Acrylic bead board
- GS Hypo Cement
- Snips
- Chain nose pliers, two pairs
Nice to Have
- Bead spinner
- Bead reamer, 1.5 mm
- Rock tumbler
- Wet and dry sandpaper in 400, 600 and 1000 grit
- Acrylic roller block
- Cotton pouches for storage
Colour Recipes
The Coconut Girl palette runs bright against a lot of white. Hot pink: four parts Fuchsia to one part White. Bright orange: three parts Cadmium Yellow to two parts Cadmium Red. Baby yellow: eight parts White to one part Zinc Yellow. Baby pink: ten parts White to one part Fuchsia. White goes in straight from the block. Mix each colour to a full blend with no marbling left at a cut edge. A 2 mm disc reads a step lighter than the block it came from, so mix deeper than you think.
Making the Clay Heishi Beads
Conditioning
- Cut each Premo block into 6 mm slices with a tissue blade.
- Warm each slice between your palms for 60 seconds.
- Pass each slice through the pasta machine on the thickest setting, 3 mm.
- Fold the sheet and pass it through 20 times, folded edge going in first each time.
- Stop when a folded edge shows no cracking.
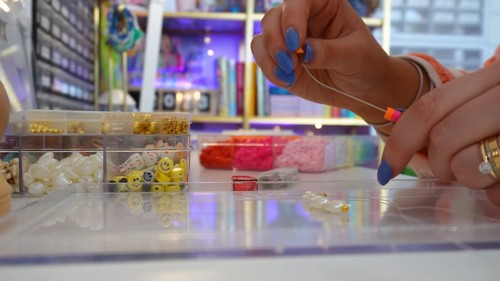
Mixing the Colours
- Weigh out the parts for one colour from the recipes above.
- Roll the parts into a single log.
- Pass the log through the pasta machine at 3 mm, fold, and repeat 15 times.
- Cut through the log and check for streaks.
- Repeat for each of the five colours, wiping the rollers between colours.
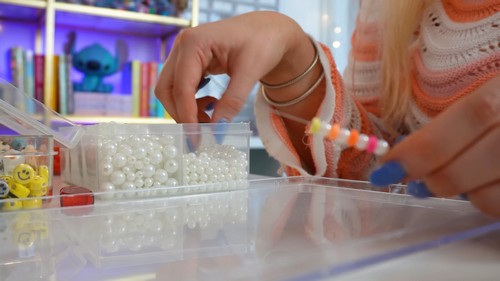
Rolling and Cutting the Discs
- Set the pasta machine to 2 mm and pass each colour through once.
- Lay each sheet flat on a ceramic tile.
- Rest the sheets for 20 minutes.
- Cut discs with the 6 mm round cutter, working across the sheet with a 1 mm gap between cuts.
- Lift the waste sheet away, leaving the discs on the tile.
- Pierce each disc through the centre with the 1.5 mm needle tool in one pass.
- Turn each disc over and press the raised rim flat with a fingertip.
- Cut 90 discs for a full clay bracelet, 54 for the pearl spacer version, and 78 for the charm stack.
Baking the Beads
- Premo bakes at 275°F, 130°C, for 30 minutes. A 2 mm disc still gets the full 30 minutes rather than a scaled down fraction, because bake time comes from the brand minimum and not from bead thickness. Underbaked heishi splits around the hole the first time elastic pulls tight across it.
- Lay the beads on a ceramic tile or a sheet of cardstock. Never bare metal. Tent the tile with foil and leave 40 mm of air above the beads. Put an oven thermometer inside and read it before the tile goes in, since a domestic oven swings 30 degrees either side of its dial.
- Leave everything on the tile until it is cold to the touch. Polymer reaches full strength as it cools, and a warm bead deforms under a reamer.
Finishing
Wet sand polymer, always. Dry sanding throws plastic dust into the air. Work each bead at 400 grit, then 600, then 1000, with the bead threaded on a needle so you can turn it against the paper. Ninety beads by hand takes an evening, so run them in a rock tumbler with water and one drop of dish soap for four hours instead. Ream every hole with a 1.5 mm bead reamer once cool. Buff on denim or a rotary tool at low speed. Skip all of it if you want the flat matte face that bought heishi has, because sanded beads sit glossier than this look asks for.
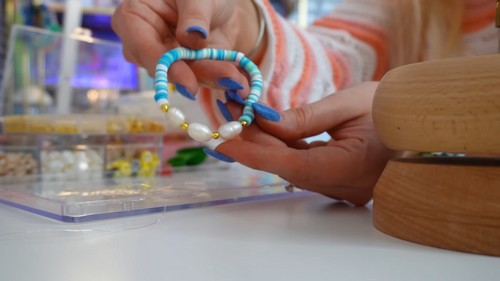
Stringing the Bracelets
Pattern One: The Multi Colour Clay and Pearl Mix
- Lay out hot pink, bright orange, baby yellow, baby pink and white in that order on the bead board.
- String three beads of the first colour.
- String three beads of the second colour.
- Continue through all five colours to complete one repeat of 15 beads at 30 mm.
- Repeat the full sequence six times for 90 beads at 180 mm.
- Check the run against the bead board before knotting.
For Pattern Two: The Clay and Pearl Spacer Stack
- String three clay beads in the first colour.
- String one 4 mm glass pearl.
- String three clay beads in the next colour.
- String one 4 mm glass pearl.
- Continue in colour order to complete 18 segments at 10 mm each.
- Adjust to 178 mm by removing or adding one clay bead from a single segment.
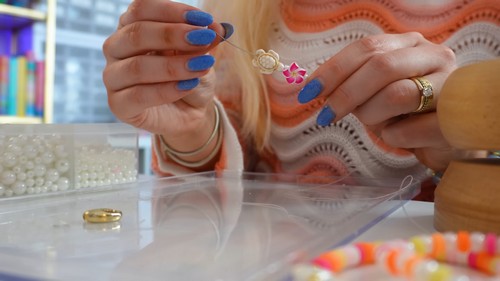
Pattern Three: The Island Girl Charm Stack
- Open a 5 mm jump ring and thread the focal charm onto it.
- Close the jump ring flush so no gap shows at the join.
- String 39 clay beads in a five colour repeat.
- String one 4 mm gold spacer.
- String the charm on its jump ring.
- String a second 4 mm gold spacer.
- String 39 clay beads to mirror the first run.
- Add a smiley face bead at 40 mm either side of the charm cluster if you want a second focal point.
Knotting and Assembly
- Cut 330 mm of 0.7 mm Stretch Magic. Pre-stretch the whole length twice between your hands before a single bead goes on.
- Thread a big eye beading needle and string the pattern off the bead board. Pull the elastic taut before knotting rather than after.
- Tie a surgeon’s knot, then tie a second surgeon’s knot on top of the first. Work one drop of GS Hypo Cement into the knot with a pin. Leave it 24 hours, trim the tails to 2 mm, then pull the knot inside the hole of the nearest pearl.
- Open jump rings by twisting the two ends sideways past each other, never by pulling them open. Keep every finding that touches skin in surgical steel or a nickel free plating.

Where Makers Go Wrong
- Bought heishi beads cut the elastic from the inside. Machine punched holes leave a burr on one face, and that edge saws through fine cord over a few months of wear with nothing showing from the outside. Ream every bought bead before stringing, or plan on restringing twice a year.
- A bead spinner puts twist into elastic and leaves it there. The cord winds as the bowl turns, and the stored twist releases slowly after the knot is tied, so tension goes uneven and the beads settle into a faint spiral. Let the cut length hang free to untwist between segments.
- Single loop charms rotate to the underside of the wrist. Elastic runs straight through one loop, so the charm swings face down within an hour of wear and the focal point is gone. Choose charms drilled horizontally through the body, or pass the elastic through the loop twice.
- Polymer goes tacky in storage against the wrong plastic. Plasticiser migrates out of cured clay into polystyrene and acrylic, so beads left in a craft organiser for a year come out sticky and pick up lint. Store finished bracelets in cotton or an unlined tin.
- The repeat rarely closes on a changed palette. Five colours at three beads each fills 180 mm neatly, but drop to four colours or move to 3 mm beads and the last repeat lands short, leaving a broken sequence somewhere. Decide before stringing where that mismatch sits, then hide it under the knot.
Variations
Cut the sheet with a 6 mm square cutter rather than a round one and the same palette reads as tile beads instead of heishi, which sits flatter against the wrist and shows the colour blocks harder. Take the discs to 4 mm thick and the bracelet turns chunky rather than beachy, which works as a single wide band worn on its own instead of in a stack. Or drop the elastic entirely and thread the charm stack on 1 mm waxed cotton finished with two sliding knots, which removes the knot as a failure point and lets the bracelet size itself.
Care
- Take the bracelet off before sunscreen goes on, since the oils soften unsealed polymer over a season.
- Roll it on and off the hand rather than pulling it, which spares the knot.
- Store each bracelet loose in a cloth pouch instead of a sealed plastic bag.
- Salt water leaves a film inside the bead holes that stiffens the elastic.
- Restring once a year even when nothing looks wrong.
Quick Answers
- Can I use air dry clay beads on elastic? No. Air dry clay has no flex at 2 mm, and the hole cracks the first time the bracelet stretches over a hand. Use a knotted cord and larger beads instead.
- The pearl holes are too small for my needle. Ream glass pearls with a 0.8 mm diamond reamer under running water. Never force a needle through, since glass pearls split along the drill line.
- A bracelet snapped and the beads scattered. Can I reuse them? Yes. Wash the beads in warm soapy water to clear elastic residue from the holes, dry them fully, then restring on fresh cord.
- Do polymer clay beads need sealing? No. Varnish on heishi goes tacky where it sits against skin and pools inside the holes.