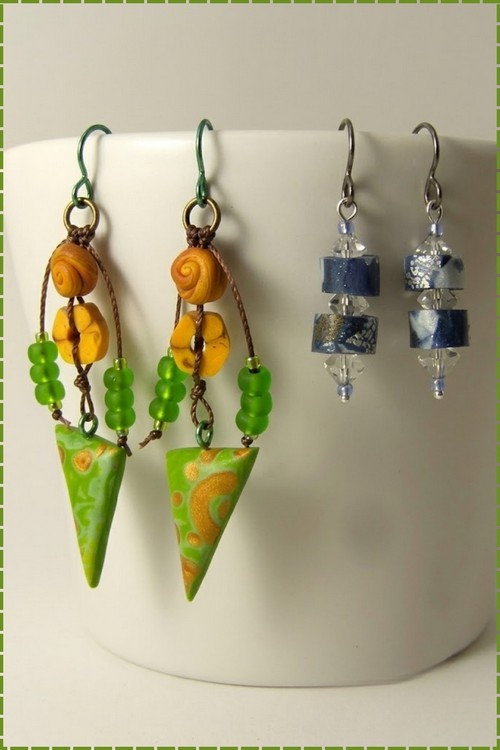
How To Make Clay Earrings Step by Step – For Gifts and Market Stalls
Making one pair is a hobby. Making twelve that match is a different skill. This step by step guide covers clay earrings from conditioning to finished post, with the batch work, edge finishing and pricing you need before your first market stall or gift box.
This walks through how to make clay earrings step by step, from conditioning the block to fitting the posts, with the batch in mind rather than a single pair. You get the cutting, curing, sanding and assembly in order, plus the parts that matter once you are making more than one at a time, keeping shapes consistent, finishing edges so they hold up on a stall table, and pricing your time honestly. Start at the top and work down.
How To Make Clay Earrings
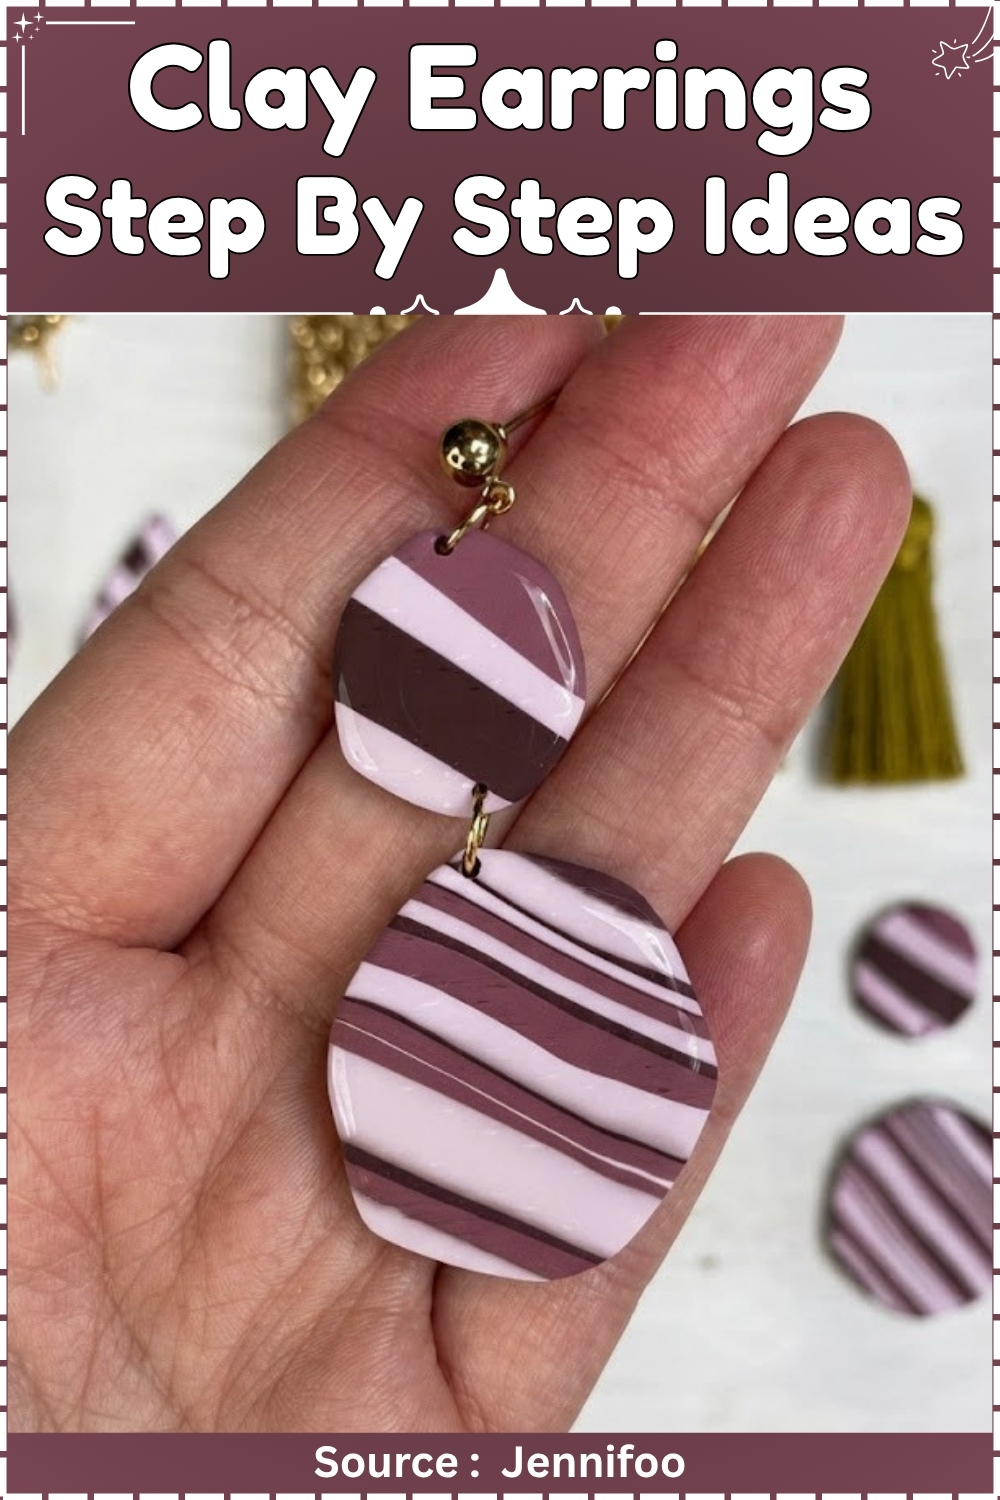
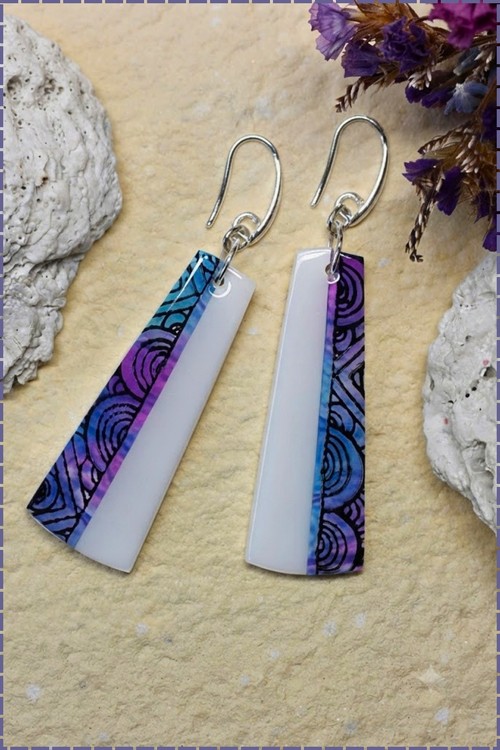
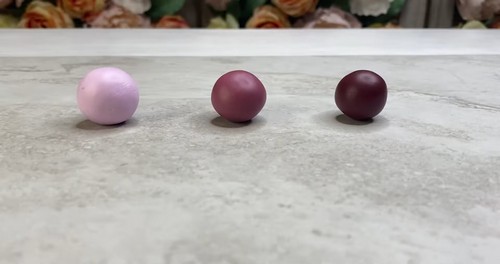
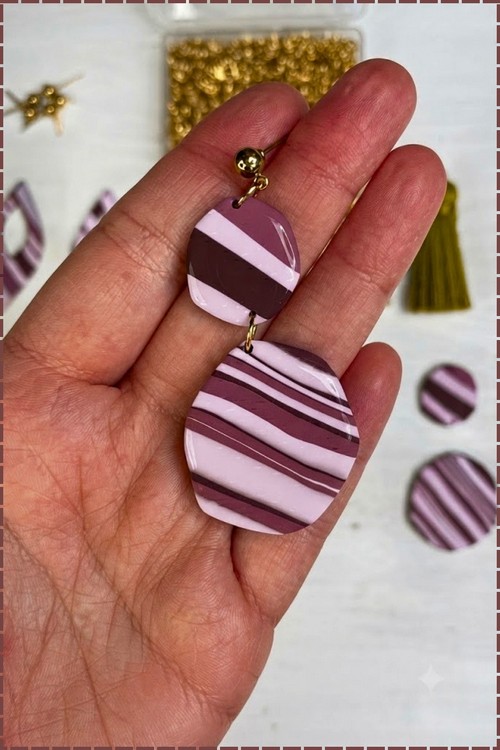
Striped polymer clay earrings look intricate but the technique behind them is more approachable than the finished result suggests. Building a simple layered cane from three tonal shades of pink and burgundy, then slicing and cutting shapes from the rolled-out sheet, is what produces that clean diagonal stripe effect across every piece.
At a Glance
Clay type: Polymer clay, oven cured Brands used: Sculpey Premo, Sculpey Soufflé, or Cernit Clay to avoid: Sculpey III, which turns gummy while conditioning and brittle after cure Tools: Ceramic tiles, pasta machine or acrylic roller with depth rails, tissue blade, X-Acto knife, clay cutters, needle tool, fine comb, 800 to 2000 grit wet or dry sandpaper, flat needle nose pliers, oven thermometer Cure method: Oven, 275°F / 130°C for 30 minutes Cooling: 30 minutes on the tile Finished sizes: Striped dangles 25 mm, marbled dangles 28 mm, tassel earrings 45 mm overall Hands on time: 2 hours 15 minutes Total time: 3 hours 15 minutes, plus 24 hours for the assembly glue to reach full strength Difficulty: Beginner moving into intermediate
Materials and Tools
Essential
- Sculpey Premo, Sculpey Soufflé, or Cernit in four to six colours
- Two ceramic tiles, one matte and one glossy
- Acrylic roller
- Depth rails, either 3 mm craft sticks or purpose made rolling guides
- Tissue blade
- X-Acto knife with a fresh blade
- Clay cutters in 12 mm, 25 mm, and 28 mm
- Needle tool or a large darning needle
- Fine tooth comb
- Oven thermometer
- Wet or dry sandpaper in 400, 600, 800, 1000, and 2000 grit
- Aluminium foil
- Eye pins, 20 mm, surgical steel
- Jump rings, 5 mm, surgical steel
- Ear wires or flat back posts, surgical steel or nickel free titanium
- Two pairs of flat needle nose pliers
- E6000 or two part epoxy adhesive
Nice to Have
- Pasta machine dedicated to clay
- Paper card stock for custom templates
- Baby wipes for cleaning hands between colours
- Denim offcut for buffing
- Digital scale for repeatable colour ratios
Making a Set That Sells
Consistency beats variety on a stall table. Mix each colour once, in a batch large enough for all three patterns, and weigh the parts so the second run matches the first. Price the labour before the materials. A pair takes roughly 25 minutes of your hands once the clay is conditioned, and a set of six pairs carries the same 30 minute bake as one pair, which is where the margin actually sits.
Colour Recipes
Weigh in parts and adjust by eye once the colours are blended.
Striped pair: 2 parts terracotta, 2 parts cream, 1 part black. Gemstone stack: 4 parts white, 3 parts pale blue, 2 parts deep teal, 1 part translucent. Deep teal sits at the centre of the stack. Tassel pair: 1 part colour to 1 part white for a mid tone that shows the sandpaper texture.
The Build
Pattern 1: Striped Dangles
- Condition each colour by hand for 3 to 4 minutes until it is warm and stretches without tearing.
- Roll each colour into a log 10 mm thick and 100 mm long.
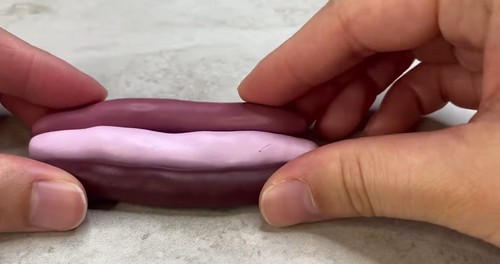
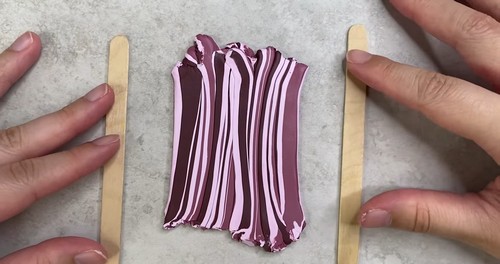
- Press the logs together side by side into one thick log.
- Roll and stretch the combined log to 200 mm.
- Cut the log in half with a tissue blade and press the two halves together.
- Repeat the stretch and cut four more times.
- Flatten the log with your palm onto the matte tile.
- Set the 3 mm rails either side and roll across them until the roller runs on the rails. On a pasta machine, use the thickest setting, which is 3 mm on most models.
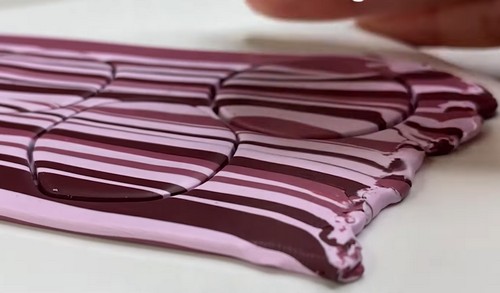
- Move the sheet to the glossy tile and press it down lightly.
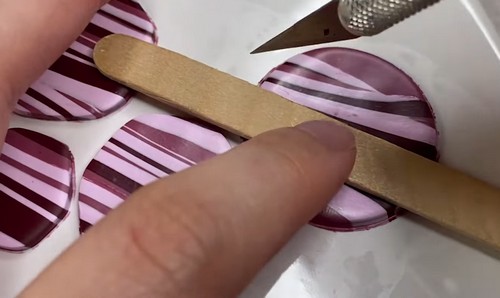
- Cut two shapes 25 mm at the longest dimension with a clay cutter, or with the X-Acto blade against a card template.
- Lift the waste clay away from the shapes rather than lifting the shapes out.
- Punch a hole 3 mm in from the top edge with the needle tool, front to back, then again back to front.
- Trim the raised lip around each hole with the blade tip.
Pattern 2: Gemstone Marbled Dangles
- Condition each colour for 3 to 4 minutes.
- Roll each colour to a 2 mm sheet.
- Trim each sheet to a rectangle 40 by 60 mm.
- Stack the rectangles with deep teal in the centre and white on the outer faces.
- Roll the stack into a log, starting from a short edge.
- Twist the log while pulling it out to 200 mm.
- Cut the log into three equal lengths and stack them.
- Squeeze the stack back into one log, then repeat the twist, cut, and stack twice more.
- Roll the finished log down to 30 mm across and stop.
- Turn the log and pick the face with the best pattern.
- Flatten that face upward with your palm, then roll to 3 mm on the rails.
- Cut two shapes 28 mm at the longest dimension.
- Punch a hole 3 mm in from the top edge, front to back, then back to front.
- Trim the lip around each hole.
For Pattern 3: Tassel Earrings
The tassels
- Condition and roll a sheet to 1 mm, which is the second thinnest setting on most pasta machines.
- Press 800 grit sandpaper firmly onto both faces to texture the sheet.
- Trim the sheet to a rectangle 45 mm wide by 50 mm tall.
- Press a fine comb across the top 8 mm to mark a band.
- Cut 3 mm strips from the bottom edge up to the marked band with the X-Acto knife, leaving the band uncut.
- Roll the banded edge into a cylinder 8 mm across with the strips hanging free.
- Repeat steps 1 to 6 for the second tassel.
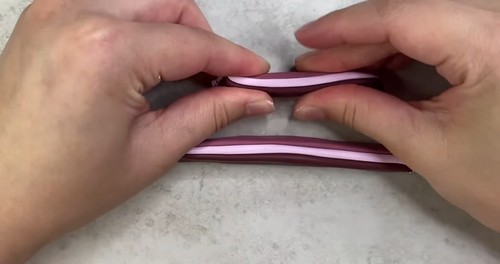
The caps
- Cut a 12 mm disc from a 3 mm sheet.
- Cut a strip 12 mm wide by 40 mm long and slant one end at 45 degrees.
- Wrap the strip around the edge of the disc to form an open cap 12 mm deep, slanted end finishing on the outside.
- Smooth the seam with a fingertip.
- Push an eye pin through the centre of the disc so the loop stands 4 mm proud of the cap.
- Press the clay closed around the pin shaft.
- Pack the cap cavity with a loose ball of foil to hold its shape.
- Repeat for the second cap.
Baking and Cooling
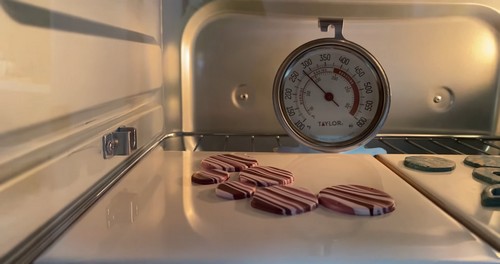
- Bake at 275°F / 130°C for 30 minutes. That figure covers Premo and Soufflé at the tray’s thickest point, and Cernit cures happily at the same temperature. If any pair mixes brands, bake at the higher of the two temperatures. The 3 mm sheets still take the full 30 minutes. Time is set by thickness, never by how many pieces sit on the tray.
- Put the ceramic tile straight into the oven with the pieces still on it. Never bake on bare metal. Tent the whole tile loosely with foil to keep the elements from browning thin edges.
- Use an oven thermometer. Domestic ovens run 25°F off their dial in either direction, and polymer does not begin breaking down until around 350°F, so longer at the right temperature is always the safer error.
- Cool on the tile for 30 minutes before touching anything.
Finishing
- Wet sand under a bowl of soapy water. Start at 400 grit only if there are visible tool marks, otherwise begin at 800 and work through 1000 and 2000. Rinse the paper often, since polymer swarf clogs it fast and a clogged sheet starts scratching instead of cutting.
- Dry the pieces, then buff with a scrap of denim until the surface warms and lifts to a soft shine. Cured and buffed polymer needs no sealer, and a glaze over a well buffed surface usually looks worse. Seal only if you have used mica powders or pastels on the surface. Skip sealing the tassel strips entirely, since varnish stiffens them and they stop moving.
Hardware and Assembly
- Break the foil out of each cap. Separate the tassel flaps by running a fingernail between them, working from the outside in.
- Put a bead of E6000 or mixed two part epoxy inside the cap, then push the rolled tassel head into it. Stand the pair upright with the tassels hanging while the glue sets. It grabs in about 10 minutes and reaches full strength at 24 hours, so leave assembly overnight before wearing or packing.
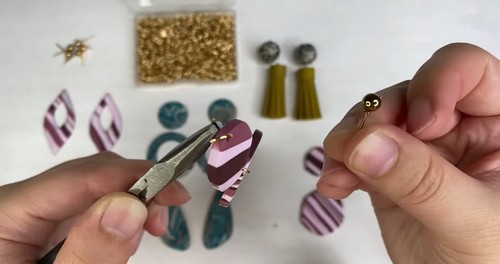
- Open jump rings sideways with a pair of flat needle nose pliers in each hand, twisting one half towards you and one away. Never pull the ends apart, which flattens the ring and it will not close true afterwards.
- Thread each ring through the earring hole and the ear wire loop, then close it until the ends meet with no gap. Use surgical steel or nickel free titanium for anything touching the ear.
Packaging and Presentation
Card the pairs rather than bagging them loose. A 50 by 70 mm kraft card with two punched holes holds studs and dangles flat and gives you a surface for your maker name and material line. Tassel pairs need a taller card, around 90 mm, so the strips hang clear of the bottom edge instead of curling against it. Slip each carded pair into a cellophane sleeve for the table. Buyers pick up what they can see the back of, so keep the card unprinted on one side and let the clay pattern face out.
Where Makers Go Wrong
- Colour bleeds after the bake, not during it. Strong reds, and translucent clay next to any saturated colour, keep migrating for months after cure, so a crisp stripe edge goes soft and blurred weeks after the pair has sold. Keep reds and translucents separated by a light neutral in the stripe order, or accept that the pattern will drift.
- Underbaked pieces pass every test except time. A pair that comes out at 20 minutes looks identical to one baked properly and survives handling on the stall, then snaps at the jump ring hole after a month of wear. The hole is the thinnest cross section in the piece and it always goes first.
- Sanding a marbled piece changes the pattern you chose. Every pass takes you a fraction deeper into a blend that shifts with depth, so removing one blemish from a gemstone slice can pull a completely different colour to the surface. Decide before you start whether the mark is worse than the pattern change.
- The hole goes where the shape balances, not where the shape centres. A hole punched at the geometric middle of an asymmetric marbled pattern makes the pair hang visibly crooked, and once cured you cannot move it. Hold the raw piece up by a needle first and mark where it settles level.
Variations
| Variation | What changes |
|---|---|
| Veneer slices | Slice the gemstone log into 1 mm rounds and back them onto a 2 mm black sheet before cutting the shape. Thinner, lighter, and the black edge frames the blend. |
| Hoop fringe | Skip the cap entirely. Bake the tassel band flat with two holes punched in it, then hang the strips directly from a 30 mm hoop finding. |
| End grain stripes | Do not roll the striped log flat. Chill it for 20 minutes, then slice 3 mm cross sections and use the cut face as the front of the earring. |
Care
Store the tassel pair hanging or lying flat, never in a pile, since 1 mm strips take a permanent bend under weight. Keep all three pairs off vinyl, painted shelves, and soft plastic, which polymer chemically welds itself to. Remove them before perfume and hairspray, as solvents dull a buffed surface permanently. Wash in soapy water and dry straight away, because the eye pin channel in the tassel cap holds water.
Quick Answers
There is a shiny patch where the piece sat on the tile. Can I fix it? Yes. That is the glossy tile transferring its surface. Wet sand the back from 800 through 2000 and it matches the rest.
Can I do this without a pasta machine? Yes, with rails and a roller, which is how the thicknesses here are written. Expect more variation across a batch, so roll all pieces for one pattern in a single session.
Do these techniques work with air dry clay? Marbling transfers well. The tassel does not, since 1 mm air dry strips crack as they shrink, and every piece would need sealing and findings set before drying.