Polymer clay earrings tools for beginners, put to work on a black and white marble pair with gold running through it. Marbling needs almost nothing beyond a roller and a blade, since the pattern comes from how far you twist the colors before they blend into grey. Roll to an even thickness, cut, and every piece from the slab comes out different.
Marbled polymer clay earrings look like they need a shelf of specialist tools, and they need about four. A roller, thickness guides, a blade, and a cutter will take you from block to finished pair, because the black and white swirl comes from twisting the colors and stopping before they merge into grey rather than from any equipment. This guide covers the beginner tool list and then puts it to use on a gold-veined marble pair.
Polymer Clay Earrings Tools
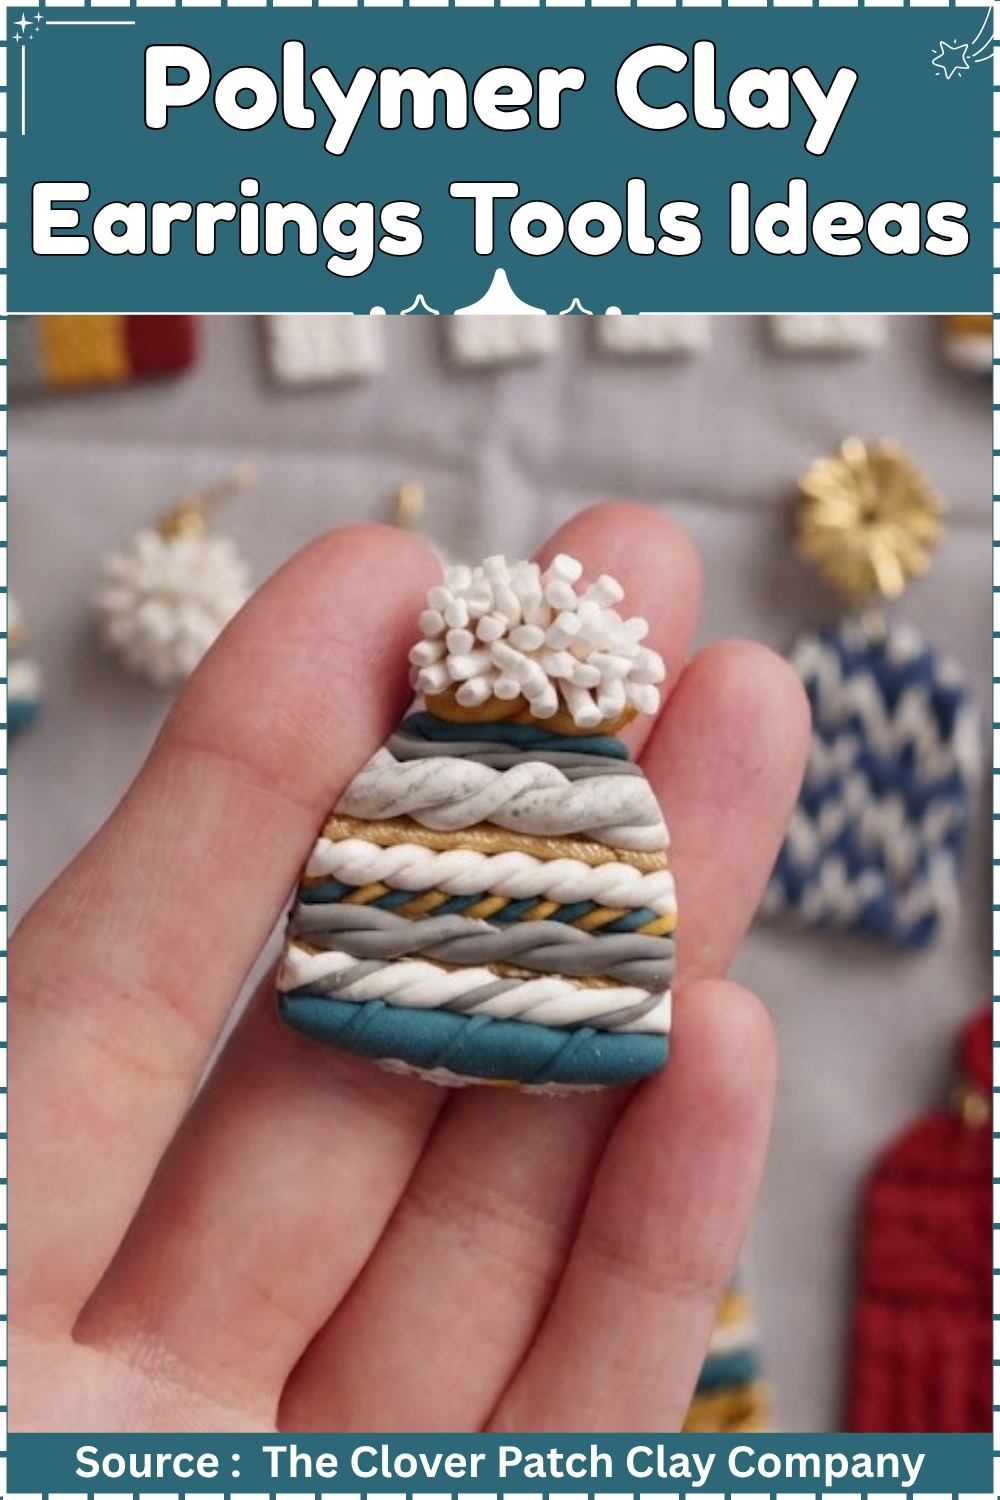
Materials and Tools
Essential
- Sculpey Premo in white and black
- Black acrylic paint (fluid body, not heavy body)
- White acrylic paint (fluid body)
- Sculpey Bake & Bond liquid polymer clay
- Translucent Sculpey Premo
- Pasta machine
- Tissue blade, 15 cm or longer
- Earring cutters in your chosen shapes
- Ceramic tile
- Aluminium foil
- Oven thermometer
- Cotton swabs
- Acetone in a small dropper bottle
- UV resin (Lamino or equivalent)
- UV lamp, 36 watt minimum
- Silicone spreading tool
- Lighter for bubble removal
- Dremel with 1.5 mm drill bit
- Gold-tone nickel-free earring posts or ear wires with flat pad
- GS Hypo Cement
Nice to Have
- Gold leaf sheets
- Wet/dry sandpaper in 400, 600, and 800 grit
- Exacto knife for edge cleanup
- Denim scrap for buffing
- Silicone work mat
Pricing the Labour
Each slab takes around 45 minutes of hands-on time and produces eight to twelve earring pairs depending on cutter size, giving roughly four to six minutes of labour per pair before finishing. At a market rate of $15 to $20 per hour for craft labour, the clay and paint cost for this design runs under $1 per pair, and finishing (resin, hardware) adds another $1.50 to $2. A pair priced at $18 to $28 covers materials and labour with a workable margin. The two-colourway build doubles output without doubling setup time, so running both slabs in one session is the more profitable approach than building one at a time.
Presentation
Package each pair in a small resealable cello bag with a branded card backing, 85 mm by 55 mm, punched at the top for a euro hook. Print the card with the colourway name (Howlite Black or Howlite White) rather than a generic description: named colourways read as a considered collection rather than a craft fair table. The gold hardware reads best against a white or cream card backing. If selling both versions together as a set, package them in a single kraft box with a tissue paper layer between the pairs.
The Build
Conditioning
- Cut the white Premo block into eight pieces and run every piece through the pasta machine at 3 mm, folding and passing ten times until the surface is smooth.
- Repeat with the black Premo block on a separate tile.
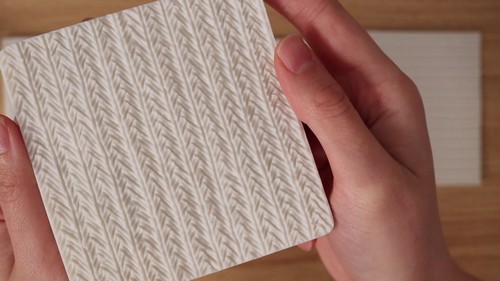
White-on-Black Colourway (Howlite White)
Chopping and Coating
- Pinch off the conditioned white clay into irregular pieces ranging from 4 mm to 12 mm across. Smaller pieces produce more veining; larger pieces produce bolder, fewer veins.
- Spread the pieces in a single layer on the silicone mat.
- Pour a small amount of black fluid acrylic paint into a shallow container.
- Drop the white pieces into the paint and toss them until every surface is coated.
- Lift the pieces out with a toothpick and set them on a clean tile. Leave to dry completely, 15 to 20 minutes at room temperature.
- Lay the dried, coated pieces back on the mat.
- Apply a thin zigzag of Bake & Bond across the pieces.
- If using gold leaf: tear three or four small fragments and drop them among the clay pieces.
- Pick up all the pieces and compress them together firmly in both palms, squeezing hard to close any gaps between pieces.
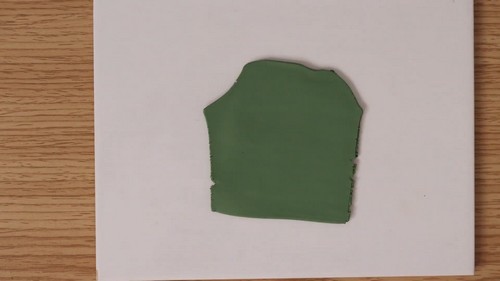
Forming and Slicing the Cane
- Roll the compressed mass into a rough log 20 mm in diameter.
- Cut the log into 4 mm slices using the tissue blade, holding the blade vertical and slicing in one clean pull.
- Lay the slices slightly overlapping on a sheet of translucent Premo rolled to 1 mm on the pasta machine.
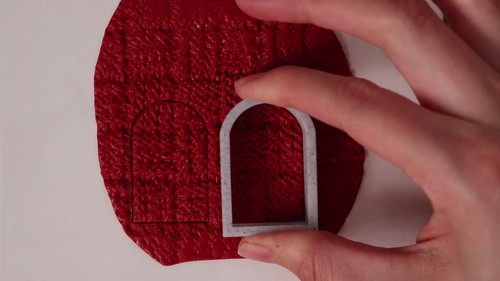
Rolling the Slab
- Press the slices firmly onto the translucent base sheet with a fingertip.
- Run the assembled sheet through the pasta machine at 1 mm, feeding it in the direction that pulls the veins lengthwise rather than across.
- Inspect the full slab and identify the areas with the best veining distribution.
- Cut earring shapes from those areas using the earring cutters, pressing straight down without rocking.
- Transfer the cut pieces to the ceramic tile with 5 mm clearance between each one.
Black-on-White Colourway (Howlite Black)
- Repeat every step above, substituting black Premo for white and white fluid acrylic for black.
- Keep the black slab on a separate tile from the white slab to avoid contamination during the final roll.
Baking
- Bake both slabs at 275°F / 130°C for 30 minutes. The earring pieces at 1 mm drive the minimum bake time; the full 30 minutes at that temperature is Premo’s brand minimum for any thickness.
- Bake on the glazed ceramic tile. Never on bare metal. Lay all cut pieces flat with 5 mm clearance between them.
- Tent with aluminium foil, pressing the edges down. Place the oven thermometer beside the pieces and read the actual temperature before loading. The paint coating on the clay surface can blush or discolour if the oven runs more than 25 degrees over the target. Check the thermometer reading before every bake in this build, not just the first.
- Cool completely on the tile before moving to the finishing stage.
Finishing
- Run the cooled pieces over wet 400 grit sandpaper in a circular motion, ten strokes per piece. Move to wet 600 grit, then wet 800 grit. The resin coat goes on a sanded surface; unsanded polymer resin can delaminate at the edge under flex.
- Wipe the pieces dry with a lint-free cloth.
- Check each piece for paint drag marks where the black paint smeared across the white clay surface during the pasta machine pass. Dip a cotton swab in acetone and touch the swab tip to the smear only, using one light stroke. Do not rub. Over-wiping spreads the mark rather than lifting it.
- Use the exacto knife to trim any rough edge that the dremel cannot reach cleanly, holding the blade at 45 degrees to the edge and making one controlled scoring stroke per pass.
- Run the dremel at medium speed along any remaining rough edges. Dust the pieces clean with a dry brush.
Resin and UV Cure
- Place all pieces face-up on the silicone mat.
- Squeeze a small amount of UV resin onto the silicone spreading tool.
- Spread a thin, even coat of resin across the face of each piece, carrying it 1 mm over the edge to seal the cut perimeter.
- Pass a lighter quickly, 5 cm above the surface, to bring air bubbles to the surface.
- Check for remaining bubbles and pass once more if needed.
- Place all pieces under the UV lamp for 3 minutes.
- Check the surface for any tacky spots and cure for a further 2 minutes if needed.
- Wipe any sticky residue from the edge with a cotton swab lightly dampened with acetone.
Hardware and Assembly
For stud earrings: rough the gold post pad with 220 grit sandpaper. Apply a dot of GS Hypo Cement to the pad and press firmly onto the back of the baked piece. Hold for 60 seconds. Apply a small additional drop of UV resin around the pad perimeter and cure under the lamp for 3 minutes for added security.
For dangle earrings: mark the drill point 4 mm from the top edge of the piece using a toothpick. Drill at 1.5 mm diameter using the dremel at low speed, keeping the bit perpendicular to the face. Open a 5 mm gold-tone nickel-free jump ring sideways using two pairs of flat pliers. Pass the ring through the drilled hole and close. Attach a gold-tone nickel-free ear wire through the jump ring, opening and closing the ear wire loop sideways.
Weight-check any piece over 30 mm: solid resin-coated Premo at that size can approach 4 to 5 grams per earring, which sits at the upper limit for comfortable stud wear. Pieces over 4 grams work better as dangle earrings where the weight distributes differently.
Where Makers Go Wrong
The paint does not coat the clay evenly, leaving bare patches. Fluid acrylic is thin enough to reach recessed surfaces; heavy body acrylic sits on the surface without getting into the crevices between pieces. If bare patches appear after the paint dries, the paint was too thick or the pieces were too dry when dropped in. Use fluid body acrylic only, and coat the pieces within five minutes of chopping, while the clay is still slightly tacky.
The pasta machine pass distorts the veining direction. Feeding the slab in perpendicular to the veins pulls them lengthwise into thin streaks that look nothing like stone. Feed the slab so the machine rollers run parallel to the veins, which compresses them slightly and keeps the character of the pattern intact.
The resin coat delaminates at the edge after a month of wear. The edge of a cut polymer piece is the weakest adhesion point for UV resin because the blade compresses the clay along the cut line, leaving a slightly different surface texture than the face. Carrying the resin 1 mm over the edge during application wraps the coat around the cut surface and bonds to the back, preventing edge lift.
Variations
The same chopped-and-coated method produces a terracotta-and-cream version: condition Premo Burnt Umber and coat with cream acrylic, or condition Premo White and coat with diluted terracotta acrylic. The result reads as jasper rather than howlite, and the colour palette suits autumn markets.
A single-colourway slab cut with a mix of cutter sizes, from 12 mm small oval studs to 35 mm arch dangles, creates a coordinated collection from one build. Package the small studs and the large arch dangles together as a set rather than selling them separately.
Care
The resin coat protects against minor scratches but not against acetone-based products: keep the earrings away from nail polish remover. The drilled hole in dangle versions is the structural weak point; avoid hanging the earrings from a hook where the hole bears all the weight constantly. If the resin surface scratches, a second thin UV resin coat applied and cured restores the gloss without a full rebuild. Gold-tone hardware is plated, not solid gold: prolonged water exposure causes the plating to lift at the solder point where the ear wire loop is closed.
Quick Answers
Can I use regular super glue instead of GS Hypo Cement for the posts? Regular cyanoacrylate works for the initial bond but becomes brittle over time under the repeated flex of an earring being put on and removed. GS Hypo Cement stays flexible. If super glue is what you have, reinforce the bond with a UV resin ring around the pad perimeter.
The acetone swab smeared the paint mark rather than lifting it. The swab was too wet. Dip it, then touch the tip to a dry paper towel to pull most of the acetone off before touching the piece. The swab should be damp, not wet. A wet swab spreads solvent beyond the target area faster than it lifts the mark.
Can the resin coat go on before baking? No. UV resin on unbaked polymer clay goes into the oven with the piece and yellows under heat. Always bake and cool the clay fully before applying any resin coat.
Leave a Reply