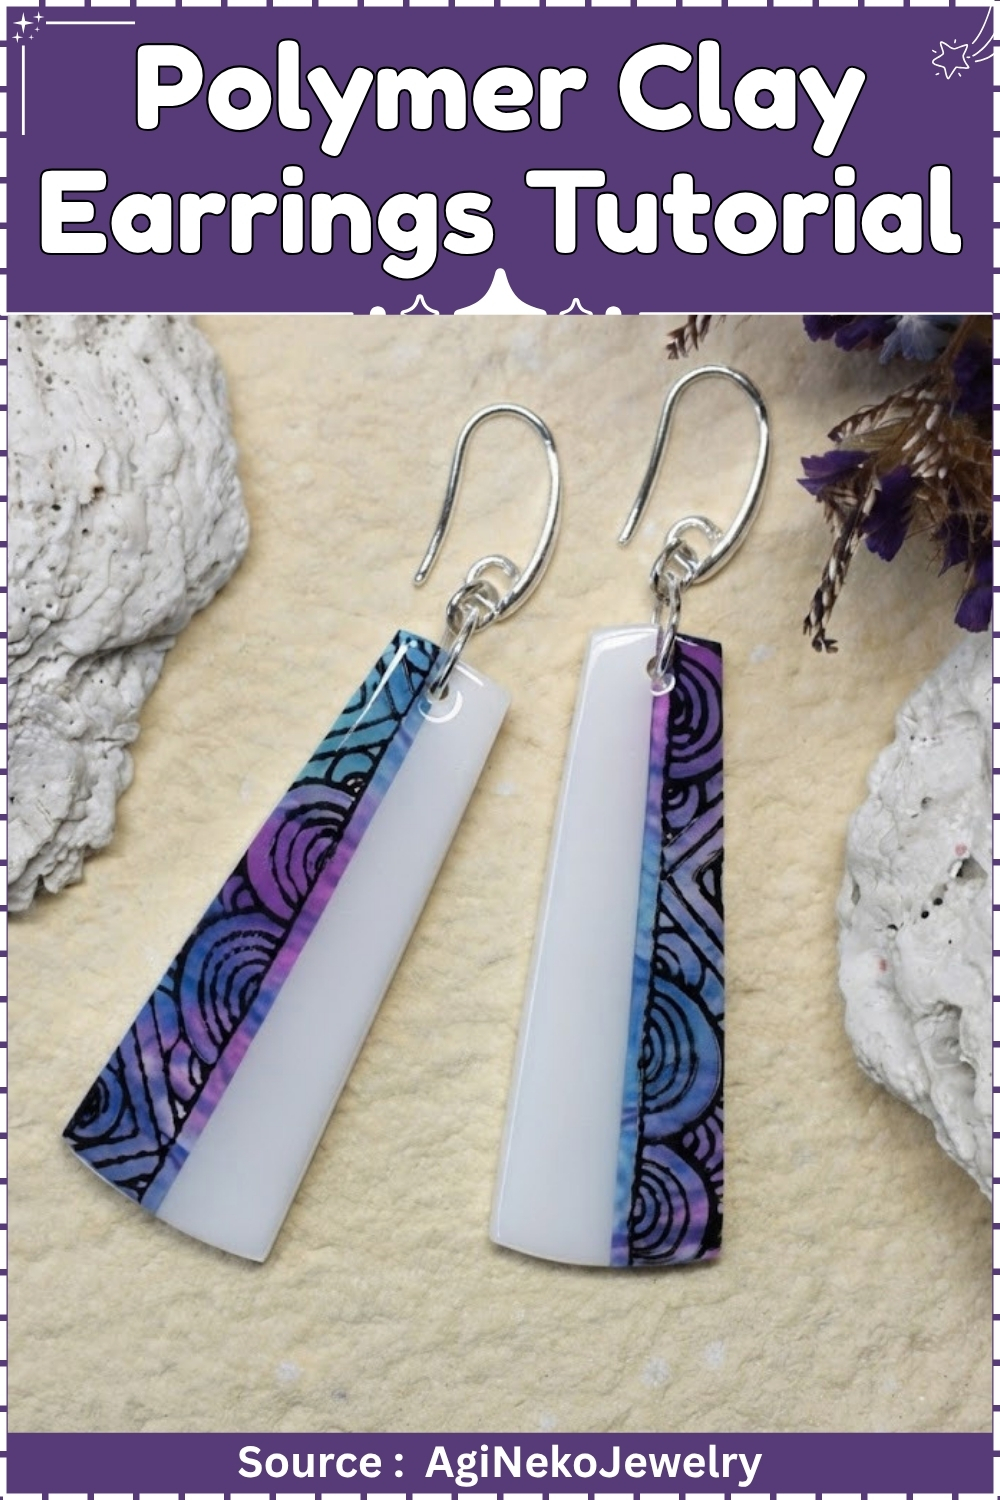
How to seal polymer clay earrings so the finish holds up instead of turning tacky weeks later. Sealing happens after baking and full cooling, never before, and the clay has to be completely cool or the sealant will not set properly. Thin coats beat one thick one on geometric studs, where pooling shows along every straight edge and corner.
Sealing is where a lot of polymer clay earrings go wrong, and it usually happens after the hard part is already done. The piece is baked, the shape is clean, and then a heavy coat of the wrong sealant leaves it sticky or clouded. This guide walks through sealing polymer clay jewelry properly: when to do it, how thin to go, and why geometric studs and dangles are less forgiving than rounded shapes when sealant pools along an edge.
Seal Polymer Clay Earrings
At a Glance
- Clay type: Polymer clay, oven-cure
- Recommended brand: Sculpey Premo or Fimo Soft
- Tools: Acrylic roller or pasta machine, geometric cutters (arch, circle, half-moon), craft knife, ceramic tile, chain-nose pliers
- Cure: 275°F / 130°C, 30 minutes minimum
- Finished sizes: Stud face 12 mm, dangle 25 mm
- Hands-on time: 45 minutes
- Total time: 2 hours 30 minutes including baking and cooling
- Difficulty: Beginner to intermediate
Materials and Tools
Essential
- Polymer clay in chosen colours
- Acrylic roller or pasta machine
- Ceramic tile (work surface and baking tray)
- Geometric cutters: arch, circle, half-moon, 12 to 25 mm
- Craft knife and tissue blade
- Rubbing alcohol (isopropyl, 70% or higher) and soft brush for smoothing
- Flat-pad earring posts, 10 mm pad, surgical steel
- Jump rings, 4 mm, nickel-free (for dangle styles)
- Chain-nose pliers, one pair
- Strong jewellery glue: E6000 or Loctite Ultragel
- Wet and dry sandpaper: 400, 600, 800 grit
- Sculpey Gloss or water-based polyurethane varnish, gloss finish
- Small flat brush, 4 mm, dedicated to sealing only
- Oven thermometer
Nice to have
- Pasta machine for consistent sheet thickness
- Acrylic block for smooth rolling
- Foil for tenting
- Bead mat or cardstock for cooling
How to Make Minimalist Polymer Clay Earrings
Conditioning and rolling
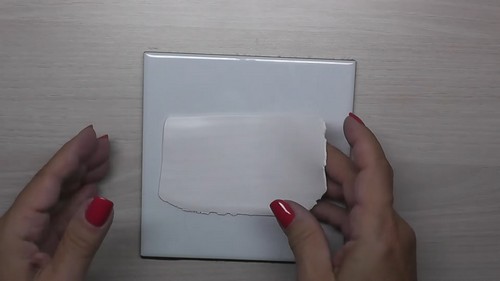
- Condition the clay by kneading it for 2 to 3 minutes until it is fully soft and bends without cracking.
- Roll the clay to 3 mm thickness using an acrylic roller with guide rails, or pass it through the pasta machine on setting 4 (approximately 3 mm).
- Lay the rolled sheet on the ceramic tile.
Cutting the shapes
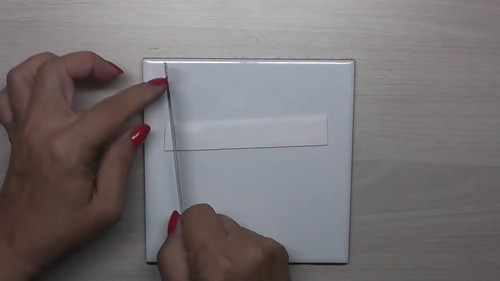
- Press the geometric cutter straight down in a single firm push and lift it cleanly without rocking.
- Push the cut shape free from the back of the cutter with a fingertip.
- Repeat to cut matching pairs: two arches for dangle earrings, two circles for studs.
- Trim any rough cutter edges with the tissue blade held flat against the clay.
Smoothing the surface
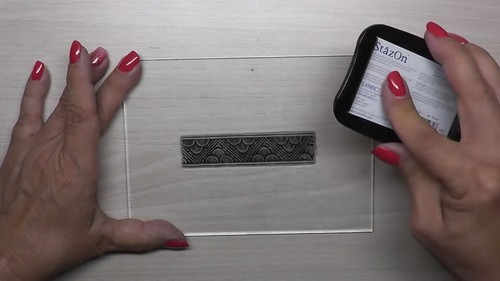
- Dip a soft brush in rubbing alcohol and brush it lightly over the face of each piece in one direction to lift fingerprints and smooth the surface.
- Let the alcohol evaporate for 2 minutes before handling the pieces again.
Pre-bake check
- Set all pieces on the ceramic tile and check each pair is matched in size and shape before baking. Mismatches cannot be corrected after cure.
Baking
- Polymer clay must reach its full cure temperature throughout the piece, not just on the surface. Underbaked clay looks fine and feels firm but snaps at the post glue joint within days of wear and has a slightly flexible, chalky quality when pressed. An oven thermometer placed inside the oven during the preheat confirms the actual temperature, since domestic ovens routinely run 15 to 20 degrees off the dial setting.
- Preheat the oven to 275°F / 130°C. Place all pieces on the ceramic tile, which acts as both work surface and baking tray, and tent loosely with foil to prevent any surface darkening. Bake for 30 minutes calculated from the moment the oven reaches temperature. A 3 mm flat earring still needs the full 30 minutes, not a scaled-down fraction of it. Switch the oven off and leave the door closed for 15 minutes before removing the tile. Transfer to cardstock and leave until completely cool before handling.
Finishing
- Wet sanding is the step that separates a professional-looking earring from one that looks handmade in the less flattering sense of the word. It removes the slight surface roughness left by the cutter and any fingerprint texture that survived baking, and it gives the sealant a clean, even surface to sit on.
- Sand each piece flat against wet 400 grit paper with small circular movements. Move to 600 grit, then 800. Keep the sandpaper wet throughout. Rinse the piece and dry it with a lint-free cloth before moving to the next grit. Do not skip grits: each one removes the scratches left by the previous one, and going from 400 directly to 800 leaves visible circular marks under sealant.
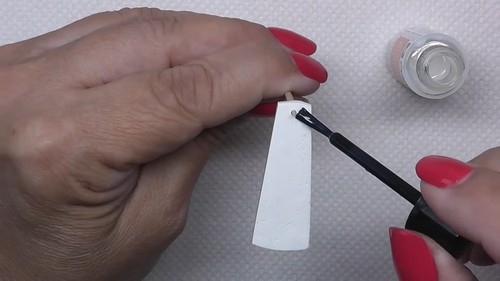
- Seal with two thin coats of Sculpey Gloss or a water-based polyurethane, leaving an hour between coats. Brush from the centre outward on each face. Seal the back and edges as well. A bubbled coat means the brush was overloaded: thin coats, applied quickly, self-level without trapping air.
Hardware and Assembly
- For stud earrings, apply a 3 mm dot of E6000 to the flat pad of each post. Press the pad against the centre of the flat back of each clay piece. Set them face-up on the tile and do not move them for 24 hours. E6000 reaches handling strength in 24 hours and full bond at 72 hours. Attaching posts before that window closes produces a joint that feels solid but fails under the torque of putting earrings on and taking them off.
- For dangle earrings, open a 4 mm jump ring by twisting the ends sideways, thread it through the hole or notch at the top of the clay shape, and close it flush. Attach the earring hook to the closed ring. Check both hooks face the same direction.
- A finished 3 mm arch at 25 mm weighs under 2 g, which is well within the comfort range for daily wear without the lobe feeling pulled.
Presentation
- Card each pair on a 70 x 50 mm kraft earring card with two punched holes. Earring posts push through the card holes and the butterfly backs clip on from behind, holding the pair securely without tape or glue. For a two-pair set, use a wider card at 100 x 60 mm with four holes, two pairs side by side.
- Label the back of every card with the clay type, the sealant used, and a short care note: “Polymer clay. Remove before swimming. Wipe with a dry cloth.” This reduces questions at the point of sale and signals a maker who knows their material.
Where Makers Go Wrong
- The earring post pulls away from the clay face after a week of wear. The glue joint between a surgical steel post pad and a smooth sealed polymer surface is vulnerable to the repeated twist-and-pull of putting earrings on. Roughing the post pad lightly with 180 grit sandpaper before gluing increases the bond area and gives E6000 more surface to grip. Apply the glue to the roughed pad, not the clay.
- The sealant coat turns sticky after a few months in the display box. Certain polymer clay brands continue off-gassing plasticiser long after baking, particularly softer formulations, and that plasticiser migrates into the sealant layer and softens it. Baking for the full manufacturer time rather than underbaking reduces the amount of residual plasticiser. If the sticky surface is already set, the only fix is to remove the sealant with acetone, rebake the piece at temperature for another 15 minutes, cool fully, and reseal.
- Matching pairs come out of the cutter at slightly different sizes. The cutter is being rocked rather than pushed straight down. Any lateral movement as the cutter enters the clay stretches one side of the cut slightly larger than the other. Press straight down and lift straight up in a single motion, with no angle.
Variations
Layered two-tone pair. Cut a large arch at 25 mm and a smaller arch at 18 mm in a contrasting clay colour. Bake both. Glue the smaller arch to the face of the larger, centred, using E6000 and leaving 24 hours before sealing the assembled pair as a single piece. The seal coat holds the two baked layers together as a secondary bond.
Marbled sheet. Twist two or three clay colours together loosely and roll once through the pasta machine without fully blending them. Cut geometric shapes from the marbled sheet. Each pair will be unique. The cutting and baking steps are identical.
Care
The post glue joint is the mechanical failure point: take the earrings off by gripping the post, not the clay face, to avoid torquing the joint. Sealant degrades faster on the edge of the clay piece than on the flat face, so inspect the edges every six months and reseal if the surface feels rough. Polymer clay is heat-stable to about 60°C before it begins to soften, so avoid leaving earrings on a car dashboard in summer. If a sealant coat chips at the edge, touch up with a thin coat of the original sealant and leave 1 hour to cure before wearing.
Quick Answers
Can I skip sanding and go straight to sealant? You can, but the sealant will follow every surface imperfection rather than sitting over a smooth base. On a minimalist design where the surface is the whole point, unsanded edges and cutter marks read clearly under the gloss coat.
My clay is very stiff and cracking during conditioning. What is wrong? Cold polymer clay is stiff by design. Warm it in your hands for 5 minutes or set the wrapped clay block on a warm (not hot) surface for 10 minutes before kneading. If it stays brittle after warming, add a tiny amount of Sculpey Clay Softener or a few drops of baby oil and knead it in.
Can I use nail varnish as a sealant? No. Nail varnish contains solvents that react with polymer clay over time, causing the clay to become sticky and the varnish to peel in sheets. Sculpey Gloss and water-based polyurethane are the correct choices.
Leave a Reply