Clay Bead Bracelet Patterns – 5 Air Dry Model Magic Bracelets
Clay bead bracelet patterns, five of them, made with air dry clay so you shape and roll your own beads instead of buying a tub. Takes a day to dry and costs almost nothing. Five patterns, five bracelets, and enough beads left for more.
Buying clay beads means you get whatever colours came in the tub, and half of them sit unused. Rolling your own with air dry clay means the palette is yours from the start. Five patterns here, each one shown bead by bead, from a simple repeating stripe to something closer to a friendship bracelet. The clay air dries overnight, no oven and no baking, so this works on a kitchen table with kids around
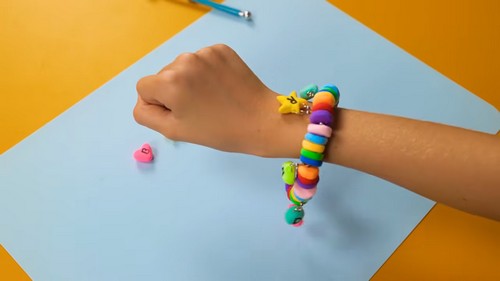
Clay Bead Bracelet
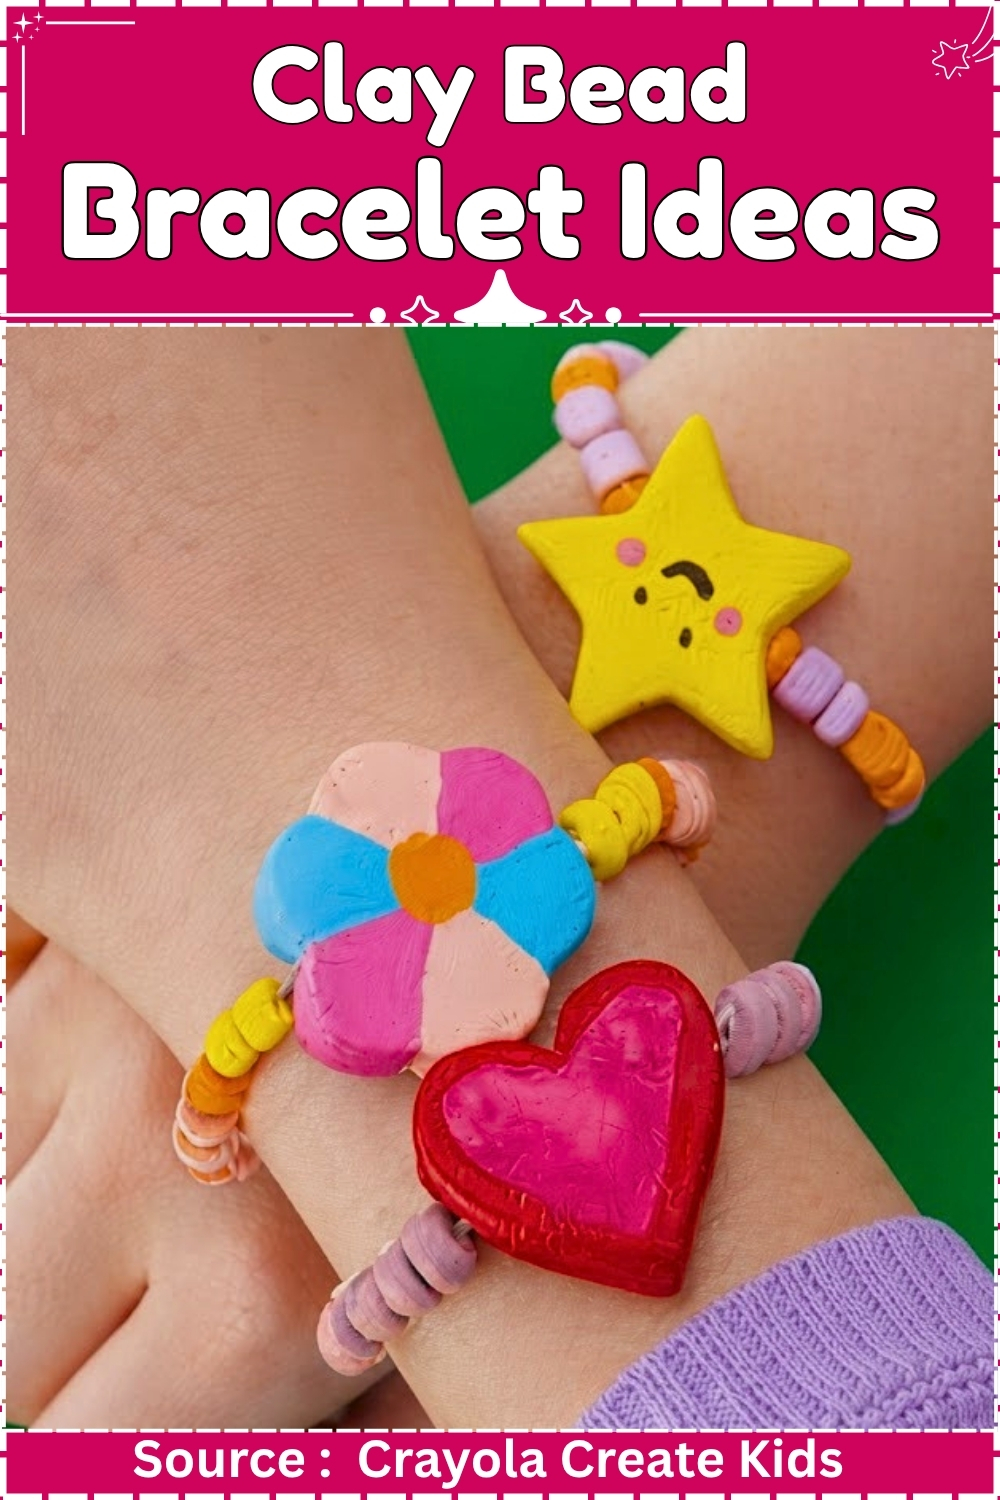
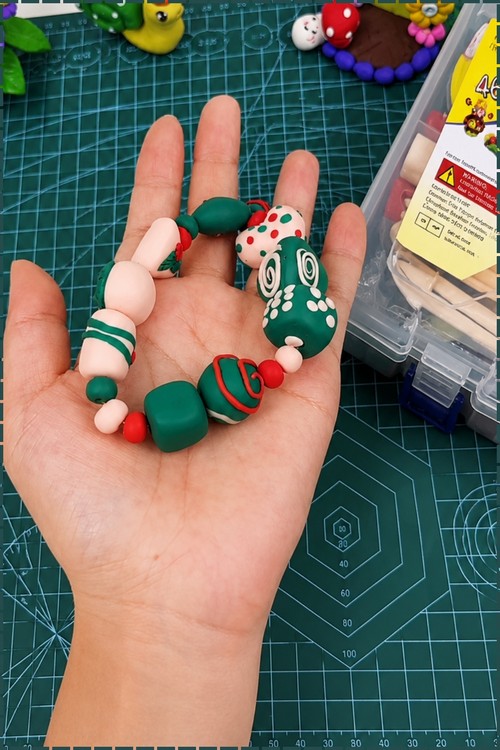
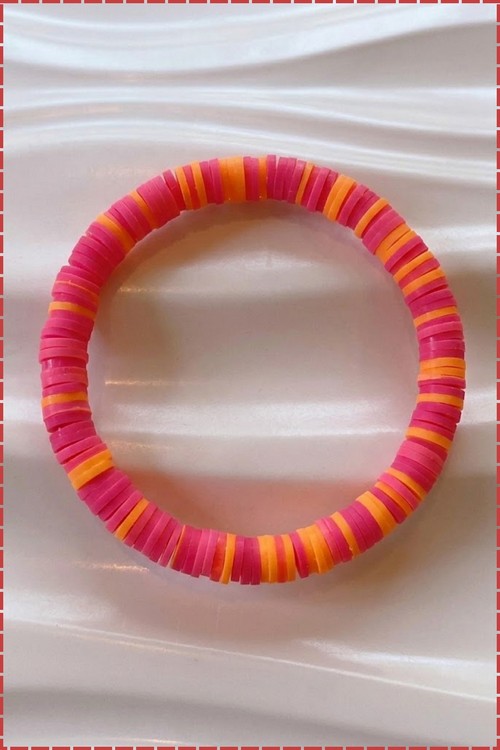
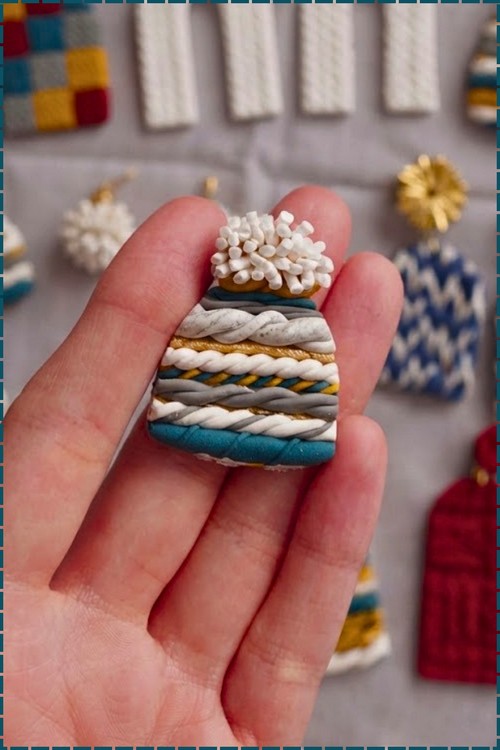
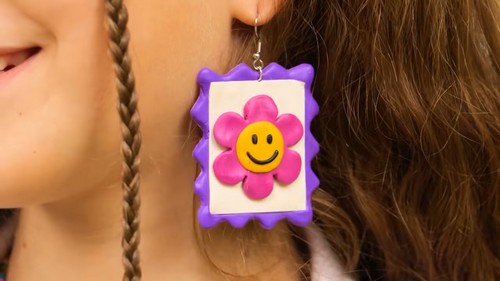
Clay bead bracelet patterns cover more ground than the name suggests, from simple disc bead stringing to sculpted focal pieces that anchor the whole design. These clay bead bracelet ideas include handmade focal beads in heart, star, and flower shapes alongside rolled disc beads cut from layered clay logs, letter charm beads, and even stamp-style earring components, so the project range spans beginner-friendly to more detailed work. Seeing all of it laid out together makes the possibilities clearer than any single finished bracelet could on its own.
- Clay type and brand: Air dry, Crayola Model Magic (standard Crayola Air Dry clay also works)
- Tools: Bamboo skewer, craft blade, ruler, soft brush, two pairs of chain nose pliers
- Cure method: Air drying, no heat. 24 hours for round beads, 48 to 72 hours for disc beads and charms
- Finished size: Beads 12 mm, disc beads 15 mm, charms 20 to 26 mm, bracelet strung to wrist measurement
- Hands on time: 70 minutes for one bracelet, 2 hours 15 minutes for the full set of five
- Total time: 3 to 4 days including drying and sealer cure
- Difficulty: Easy
Styling and Wear
A full clay bracelet weighs under 12 grams, so it stacks in threes without the drag you get from stone or glass. Keep one bracelet busy and the others quiet. A marbled strand next to two plain strands reads as deliberate, while three patterned strands together read as a sample board. Charms sit best at the centre front on the wrist you use least, since a swinging charm on your writing hand catches on cuffs and desk edges. Matte varnish suits the pastel mixes. Gloss suits the marker drawn beads, where the shine sells the pattern as intentional rather than drawn on.
Materials and Tools
Essential
- Crayola Model Magic, white plus three colours
- Bamboo skewer, 2 mm
- Craft blade or small paring knife
- Parchment paper
- Ruler marked in millimetres
- Silver plated eye pins, 25 mm, nickel free
- Jump rings, 6 mm, surgical steel
- Clear elastic beading cord, 0.8 mm
- Water based polyurethane varnish, matte or gloss
- Soft flat brush, 6 mm
- GS Hypo Cement
- Chain nose pliers, two pairs
Nice to Have
- Alcohol based permanent markers, 0.5 mm nib
- Lace scrap or silicone texture sheet
- Needle tool
- Round cutters, 15 mm and 20 mm
- Bead reamer, 2 mm
- Foam block or upturned egg carton for drying charms
Colour Recipes
Model Magic arrives coloured, so mixing here is kneading rather than measuring. Powder blue: eight parts white to one part blue. Dusty pink: six white to one red. Terracotta: three white, two red, one yellow. Sage: five white, one green, plus a pinhead of black. Knead each mix for 30 seconds until no streaks show on a cut edge. Model Magic dries a shade lighter and fully matte, so mix one step deeper than the colour you want on the wrist.
Pattern One: Simple Round Bead Bracelet
- Knead a piece of coloured Model Magic the size of a golf ball for 20 seconds until the surface shows no creases.
- Divide the piece into 12 equal portions with a craft blade.
- Roll each portion between flat palms into a ball 12 mm across.
- Rest the balls on parchment for 10 minutes.
- Push a 2 mm bamboo skewer through the centre of each ball in one straight pass.
- Rotate the skewer half a turn, then draw it straight back out.
- Reshape any bead that flattened, keeping the hole open.
- Space the beads 20 mm apart on the parchment.
Pattern Two: Marbled Bead Bracelet
- Choose two colours, one light and one dark.
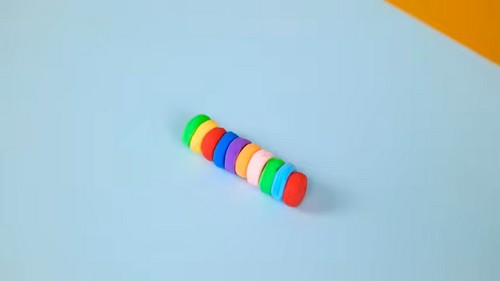
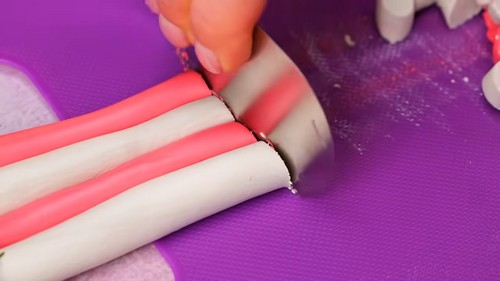
- Roll each colour into a log 60 mm long and 10 mm thick.
- Twist the two logs together into a single rope.
- Fold the rope in half and twist once more, then stop.
- Cut the rope into 10 sections, each 10 mm long.
- Roll each section into a ball 12 mm across.
- Pierce each bead through the centre with a 2 mm skewer.
- Set the beads on parchment with 20 mm between them.
For Pattern Three: Marker Drawn Pattern Beads
- Roll 10 white beads 12 mm across.
- Pierce each bead with a 2 mm skewer.
- Dry the beads fully, following Drying and Sealing below, before any marker touches them.
- Draw the pattern on one half of each bead with an alcohol based marker in a 0.5 mm nib: dots at 3 mm spacing, stripes 2 mm wide, or a check grid.
- Stand the beads on the skewer for 5 minutes.
- Turn each bead and draw the second half to match.
- Leave the finished beads 30 minutes before sealing.
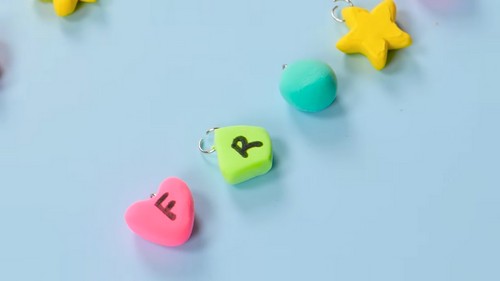
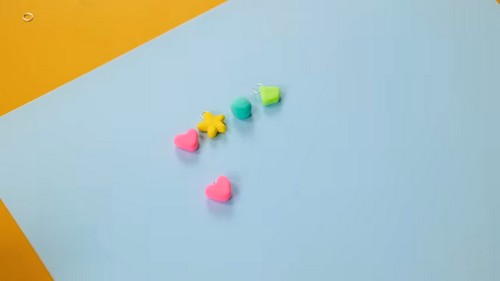
Pattern Four: Charm Beads for the Centre Front
Bear Charm
- Roll a ball 16 mm across for the head.
- Roll two balls 5 mm across for the ears.
- Press the ears onto the head 8 mm apart, sinking each one 2 mm.
- Roll a 7 mm ball in a lighter colour, flatten it to 2 mm thick, and press it onto the lower face.
- Press two 2 mm balls of dark clay into the face 7 mm apart for eyes.
- Bend a 3 mm hook into one end of a 25 mm eye pin.
- Push the hooked end into the top of the head to a depth of 6 mm and smooth the clay closed around the shaft.
Strawberry Charm
- Roll a ball 14 mm across and shape it into a cone 18 mm tall.
- Flatten green clay to a 1 mm sheet.
- Cut a five point calyx 12 mm across and press it onto the wide end of the cone.
- Mark seed dots across the body with a needle tool at 3 mm spacing, 1 mm deep.
- Push a hooked 25 mm eye pin through the calyx into the body to a depth of 6 mm.
Flower Charm
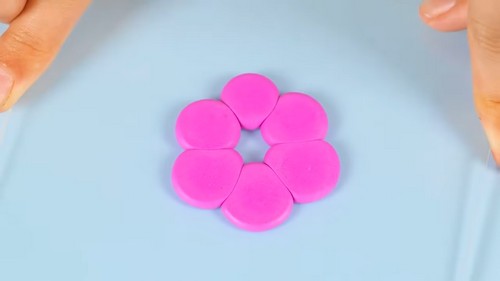
- Roll five balls 6 mm across.
- Flatten each ball into a disc 9 mm across and 3 mm thick.
- Arrange the five discs into a ring 24 mm across, overlapping each by 2 mm.
- Press a 6 mm ball of a second colour into the centre to a depth of 2 mm.
- Push a hooked 25 mm eye pin into the top petal to a depth of 5 mm.
Smiley Charm
- Roll a ball 16 mm across.
- Flatten it into a disc 20 mm across and 6 mm thick.
- Press two eye holes 3 mm across with the blunt end of a skewer, 8 mm apart.
- Score a curved mouth 9 mm wide and 1 mm deep with a needle tool.
- Push a hooked 25 mm eye pin into the top edge to a depth of 5 mm.
Pattern Five: Embossed Texture Disc Beads
- Roll eight balls 13 mm across.
- Press each ball into a disc 15 mm across and 8 mm thick.
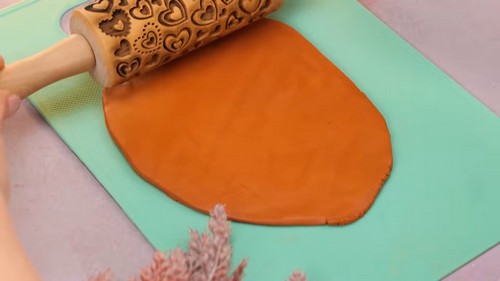
- Lay a lace scrap or texture sheet over one face and press with flat palm pressure to a depth of 1 mm.
- Peel the texture sheet straight upward.
- Repeat on the second face.
- Trim any flared edge with a craft blade, keeping the disc at 15 mm across.
- Pierce each disc through the narrow edge with a 2 mm skewer.
- Lay the discs flat on parchment with 20 mm between them.
Drying and Sealing
Round beads at 12 mm dry in 24 hours. Disc beads and charms need 48 to 72 hours. Dry everything on parchment at normal room temperature, away from radiators and out of direct sun. Turn each piece at the halfway mark so both faces lose moisture at the same rate. Build anything thicker than 25 mm around a foil core, since a solid centre cracks as the outside shrinks in on it.
Sealing air dry clay is structural, not decorative. Unsealed beads pull moisture from humid air and from skin, then soften and crack from the surface down. Use water based polyurethane on a bracelet, which takes daily handling better than acrylic varnish. Two thin coats beat one thick coat. Cover the front, back, edges and the inside of every hole. Skip PVA and Mod Podge, which yellow within a year, and keep nail polish away from the clay entirely. Sealed air dry clay is water resistant, not waterproof.
Finishing
Model Magic does not sand. The surface is a foam, so abrasive paper tears fuzz off it rather than levelling anything. Smooth those beads while the clay is still soft, using a damp fingertip and one light pass. Beads made from standard air dry clay behave normally: dry sand at 320 grit, then 600, with light pressure and no water. Air dry clay cuts fast under paper, and two extra passes will flatten a curve you cannot rebuild. Buffing achieves nothing on either clay. All the shine comes from the sealer, so pick gloss varnish if you want it. Skip sanding on the marker drawn beads.
Stringing and Assembly
- Every eye pin goes into wet clay, hooked end first. Drilling a dry bead chips the hole out from the back and there is no repair for it.
- Measure the wrist, then cut elastic 100 mm longer than that figure. Lay the beads out in a graduated order to 5 mm short of the wrist measurement, largest at the centre front. Hang the charm from a 6 mm jump ring at the same point. Open jump rings by twisting the two ends sideways past each other, never by pulling them apart. Use surgical steel or nickel free findings anywhere metal sits against skin.
- Tie off with a surgeon’s knot, add one drop of GS Hypo Cement, and pull the knot inside the hole of the nearest bead. Leave the glue 24 hours before wearing.
Where Makers Go Wrong
- Water based varnish lifts washable marker ink. The first brush stroke reactivates the dye and drags it across the bead, and no second coat will cover that smear. Draw with alcohol based markers, or lay down a light spray of workable fixative and let it flash off before varnishing.
- The hole widens months after the bracelet is finished. Model Magic is a foam, so the cord abrades the inner wall of each hole where nothing shows from outside, until one bead spins freely and then splits. Seal inside every hole and restring the bracelet once a year.
- Surface dry reads as fully dry. A 12 mm bead skins over in eight hours and stays damp at the core for another day, and a bead strung at that point compresses under the knot and never recovers its shape. Weigh one test bead on two consecutive days and string only when the number stops moving.
- Marbling drifts across a batch. Every extra rotation of the palm pushes the two colours further toward mud, and the loss is gradual enough that nothing looks wrong until you set the first bead beside the last. Roll one bead, keep it aside as a reference, and stop every later bead at the same number of turns.

Variations
Swap the elastic for 1 mm waxed cotton and finish with two sliding knots, which turns the bracelet into something that fits a child now and the same child next year. Break the run of clay with glass seed bead spacers, three between each pair, and the strand moves and chimes instead of sitting as one solid ring. Or build only five clay beads, then run 4 mm steel chain and a lobster clasp for the rest of the circle, which halves the drying time and reads far less like a craft project.
Care
- Take the bracelet off before washing your hands, since water tracks straight into the bead holes.
- Sweat dulls the varnish faster than anything else, so remove it before exercise.
- Store it flat rather than looped over a hook, which stretches the elastic at one point.
- Hand cream and perfume cloud the sealer on contact.
- Re-coat the beads and the holes once a year.
Quick Answers
- Can I use Crayola Air Dry clay instead of Model Magic? Yes. It dries harder and heavier, sands properly, and needs its holes reamed back to 2 mm once dry, because it shrinks as it dries.
- A bead cracked while drying. Can I save it? On standard air dry clay, fill the crack with a paste of the same clay and water and re-dry. Model Magic will not bond to itself once dry, so remake that bead.
- Can I speed the drying up in a warm oven? No. Heat pulls moisture out of the surface far faster than the core and splits the bead open.
- Does this work with polymer clay? Yes, with changes. Bake instead of drying, skip the sealer, and pierce each bead after ten minutes in the freezer.